

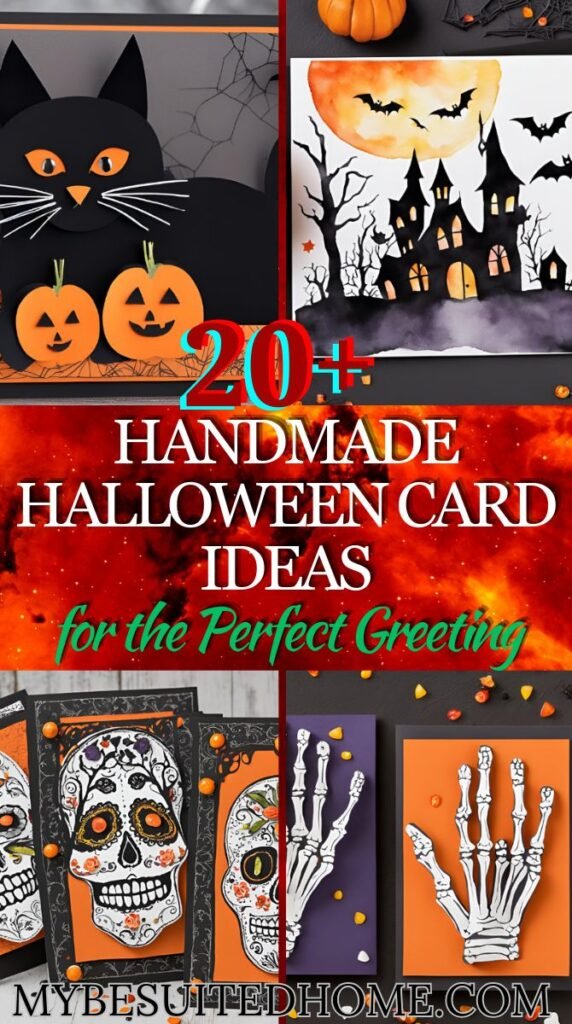
Halloween is a time for creativity and fun, and what better way to share the spooky spirit than with handmade cards? Whether you’re looking to send warm wishes to friends and family or want to add a personal touch to your Halloween celebrations, crafting your own cards is a delightful way to express your creativity. In this blog post, we’ll explore 18 handmade Halloween card ideas that are not only spooktacular but also easy to make. From playful ghosts to elegant pumpkins, these DIY designs will help you create memorable greetings that your loved ones will cherish.
Why Make Handmade Halloween Cards?
Handmade cards provide an intimate way to show someone you care while also showcasing your artistic skills. Unlike mass-produced cards, a DIY Halloween card is a work of art, and it’s something the recipient will truly appreciate. They are fun to create, and you can use a wide variety of materials and techniques to make each card unique.
So, gather your crafting supplies and let’s explore these spooktacular ideas!
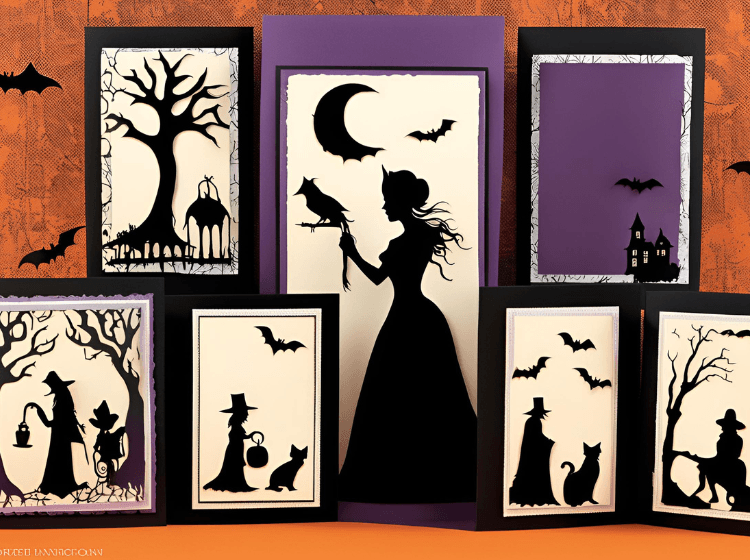
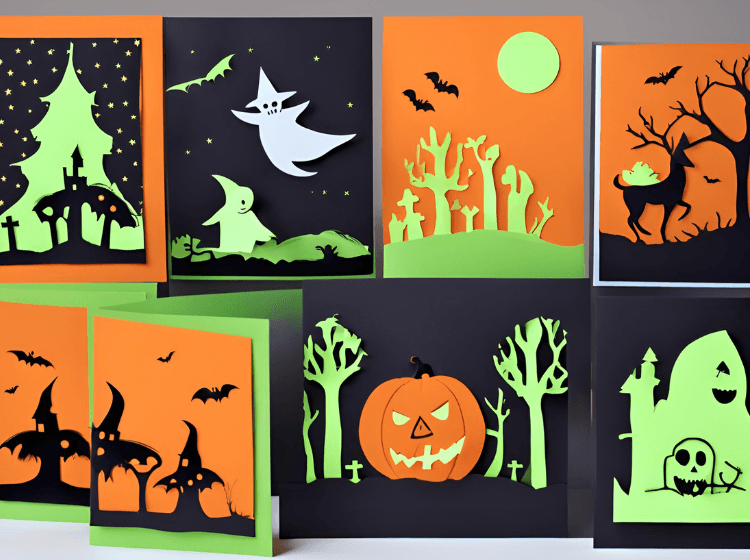
1. Spooky Silhouette Cards
Materials Needed:
- Black cardstock
- Orange paper
- Scissors
- Glue
Description:
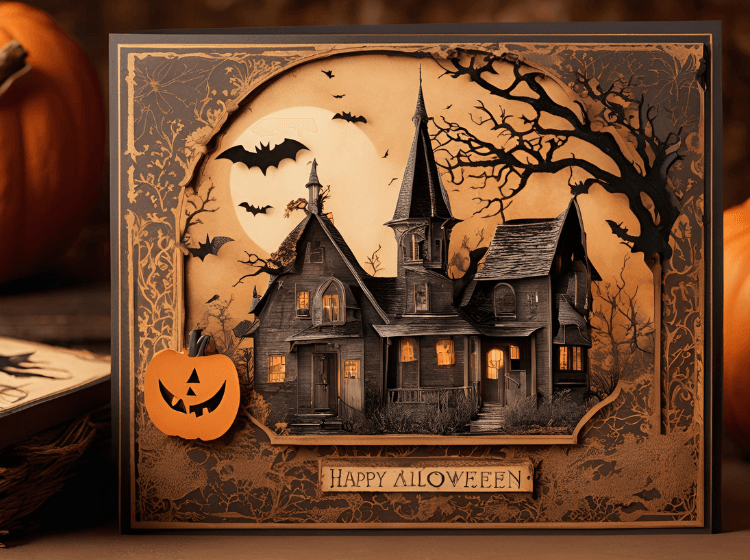
For an eerie Halloween scene, nothing beats a classic silhouette. Start with a black cardstock base and add a contrasting orange background to create a spooky setting. Use stencils or freehand to cut out silhouettes of haunted houses, flying witches, or bats. These dark shapes will pop against the orange sky, creating a dramatic effect.
Tip: Use stencils for more detailed silhouettes, or layer multiple silhouettes for depth.
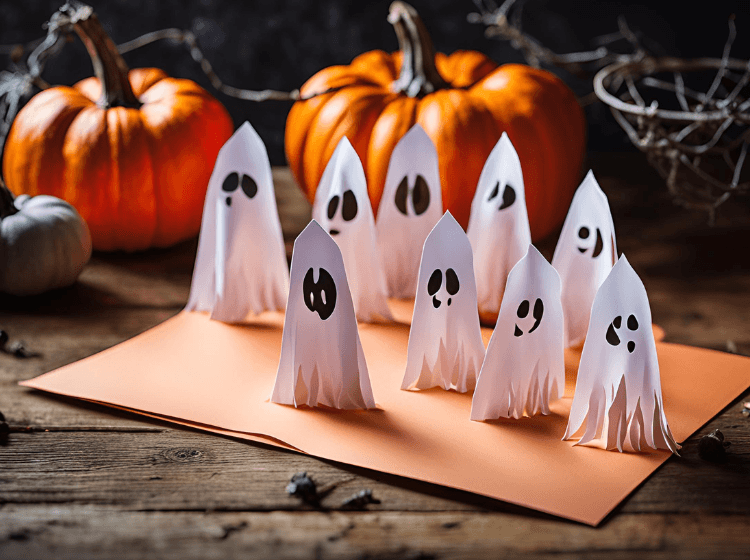
2. Pop-Up Ghost Cards
Materials Needed:
- White cardstock
- Black marker
- Glue
Description:
Add a touch of fun and surprise to your Halloween cards by making pop-up ghosts! On the inside of the card, fold and glue a cut-out ghost shape that pops up when the card is opened. Draw a cute or spooky face on the ghost with a black marker.
Tip: If you want to take it up a notch, use glow-in-the-dark paint for the ghost’s face or body.
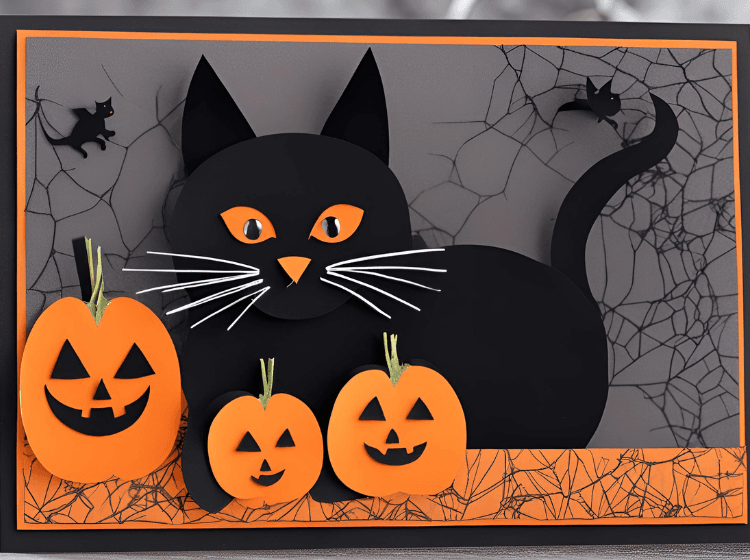
3. Black Cat Cards
Materials Needed:
- Black paper
- Metallic markers
Description:
Cats are a symbol of mystery, and no Halloween is complete without a black cat! This card features a sleek black cat design, elegantly drawn on black cardstock. Use metallic markers like silver or gold to outline the cat and add small details, such as the eyes or fur texture.
Tip: For a striking effect, use embossed paper or texture stamps to give the card added dimension.
4. Pumpkin Patch Cards
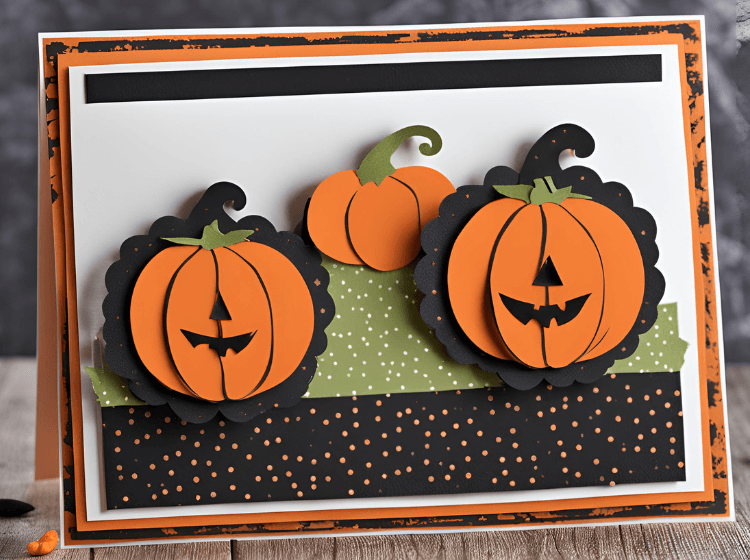
Materials Needed:
- Orange paper
- Green yarn or thread
- Glue
Description:
Bring the harvest season to life with a pumpkin patch card. Cut out various sizes of pumpkins from orange paper and layer them on the card’s front. Use green yarn or thread to create winding vines for a realistic touch. This charming design is perfect for those who love the whimsical side of Halloween.
Tip: Add shading to the pumpkins using colored pencils or pastels for a more lifelike look.
5. Mummy Wrap Cards
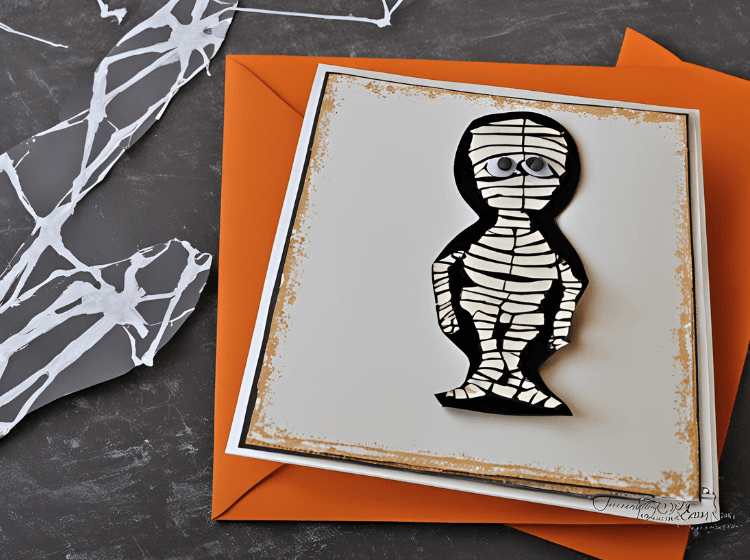
Materials Needed:
- White strips of fabric or paper
- Googly eyes
Description:
Transform your card into a wrapped-up mummy! Take strips of white fabric or paper and crisscross them across the card’s front to mimic mummy bandages. Leave a small gap to glue on googly eyes, creating a funny and cute effect.
Tip: To give the mummy a weathered look, lightly dust the fabric with brown or gray ink.
6. Glow-in-the-Dark Cards
Materials Needed:
- Glow-in-the-dark paint
- Black cardstock
Description:
For a spooky surprise when the lights go out, use glow-in-the-dark paint to create eerie designs on black cardstock. Whether you want to paint a full moon, a creepy ghost, or a grinning skull, the glow-in-the-dark effect will definitely impress your recipients.
Tip: Use even, thin coats of the paint for optimal glowing results, and let each layer dry before adding more details.
7. Bat-Themed Cards

Materials Needed:
- Black cardstock
- Bat-shaped stencil
- Silver or gold markers
Description:
Bats are an iconic Halloween symbol, and they make for a simple yet eye-catching card. Using a bat-shaped stencil, trace and cut out multiple bat shapes and arrange them flying across the front of your card. Highlight their wings or eyes with metallic markers to give the card a bit of shine.
Tip: Consider using different sizes of bats to create depth and movement in the design.
8. Witch Hat Cards
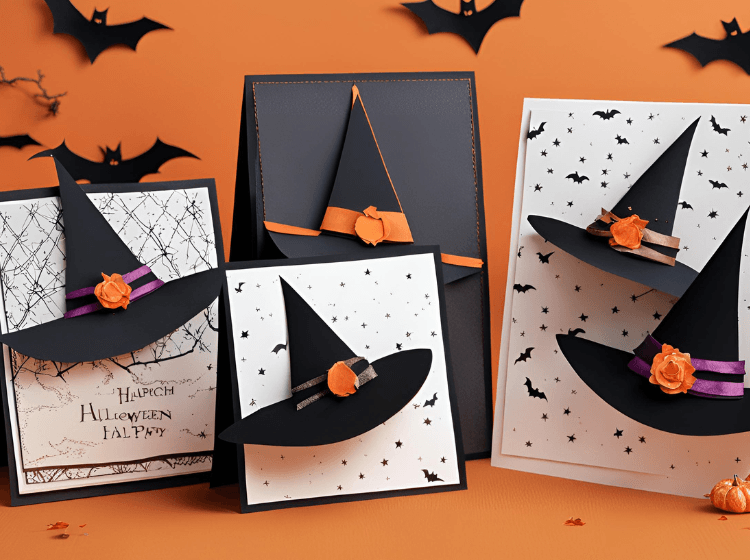
Materials Needed:
- Black and purple paper
- Ribbon
Description:
A witch’s hat is a classic Halloween symbol. Cut out a simple witch hat shape from black paper and decorate it with purple ribbons or embellishments. You can also add glitter along the edges or the hatband to give it a little sparkle.
Tip: Adding stars or a moon around the hat will give your card a magical nighttime atmosphere.
9. Watercolor Halloween Cards
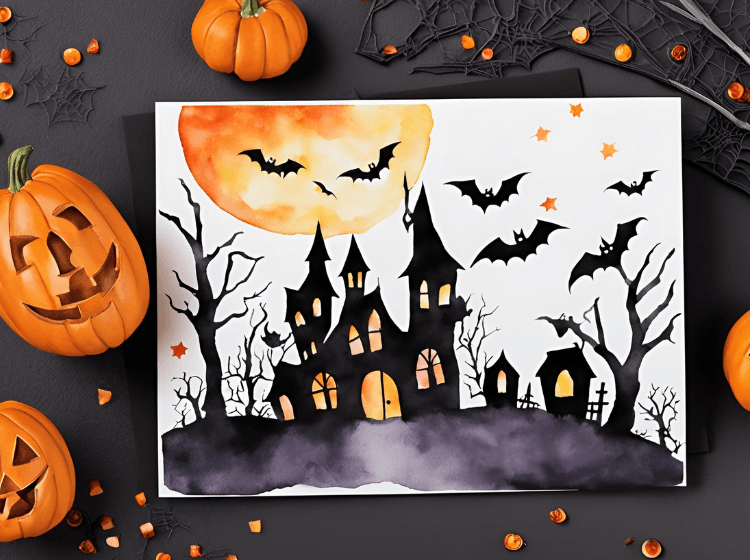
Materials Needed:
- Watercolor paints
- Brush
- Watercolor paper
Description:
For a more artistic approach, create dreamy or spooky Halloween scenes using watercolor paints. You can paint misty graveyards, haunted forests, or even a full moon peeking through the clouds. Watercolors blend beautifully, giving your card a haunting, ethereal quality.
Tip: Wet-on-wet watercolor techniques work great for creating soft, blurry effects like fog or mist.
10. Skeleton Hand Cards
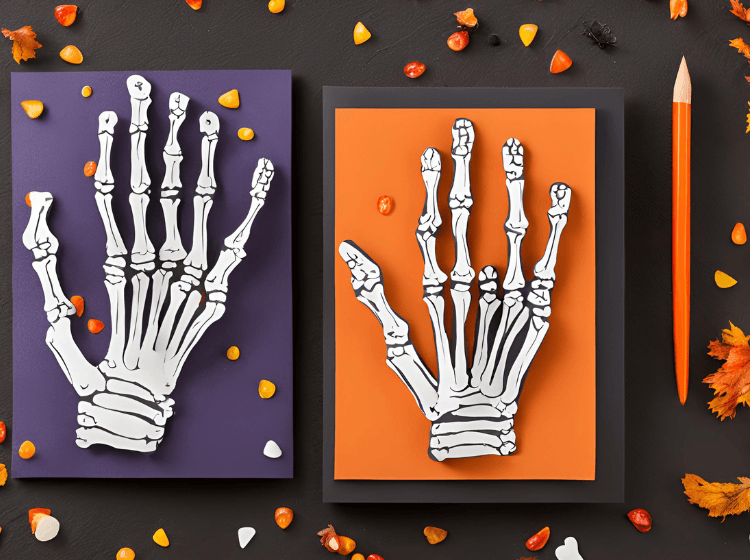
Materials Needed:
- White pen
- Black paper
Description:
Skeleton hands are eerie yet intriguing. On a black cardstock background, use a white pen or marker to carefully draw a detailed skeleton hand reaching across the front of the card. For an extra level of spookiness, make it look as if the hand is crawling out of the card.
Tip: Practice drawing the hand on scrap paper first to get the proportions right.
11. Monster Mash Cards
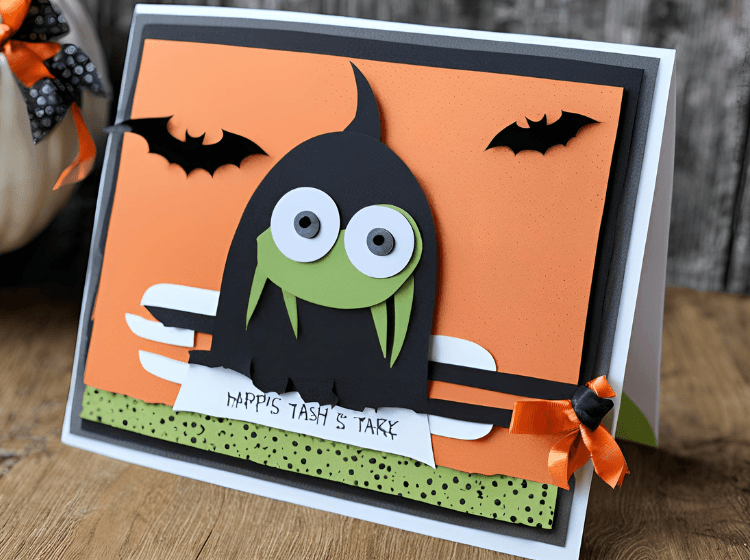
Materials Needed:
- Colored cardstock
- Googly eyes
- Fabric scraps
Description:
Let your creativity run wild by making funny or frightening monster-themed cards. Use colorful cardstock to create monster faces and bodies. Add fabric scraps for texture, and don’t forget the googly eyes for a quirky touch. Each monster can have its own personality, from scary to silly.
Tip: Make the monsters interactive by adding movable parts like a flapping mouth or arms.
12. Glitter Skull Cards
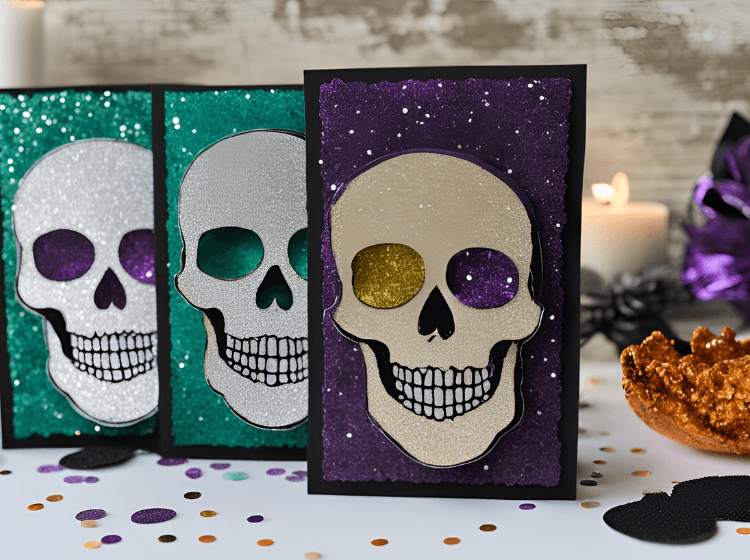
Materials Needed:
- Skull stencil
- Black paper
- Silver glitter
- Glue
Description:
A glittery skull design will give your Halloween card a touch of glam. Use a stencil to trace the skull shape onto black cardstock and apply glue within the outline. Then, sprinkle silver glitter over the design and let it dry. The result is a sparkling, spooky skull that’s sure to catch anyone’s eye.
Tip: Use a fine-tip glue applicator for cleaner lines and more control over the glitter application.
13. Vintage Halloween Cards
Materials Needed:
- Vintage Halloween-themed scrapbook paper
- Ribbon
- Buttons
Description:
Take a step back in time with a vintage-inspired Halloween card. Use patterned scrapbook paper featuring vintage Halloween images, such as old-fashioned jack-o’-lanterns, witches, and black cats. Embellish the card with ribbon, buttons, and lace for an authentic antique look.
Tip: Layer the papers and distress the edges for an even more aged appearance.
14. Candy Corn-Themed Cards

Materials Needed:
- Orange, yellow, and white cardstock
Description:
Celebrate the sweetness of Halloween by making a card inspired by candy corn. Cut out triangular shapes from orange, yellow, and white cardstock, then layer them to create a giant candy corn design on the front of the card. This bright and cheerful design is sure to bring a smile to the recipient’s face.
Tip: For added texture, use glitter or textured paper for each color section.
15. Spider Web Cards
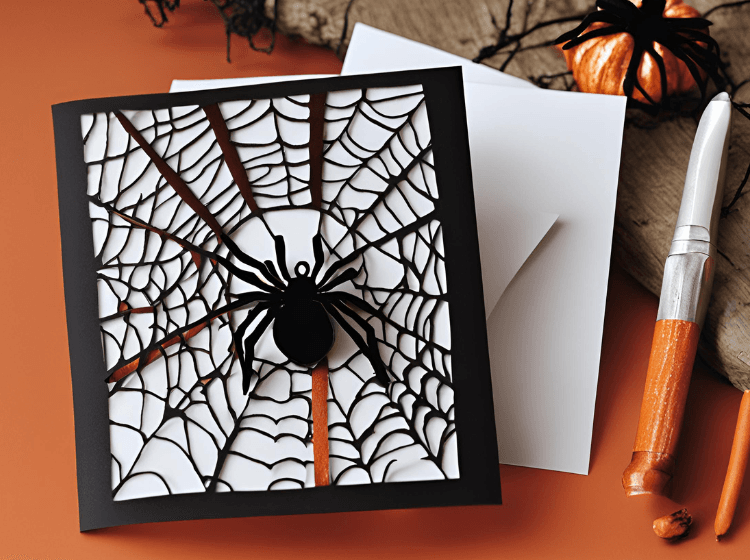
Materials Needed:
- Black paper
- White string
- Glue
Description:
Turn your card into a tangled web of spookiness by crafting a 3D spider web with white string. Simply glue the string in a web pattern on the front of your card and add a small plastic spider for extra creepiness.
Tip: Use a pencil to lightly draw the web shape on the card first, ensuring the string follows the design.
16. Gothic Lace Cards
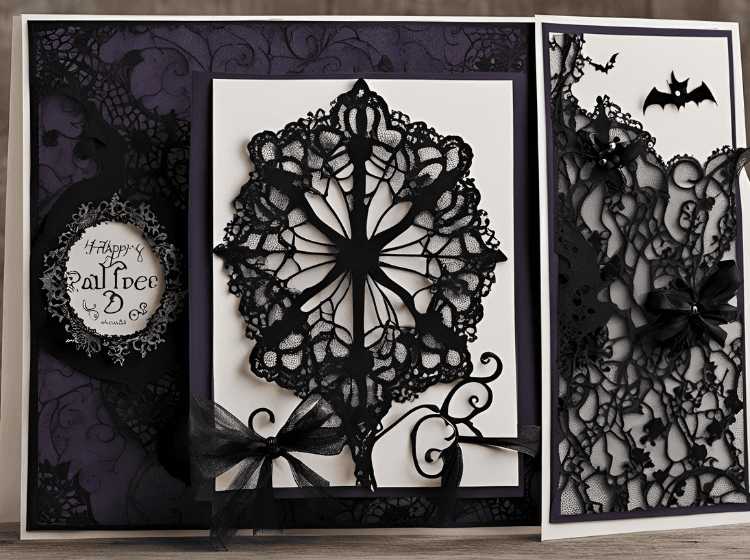
Materials Needed:
- Black lace
- Dark purple or red cardstock
Description:
For an elegant yet spooky card, combine gothic elements with rich, dark colors. Black lace is the perfect material to evoke the moody aesthetic of a Victorian Halloween. Layer the lace on dark purple or red cardstock, and embellish with pearls or ribbon to enhance the gothic feel.
Tip: Use double-sided tape to secure the lace to the card for a clean, professional finish.
17. Frankenstein’s Monster Cards
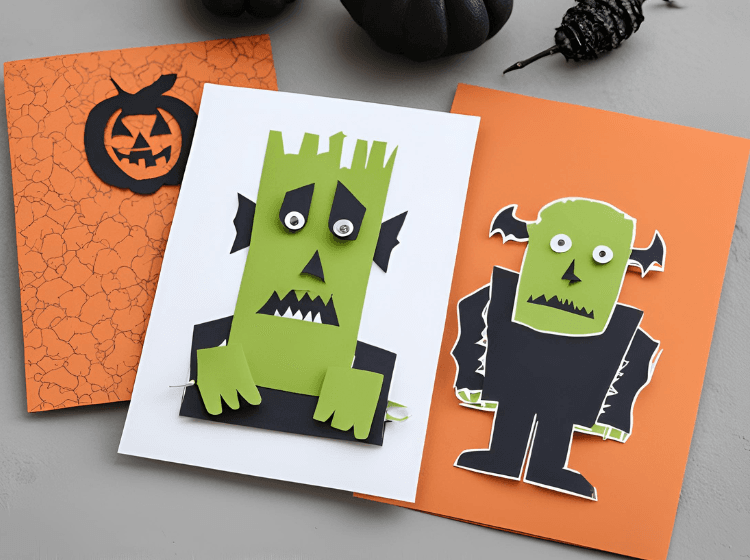
Materials Needed:
- Green, black, and silver cardstock
- Metallic markers
Description:
Bring Frankenstein’s monster to life on your card! Cut out a green face and add black hair, bolts, and stitches to create your own version of the famous monster. Metallic markers can be used to add details like bolts and scars, making the monster stand out.
Tip: Add googly eyes or felt eyebrows for a more playful interpretation of the monster.
18. Day of the Dead Cards

Materials Needed:
- Sugar skull stencil
- Colorful markers
Description:
Celebrate the Mexican tradition of Día de los Muertos by incorporating vibrant sugar skulls into your Halloween cards. Use a stencil to draw the skull, then decorate it with bright patterns, flowers, and intricate designs using colorful markers. The result is a beautiful, colorful card that blends Halloween with cultural significance.
Tip: Add small paper flowers or glitter to really make the card pop.
Final Thoughts
Creating handmade Halloween cards is not only a fun and engaging activity but also a heartfelt way to connect with those you care about during the spooky season. With the 18 ideas we’ve shared, you now have a variety of designs to inspire your card-making journey. Each card you create is a unique expression of your creativity and a delightful treat for the recipient. So, grab your crafting tools and let your imagination run wild—this Halloween, let your cards be as memorable as the treats you share!