


Halloween is the perfect time to unleash your creativity in the kitchen—and there’s no easier canvas than the classic Rice Krispie treat. Loved by kids and adults alike, these marshmallowy bites are simple to make, wildly versatile, and require no oven time. Whether you’re planning a Halloween party, packing school lunchbox surprises, or looking for a fun family activity, these 7 easy Halloween Rice Krispie treats will help you whip up spooky delights in no time!
Tips Before You Get Started
Before exploring the recipes, here are a few pro tips to make the process smoother:
- Use fresh marshmallows—older ones don’t melt as smoothly.
- Grease your hands and utensils with butter or cooking spray to prevent sticking.
- Cool completely before decorating so toppings don’t slide off.
- Use gel food coloring for vibrant, spooky shades.
- Store in an airtight container at room temperature for up to 3 days.
1. Rice Krispie Pumpkins
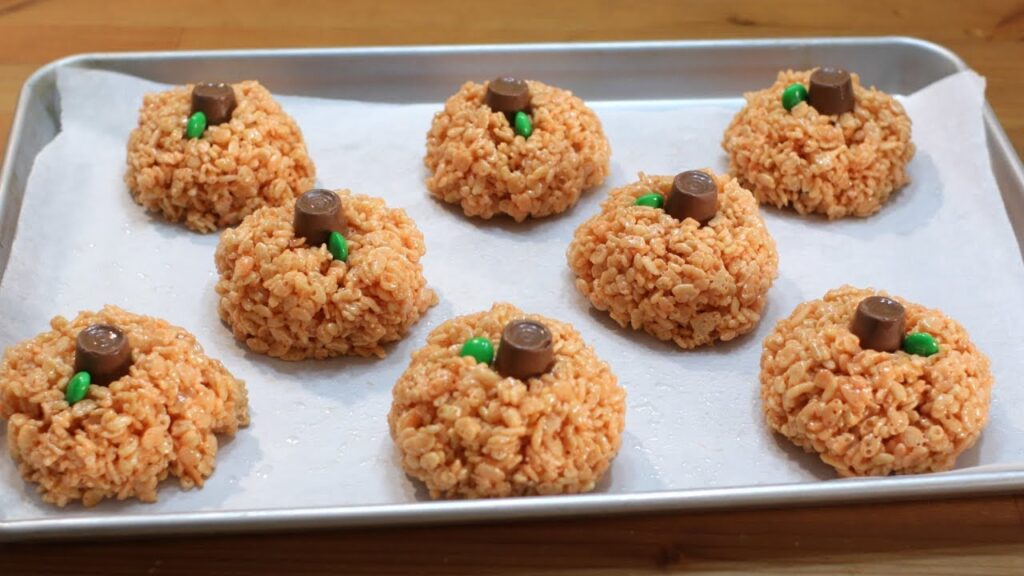
Nothing says Halloween quite like pumpkins, and these adorable, handheld treats are a crowd favorite. Soft, orange-colored Krispie balls shaped into mini pumpkins are topped with a green candy stem, making them festive and delicious. Add a pinch of pumpkin pie spice for a hint of fall flavor!
Ingredients:
- 6 cups Rice Krispies cereal
- 1 (10 oz) bag mini marshmallows
- 3 tbsp butter
- Orange gel food coloring
- Green M&Ms or mini Tootsie Rolls (for stems)
- Optional: ½ tsp pumpkin pie spice
Instructions:
- In a large pot, melt butter over low heat.
- Add marshmallows and stir until fully melted and smooth.
- Mix in orange food coloring (and pumpkin pie spice if using).
- Remove from heat and stir in Rice Krispies until evenly coated.
- Let mixture cool slightly. Grease hands and shape into small balls.
- Press a green M&M or small piece of Tootsie Roll into the top for the stem.
- Let set completely on wax paper.
2. Mummy Krispie Pops
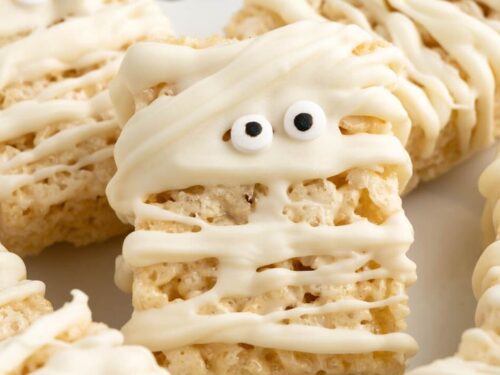
Spooky yet sweet, these mummy treats are a breeze to make. Served on a stick, they’re perfect for kids to grab and go. A simple white chocolate drizzle mimics mummy bandages, and candy eyes give them an adorably haunted look.
Ingredients:
- 6 cups Rice Krispies cereal
- 1 (10 oz) bag mini marshmallows
- 3 tbsp butter
- White candy melts or white chocolate
- Lollipop sticks
- Candy eyes
Instructions:
- Melt butter in a large saucepan. Add marshmallows and stir until melted.
- Mix in Rice Krispies.
- Press mixture into a greased 9×13 pan. Let cool for 10 minutes.
- Cut into rectangles and insert a stick into each bar.
- Melt white chocolate and drizzle it in zig-zags over each bar to look like bandages.
- Add candy eyes before the chocolate sets.
- Let cool completely before serving.
3. Monster Mash Krispie Squares
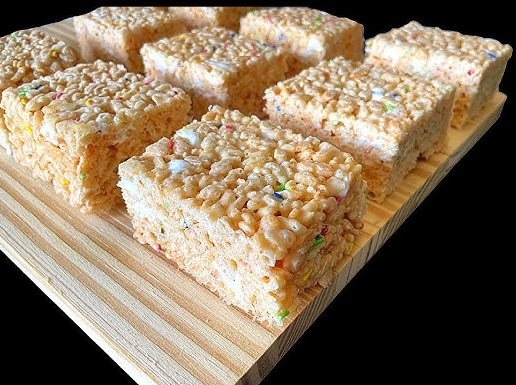
Go wild with these silly, colorful monsters! Bright hues, candy eyes, and wild decorations make them a hit with kids—and there’s no right or wrong way to decorate. Every square becomes a unique monster with a personality of its own.
Ingredients:
- 6 cups Rice Krispies cereal
- 1 (10 oz) bag mini marshmallows
- 3 tbsp butter
- Food coloring (purple, green, blue, etc.)
- Candy eyes
- Halloween sprinkles
- Optional: mini marshmallows or colored chocolate chips for mix-ins
Instructions:
- Melt butter in a large saucepan, then add marshmallows and stir until smooth.
- Stir in food coloring of choice.
- Mix in Rice Krispies and any optional add-ins.
- Press into a greased 9×13 pan and let cool slightly.
- Cut into squares and decorate each with candy eyes and sprinkles.
- Get creative—make silly faces, different eye placements, and mix colors for variety.
4. Candy Corn Layered Krispies
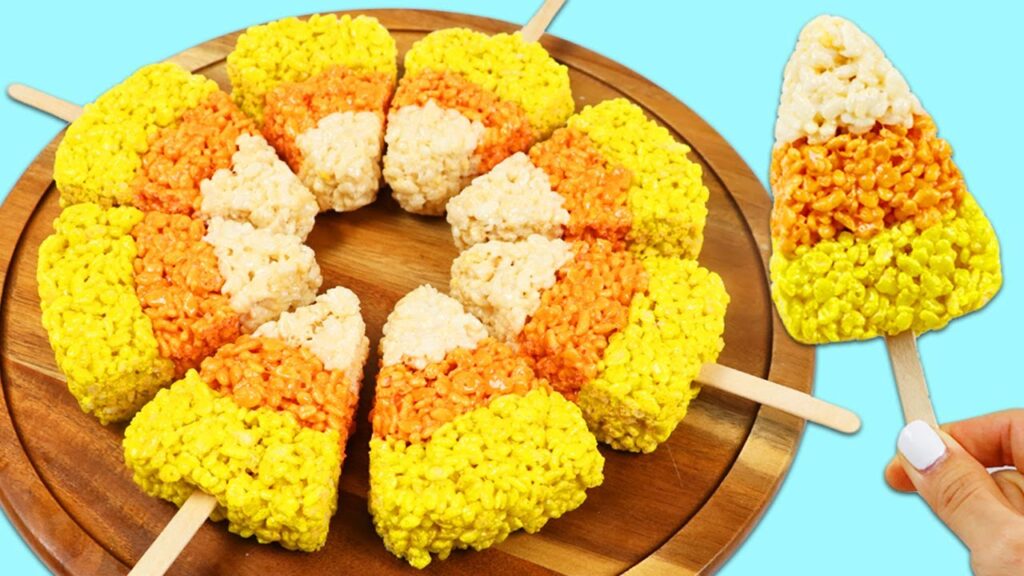
Inspired by the classic Halloween candy, these treats are colorful and cute with a trio of layers: yellow, orange, and white. Slice them into triangles and you’ll have little candy corn look-alikes without the waxy aftertaste!
Ingredients:
- 9 cups Rice Krispies (divided into 3 parts)
- 1½ (10 oz) bags mini marshmallows (divided)
- 4½ tbsp butter (divided)
- Yellow and orange food coloring
- 9×13 loaf pan
Instructions:
- Line your loaf pan with parchment paper.
- For the yellow layer: melt 1½ tbsp butter, 3 cups marshmallows, and stir in yellow food coloring. Add 3 cups cereal, mix well, and press into pan.
- Repeat for orange layer using orange coloring and another 3 cups cereal.
- Finally, make the white top layer without food coloring.
- Let cool, then remove from pan and cut into triangles like candy corn.
5. Witch Hat Rice Krispie Bites
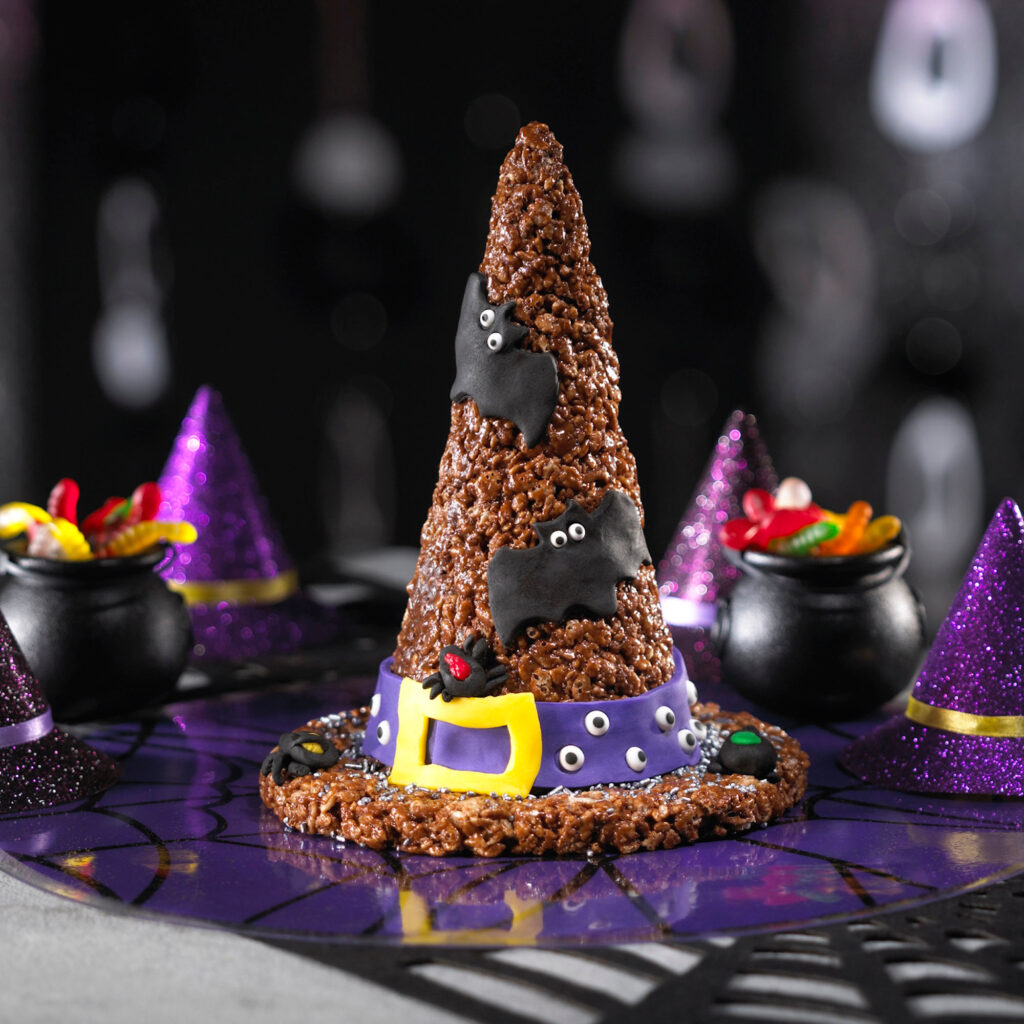
These bewitching treats resemble little witch hats and are perfect for Halloween dessert tables. They’re shaped using sugar cones or rolled into cone shapes and dipped in chocolate for a dark, magical finish.
Ingredients:
- 6 cups Cocoa Krispies (or regular with added cocoa powder)
- 1 (10 oz) bag mini marshmallows
- 3 tbsp butter
- Sugar cones (optional)
- Black or dark chocolate melts
- Colored icing or candy for hat bands
Instructions:
- Melt butter, then marshmallows in a saucepan. Add cocoa powder if using plain cereal.
- Mix in Cocoa Krispies and allow to cool slightly.
- Shape into cones by hand or stuff into sugar cones.
- Dip pointed ends in melted chocolate.
- Add a candy band around the base with icing or licorice.
- Let harden on wax paper.
6. Frankenstein Treat Bars

Give your Krispie treats a mad scientist’s makeover! These rectangular bars turn into friendly Frankenstein faces with a bit of green coloring, chocolate hair, and candy eyes. They’re freaky in the best way.
Ingredients:
- 6 cups Rice Krispies
- 1 (10 oz) bag mini marshmallows
- 3 tbsp butter
- Green food coloring
- Melted chocolate or chocolate chips
- Candy eyes
- Black icing or licorice for details
Instructions:
- Melt butter and marshmallows. Stir in green food coloring.
- Mix in cereal and press into a greased 9×13 pan.
- Once cool, cut into rectangles.
- Dip the top of each in melted chocolate for “hair.”
- Add candy eyes and draw on scars, stitches, or mouths with icing.
- Use black licorice pieces for neck bolts if desired.
7. Spooky Spider Krispies
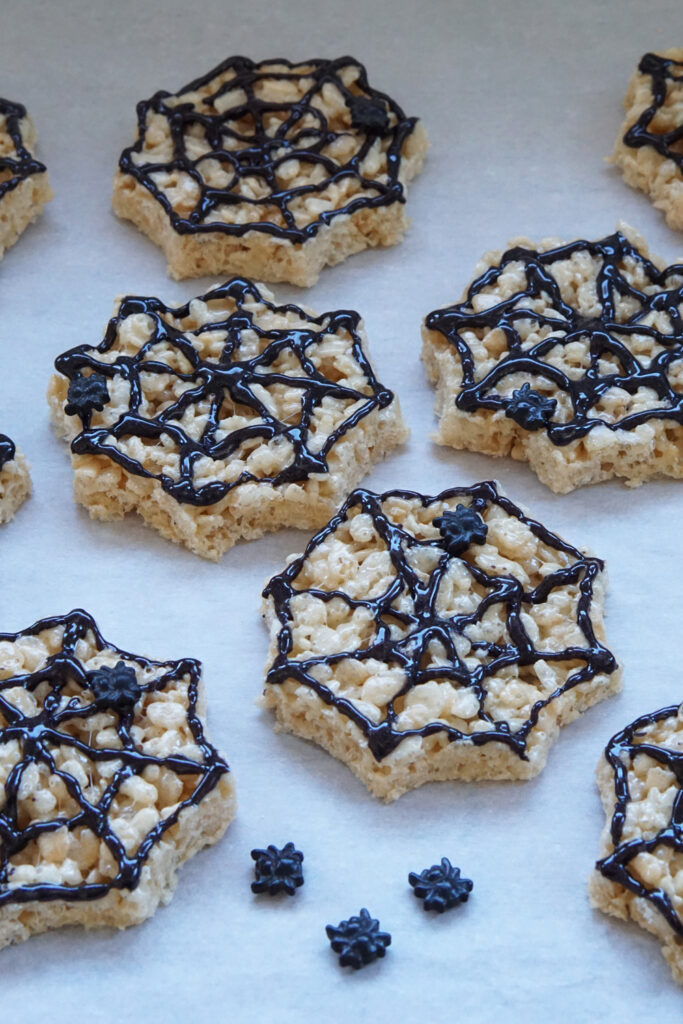
Creepy yet cute, these spider treats are a festive way to creep out your dessert table—in a good way. Round Rice Krispie balls form the body, while pretzel or licorice legs and candy eyes complete the look.
Ingredients:
- 6 cups Rice Krispies
- 1 (10 oz) bag mini marshmallows
- 3 tbsp butter
- Cocoa powder or Cocoa Krispies (for brown color)
- Pretzel sticks or black licorice strips
- Candy eyes
- Optional: peanut butter or Nutella
Instructions:
- Melt butter and marshmallows in a pot. Add cocoa powder for color if needed.
- Stir in Rice Krispies and let cool slightly.
- Shape into round balls and place on wax paper.
- Cut pretzels or licorice into small lengths and stick 3–4 into each side for legs.
- Use a dab of peanut butter or melted chocolate to attach candy eyes.
- Let set completely before serving.
How to Store & Serve Your Halloween Rice Krispie Treats
- Store in an airtight container at room temperature for up to 3 days.
- To prevent sticking, place wax paper between layers.
- For longer storage, wrap individually and freeze (though this may affect texture).
- Serve on a Halloween-themed platter, or wrap individually for party favors and school treats.
Final Tips & Fun Variations
- Let kids decorate their own treats for a fun hands-on activity.
- Use Halloween-shaped silicone molds (ghosts, bats, pumpkins) for quick shaping.
- Mix in sprinkles, candy corn, or mini M&Ms to the base for added texture.
- Drizzle with colored chocolate for a more festive finish.
Wrap Up
Rice Krispie treats are the perfect blank canvas for Halloween creativity. With just a few ingredients and some festive flair, you can create spooky, silly, and sweet snacks that everyone will love. Try one—or all—of these ideas for your next Halloween celebration, and don’t forget to share your ghoulish goodies with us on social media!