

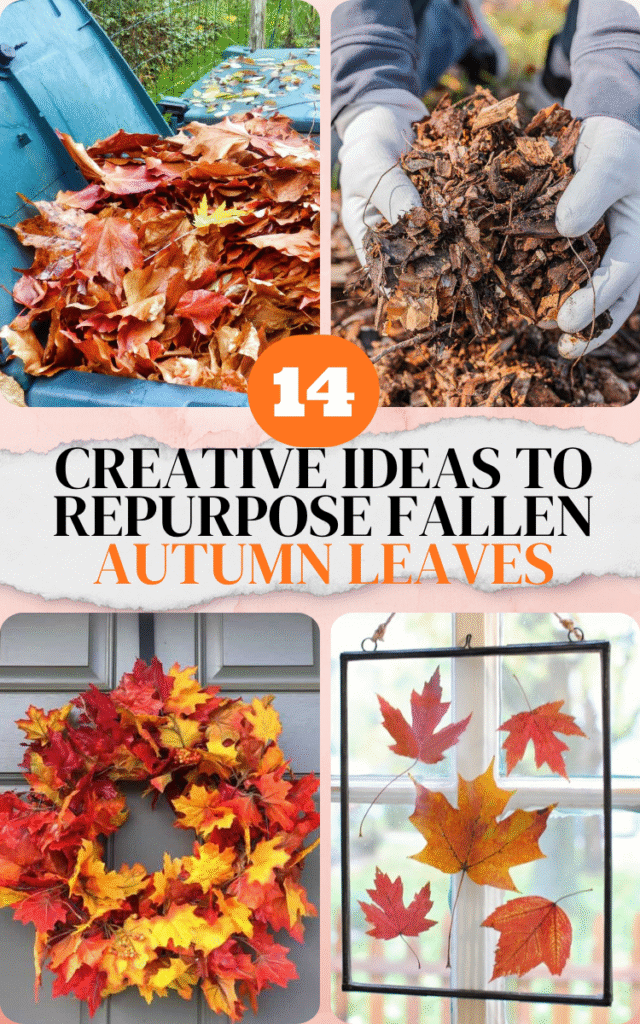
The leaves are beautiful when they first turn—that brief, blazing moment of red, gold, and orange glory. But then they fall, and suddenly, that beauty feels a lot like work. Most of us default to the rake and the big paper bag, sending countless pounds of organic matter to the landfill every year. I used to do this, too, until I realized I was throwing away free, high-quality resources that my garden and home could actually use.
Let’s ditch the yard waste bags for good this year. What we see as yard debris is actually a versatile, natural material just waiting for a second life. You can save money by reusing this bounty and enrich your soil naturally and create gorgeous, personalized decorations that capture the spirit of the season. From enhancing your vegetable patch to crafting thoughtful gifts, here are 14 creative ways to repurpose your fallen autumn leaves.
Garden Gold: Nourishing Your Yard and Soil
1. The Ultimate Mulch
When those leaves start piling up, your first and best line of defense is to turn them into free organic mulch. Store-bought mulch can get pricey, and often the materials they use, like wood chips, take much longer to break down and integrate into the soil. Leaves, however, are packed with trace minerals and decompose beautifully, acting as an insulating blanket for sensitive plant roots all winter long.
The key to using leaves as mulch is preparation: they absolutely must be shredded. If you apply whole leaves, they tend to mat down into thick, water-repellent layers that suffocate the soil and promote mold. I use my lawnmower set to its highest setting and simply run over the piles a few times (often with the bagging attachment off) until the leaves are reduced to small flakes. This simple step makes them manageable, faster to decompose, and ensures water can still penetrate the soil below.
Once shredded, apply a generous layer, about three to four inches deep, around your perennial beds, shrubs, and late-season vegetable rows. This mulch will suppress weeds that try to sprout in the warmer fall days, help the soil retain crucial moisture, and, most importantly, protect roots from the damaging freeze-thaw cycles that can push plants right out of the ground. By spring, a significant amount of this mulch will have broken down, feeding the soil and leaving you with less work.
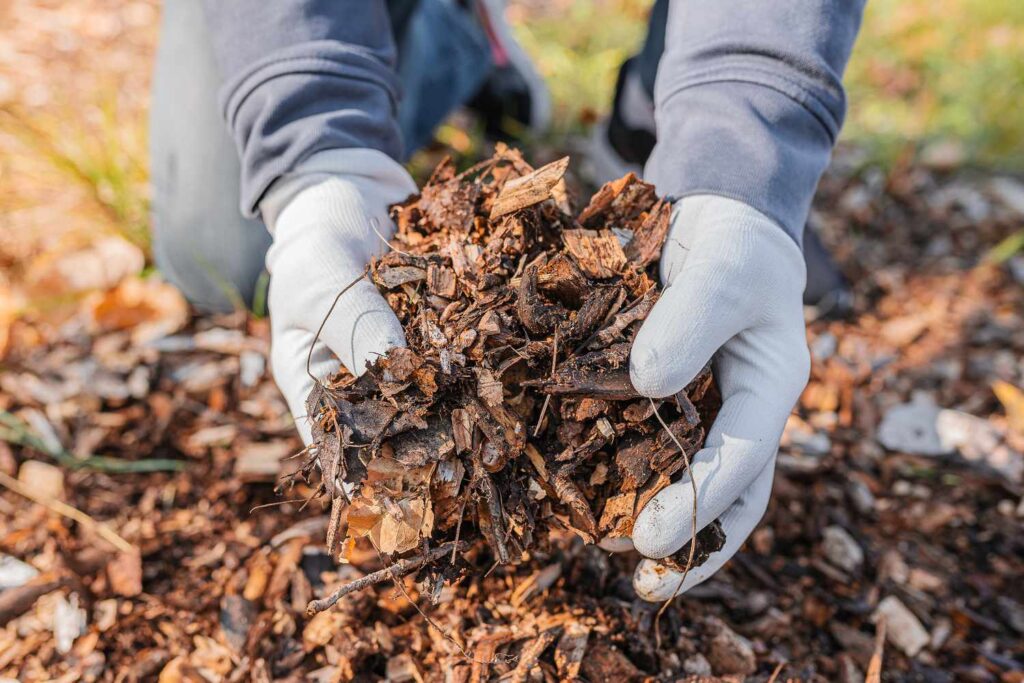
2. DIY Leaf Mold (Soil Conditioner)
If mulch is the fast solution, leaf mold is the slow, rich reward. This isn’t compost, exactly; it’s the result of fungi breaking down leaves over a longer period, resulting in a dark, crumbly, lightweight soil amendment that is absolute magic for improving soil structure. While it takes patience—typically one to two years—the effort required from you is almost zero.
To start your leaf mold project, all you need is a simple containment system. You can use old garbage cans with the bottoms cut out for drainage, or simply create a square enclosure using chicken wire staked to the ground. The goal is to keep the leaves contained and moist. Once you’ve established your container, just fill it up with whole or loosely shredded leaves.
Make sure the pile stays damp, similar to a wrung-out sponge, by watering it occasionally or relying on rainfall. Unlike composting, you don’t need to turn leaf mold often, if at all. After a year, the product will be partially broken down and excellent for topdressing gardens; after two years, it will be the gorgeous, black, spongy consistency that dramatically improves aeration and water retention in heavy clay or sandy soils.
3. Compost Booster (The Carbon Component)
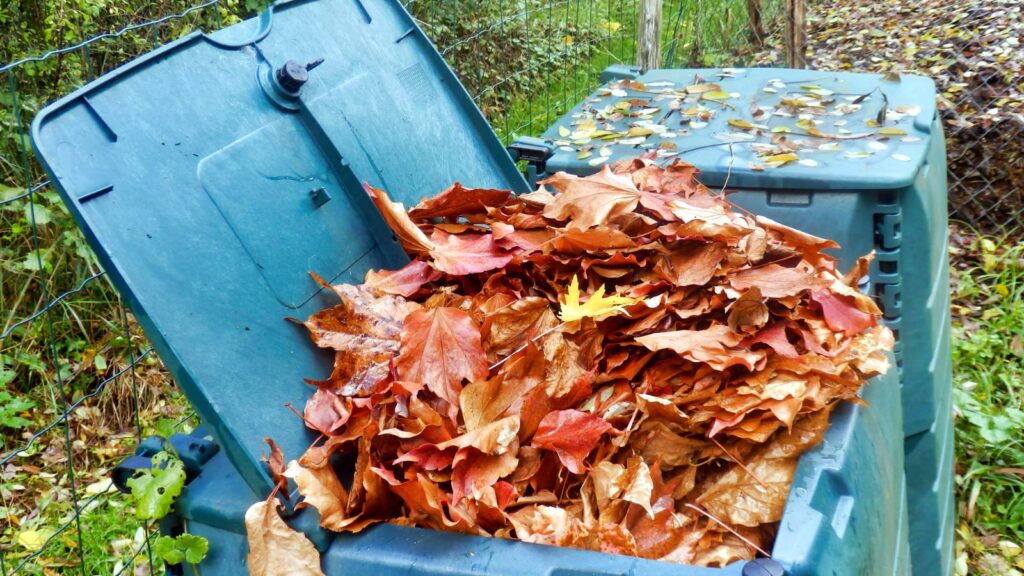
Every successful compost pile relies on a precise balance of “greens” (nitrogen-rich materials like food scraps and grass clippings) and “browns” (carbon-rich materials). Guess what the perfect brown material is? You got it—dry, fallen leaves. They are the ideal structural material needed to prevent your compost pile from becoming a slimy, compressed, anaerobic mess.
To use leaves in your compost effectively, you should always shred them first, just like you would for mulch. Smaller pieces offer more surface area for the microbes to work on, accelerating the entire composting process. If you have an abundance of food waste or fresh grass clippings, adding a few handfuls of shredded leaves ensures that the pile remains light and airy, allowing oxygen to circulate which is essential for hot, fast decomposition.
If you have a huge surplus of leaves, don’t try to dump them all into the compost pit at once. Instead, collect them and store them in large yard bags or bins to use throughout the year. You can grab a scoop of your stored leaves every time you add a bucket of kitchen scraps, giving you a steady supply of carbon material to keep your compost heap perfectly balanced regardless of the season.
4. Natural Lawn Fertilizer (Mow-and-Go)
This is perhaps the easiest fall chore solution on the list, and it simultaneously gives you a healthier lawn. If the layer of leaves on your lawn isn’t too thick, don’t even bother raking. Instead, get out the mower and follow the mow-and-go method to turn those leaves into instant, slow-release fertilizer.
The process is straightforward: simply run your mower over the leaves multiple times until they are chopped into fine, dime-sized pieces. If the pieces are small enough, they will filter down between the blades of grass and rest directly on the soil surface. This layer should be thin enough that you can still easily see the grass; if you can’t, you need to mow again or rake some leaves off first.
As these tiny fragments decompose over the winter, they release their minerals and nutrients directly back into your lawn, eliminating the need to buy and spread chemical fertilizers in the spring. This method is not only better for the environment but also strengthens the turf, promoting deeper root growth and making the grass more resilient to drought and disease when the warm weather returns.
5. Insulating Winter Protection for Potted Plants
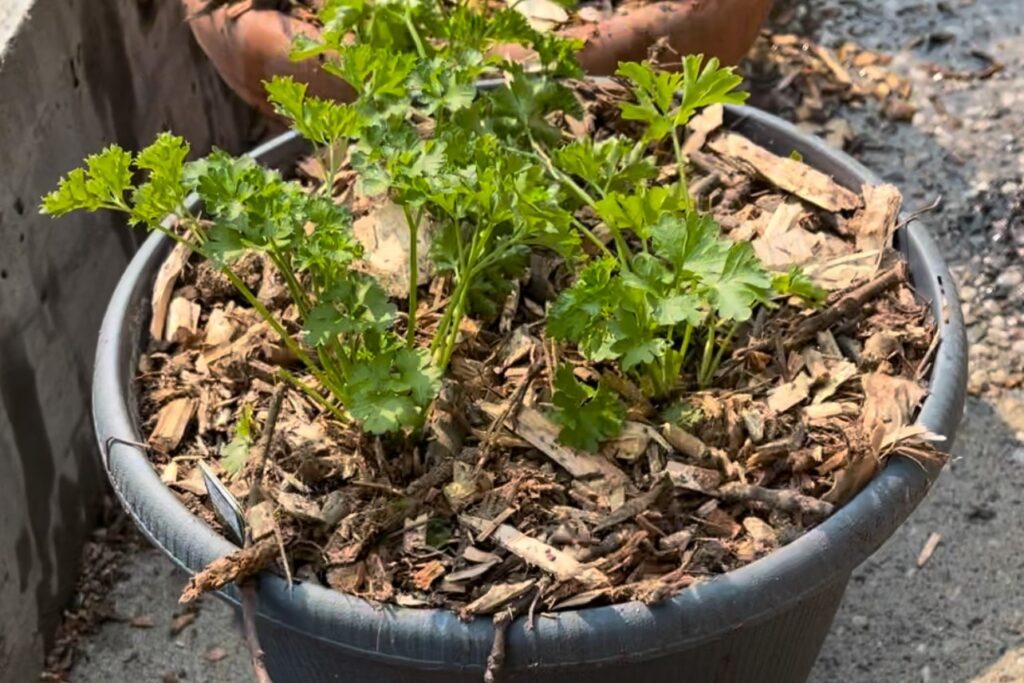
If you have delicate container plants, herbs, or perennials that you need to overwinter outside, dry leaves are the perfect natural insulator. The biggest danger to potted plants in winter isn’t necessarily the cold air, but the constant freezing and thawing of the soil, which can shatter clay pots and damage root systems. This is where a cocoon of dry leaves comes in handy.
For sensitive, non-hardy pots, you can create a trench or build a small corral against a sheltered wall. Place your potted plants tightly together within this enclosure and then fill all the gaps around them with dry leaves, burying the pots completely up to the rim. The leaves act as a buffer, slowing the temperature changes and keeping the roots at a much more stable temperature, mimicking the protection they’d get if they were planted underground.
You can also use leaves to protect larger, in-ground plants. Mounding a thick, fluffy layer of leaves around the base of roses, young fruit trees, or tender shrubs will insulate the crown of the plant. Just remember to pull the leaves back slightly in early spring as soon as you see new growth, or you risk trapping too much moisture and promoting rot.
Crafty Creations: Seasonal Decor and Art
6. Pressed Leaf Art (Preserving the Color)
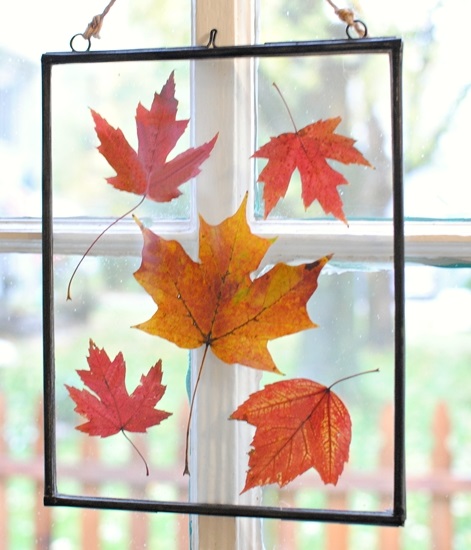
One of the most disappointing things about beautiful fall leaves is how quickly their vibrant color fades once they are picked. If you want to keep those stunning colors indefinitely, you need to press and dry them correctly. Pressed leaves make beautiful, delicate pieces of art that capture the ephemeral beauty of autumn.
The process is simple but requires patience. Select leaves that are flat and already dry—avoid any that are damp or moldy. Place them carefully between sheets of absorbent paper, like newsprint, blotting paper, or even paper towels (avoiding thick textures). Then, sandwich this arrangement between the pages of a large, heavy book or use a dedicated wooden press.
Leave the leaves pressed for at least two weeks to ensure all the moisture is removed. Once they are dry and flat, you can use them in countless ways. Try arranging them artfully inside a floating glass frame for a minimalist decoration, or use them to decorate journals, scrapbooks, or the borders of simple white greeting cards.
7. Wax Paper Keepsakes
If you want a more durable, translucent look that really makes the color of the leaves pop, fusing them between sheets of wax paper is a fun and easy project, especially for kids. This method seals the leaves, preserving them and creating a lovely stained-glass effect when held up to the light.
Start by laying out a sheet of wax paper on an ironing board. Arrange your carefully dried leaves on the paper, ensuring they don’t overlap too much. Once you have your design, place a second sheet of wax paper directly on top. The magic happens next: place a piece of old cloth or a brown paper bag over the wax paper sandwich for protection.
Using an iron on a low, non-steam setting, gently press the iron over the cloth. The heat will melt and fuse the two layers of wax paper together, permanently sealing the leaves inside. When you’re done, you can trim the edges to shape them into squares, circles, or even make long, banner-like strips to use as fall-themed suncatchers for your windows.
8. DIY Leaf Wreath or Garland
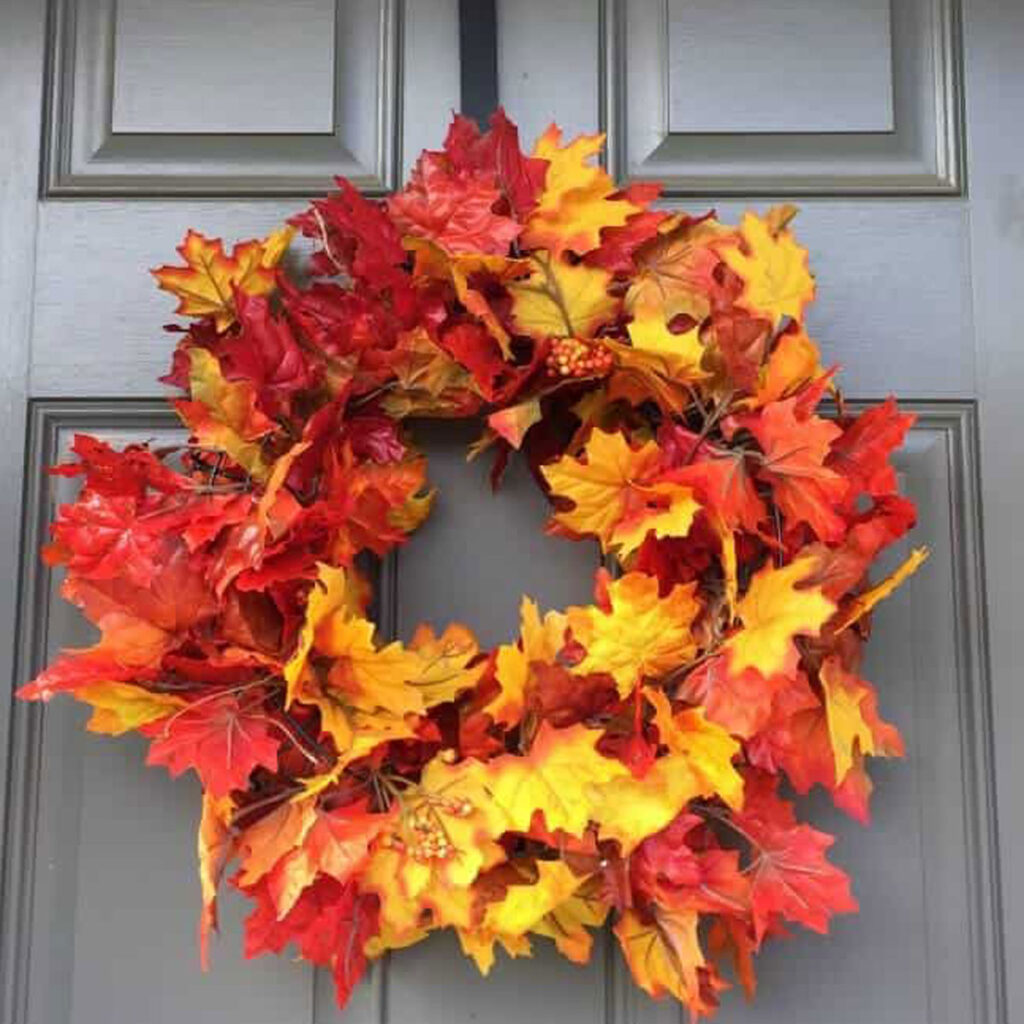
Why buy expensive, faux foliage wreaths when you can make a richer, more authentic one using the leaves right outside your door? Making a leaf wreath or garland is a satisfying weekend project that results in a beautiful, classic fall decoration for your front door or mantle.
You can start with a simple wire frame (a coat hanger bent into a circle works in a pinch) or even a length of sturdy twine for a garland. The most effective way to attach the leaves is using hot glue. Layer the leaves, pointing them in the same direction, and overlap them heavily to create fullness and volume, mixing in different shapes and colors for visual interest and texture.
For a rustic garland, you can simply use a needle and thread to pierce through the stem end of the leaves, stringing them onto the twine like beads. Hang these garlands over doorways, across shelves, or draped over a mirror. While these creations won’t last forever—they will dry out and become brittle—they will certainly stay vibrant and festive for the duration of the autumn season.
9. Leaf Rubbings and Nature Journals
This craft is a wonderful way to slow down and truly appreciate the intricate, unique patterns and textures found in nature. Leaf rubbings are a classic, easy art project that provides a tactile record of the plants in your yard and is a perfect activity to engage children during a fall walk.
The process is almost meditative. All you need is a piece of thin paper (like standard printer paper) and crayons with the wrappers peeled off. Place a leaf, vein-side up, on a hard, flat surface. Lay the paper over the leaf and use the side of the crayon to gently rub back and forth across the area where the leaf is located.
As you rub, the colors transfer and the hidden pattern of the leaf’s veins and edges magically appears on the paper. Use these rubbings to create unique wrapping paper, use them as illustrations in a nature journal, or combine them to form a lovely collage that celebrates the diversity of the trees in your neighborhood.
10. Decorative Vase Fillers and Table Scatter
When preparing for a fall feast or simply decorating for the season, texture is everything. Dry, colorful leaves offer an incredible, natural texture that works perfectly in centerpieces. They add warmth and depth to glass and ceramic pieces and are an effortless way to introduce rich autumn colors indoors.
I love using them as a base for a clear glass vase display. Instead of just placing flowers or branches in water, fill the bottom quarter of the vase with dried, crunchy leaves before adding your stems. This not only hides the bottom of the stems but adds visual weight and a soft orange hue to the arrangement. They can also be used to cradle candles or small gourds.
For your dining table, a simple scatter of tiny, perfectly shaped leaves around a centerpiece or alongside place settings adds a rustic, festive touch. The best part is that once the season is over, you can simply sweep them up and add them straight into your compost or leaf mold pile, creating zero waste.
Practical & Playful Projects
11. Natural Fire Starters
If you enjoy a cozy fireplace or often head out for cold-weather camping, turning those dry leaves into natural fire starters is incredibly practical. Dry leaves are highly flammable, but they burn so quickly that they don’t last long enough to ignite larger logs. By binding them with wax, you create a slow-burning ember that acts as the perfect kindling.
The first step is gathering and crumpling a generous amount of bone-dry leaves. Next, you’ll need some melted wax—old candle stubs, broken crayons, or cheap paraffin wax all work perfectly. The key is to melt the wax slowly and safely in a double boiler. Once melted, mix the dry, crumpled leaves directly into the liquid wax until they are completely coated.
Use old paper muffin tin liners or cut-up egg cartons as molds. Scoop the wax-coated leaf mixture into the molds and let them cool and harden completely. These dense pucks or cups of waxy leaves are fantastic because they light easily with a single match and burn long enough to get larger pieces of wood hot, making fire starting easy even in damp conditions.
12. Simple Leaf Compost Tea

You don’t always have time to wait for full leaf mold, but your houseplants or garden might need a quick, gentle boost of nutrients right now. That’s where leaf compost tea comes in handy. It’s a very mild, liquid fertilizer that gives plants a gentle feeding of trace minerals and humic acids.
To brew this simple tea, find some leaves that have started to break down—they should be brown and crumbly, not freshly fallen. Fill an old pillowcase or a mesh bag with these partially decomposed leaves and tie it tightly shut. Place the bag in a large bucket and submerge it completely in water, letting it steep.
Leave the bag soaking for about a week. The water will turn a pale, tea-like brown color, indicating that the beneficial compounds have leached out. Once brewed, you can use this nutrient-rich liquid to water your houseplants or to give your garden a final organic feeding before the soil freezes. It’s a great way to recycle the leaves quickly and nourish plants without harsh chemicals.
13. A DIY Backyard “Romp Box” or Sensory Bin
While raking the entire lawn into one giant pile is a massive chore, dedicating a small, contained area to leaf play is a fantastic way to utilize them for fun. Kids and pets absolutely love the sensory experience of dry, crunchy leaves, and you can give them a safe, dedicated spot to enjoy them.
The setup is simple: choose a small corner of your yard or use a large plastic storage tote to create a “romp box” or sensory bin. Fill this container with the driest, crunchiest leaves you can find. This contained area prevents the leaves from blowing back all over the yard while still offering that satisfying sound and texture of jumping and digging.
This project is a win-win: your dog gets a fun place to sniff and play (mine goes absolutely wild for it!), and your kids have a zero-cost, natural playground element. When the leaves turn to mush, simply dump the contents of the bin into your garden or compost, leaving behind no mess and zero plastic waste.
14. Hand-Drawn Leaf Gift Tags and Place Cards
For a truly personal and rustic touch to your holiday table settings or gift wrapping, use large, flat leaves as natural paper. This idea is especially effective around Thanksgiving or during the holiday season, adding an element of nature to your indoor festivities.
Start by selecting the flattest, largest leaves you can find, such as those from maple or sycamore trees. Press them flat for a day or two and allow them to fully dry. To give them a slightly more stable, less fragile writing surface, you can brush on a very light layer of Mod Podge or a clear acrylic sealant and let it dry completely.
Once sealed, the leaf is ready to be written on. Use a fine-tipped permanent marker or a white paint pen to write names, messages, or “thank you” notes directly onto the leaf surface. These handmade pieces serve as beautiful, eco-friendly place cards for a dinner party or unique, rustic gift tags for a truly memorable presentation.
Final Rake-Up
From enriching the dirt beneath your feet to adding an authentic, artistic touch to your home, fallen autumn leaves are far too valuable to be discarded. We’ve explored everything from practical gardening projects that save you money (like making mulch and compost) to simple creative activities (like pressing art and making rustic fire starters).
This year, I encourage you to adopt a zero-waste mindset and look at your yard’s natural abundance as a resource, not a burden. By using these ideas, you’re not just tackling a chore—you’re participating in a natural cycle that rewards your garden and reduces landfill impact.
So, now that you have 14 fantastic ideas, which one is going to be your first project? Will you get started on your two-year leaf mold journey, or are you immediately heading inside to make some decorative wax paper suncatchers? Let me know which creative idea to repurpose fallen autumn leaves you’re tackling first!