
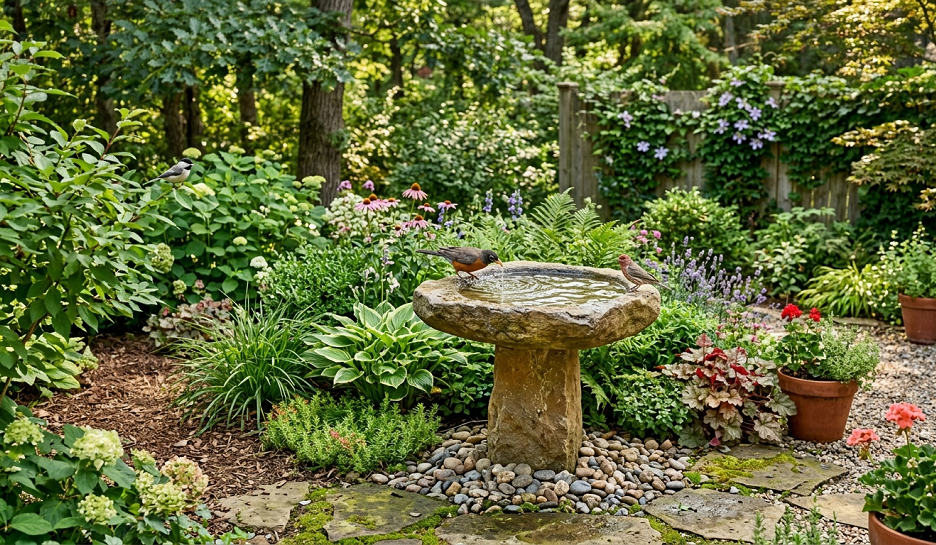
A backyard that looks fine on paper — decent soil, a fence, a patch of grass — can still feel unusable. Maybe the neighbors can see straight into the kitchen window. Maybe the patio bakes in afternoon sun until nobody wants to sit on it. Maybe there’s a slope that turns into a mud slide every spring. Generic “landscaping tips” articles tend to assume a flat, sunny, blank-slate yard that most people don’t actually have.
This guide is organized around real yard problems instead: privacy, awkward fence lines, patios that need better framing, roses that people want but aren’t sure how to place, and the trickier lots — sloped, shaded, small, or low-maintenance by necessity. Pick the section that matches the problem in front of you rather than reading top to bottom for inspiration alone.
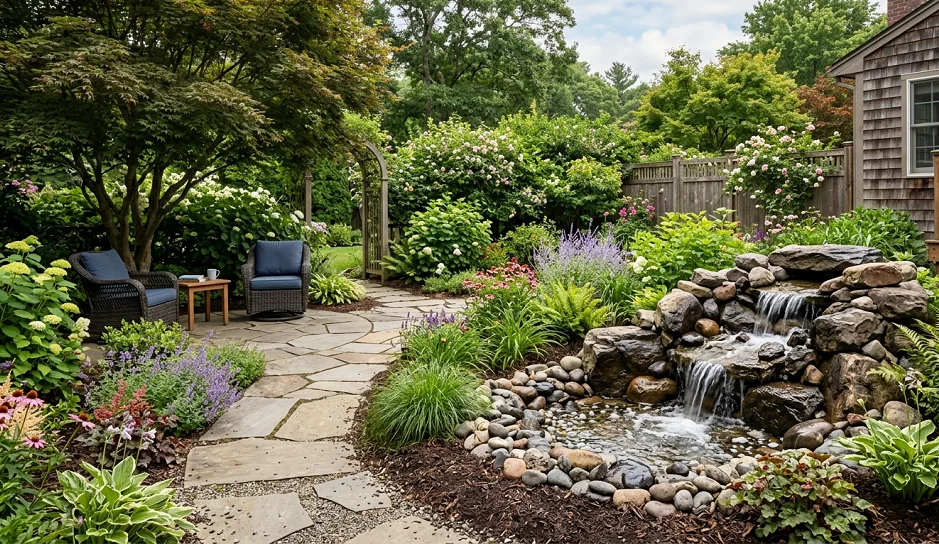
Figuring Out What Your Yard Can Actually Support
Before picking plants or hardscaping, it helps to answer three questions, because the answers rule out a surprising number of “ideas” before any money gets spent.
How much direct sun does the space get, and when? A yard that gets full morning sun and afternoon shade behaves very differently from one that’s the reverse. Roses and most flowering shrubs want at least six hours of direct sun; a lot of privacy hedging tolerates partial shade but grows more slowly there.
What’s the soil actually doing? Heavy clay drains slowly and stays wet longer after rain, which rules out plants that need sharp drainage and rules in plants that tolerate occasional soggy roots. Sandy soil drains fast and dries out quickly, so anything planted there needs more frequent watering, at least while it establishes. A simple way to check: dig a hole about a foot deep, fill it with water, and see how long it takes to drain. If water is still standing after several hours, drainage is poor.
What’s the maintenance budget, realistically? Not money — time. A yard that gets attention once a month needs different plant choices than one someone is out in every weekend. Ornamental grasses and many shrubs need only an annual cutback. Roses, by contrast, generally want more frequent attention: deadheading, watching for disease, and seasonal pruning.
With those three answered, the ideas below become a lot easier to filter.
Privacy Landscaping Ideas
Privacy is usually the most urgent request, because it’s the difference between a backyard that gets used and one that doesn’t.
1. Layer plants of different heights instead of relying on one hedge
A single row of identical shrubs creates privacy at one height only. If a second-story window overlooks the yard, or if the sightline comes from a slightly different angle than expected, one flat hedge won’t fully block it. Layering — tall trees or large shrubs at the back, medium shrubs in front of them, and low plants at the front edge — closes gaps at multiple heights and looks more intentional than a wall of green.
2. Choose evergreen for year-round screening, but don’t rule out deciduous
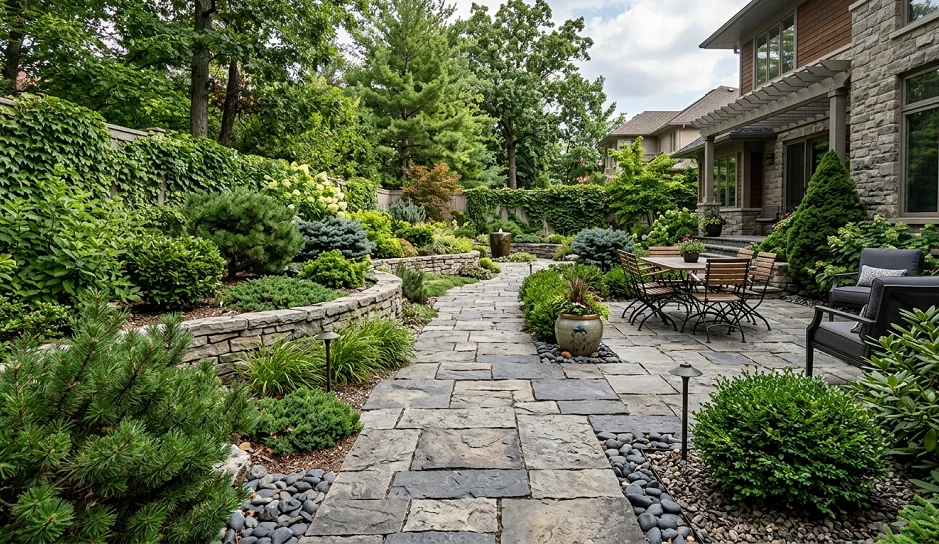
Evergreens like arborvitae, holly, or boxwood hold their leaves through winter, which matters if privacy is needed in every season. But deciduous shrubs and small trees often grow faster, cost less, and can be mixed with evergreens so the screen isn’t a monoculture — a real advantage, since a single-species hedge is more vulnerable to being wiped out by one pest or disease outbreak. A mixed screen loses some density in winter but keeps most of its function.
3. Use a pergola or arbor with climbing vines for overhead and side privacy
Fences and hedges handle horizontal sightlines, but they do nothing for a deck or patio that’s overlooked from an upstairs window nearby. A pergola planted with a vigorous vine — clematis, climbing hydrangea, or a hardy grape depending on climate — adds overhead coverage that a hedge can’t. It takes a season or two for the vine to fill in, so this is a plant-now, benefit-later option rather than an instant fix.
4. Plant fast but not the fastest
There’s a strong temptation to reach for the fastest-growing screening plant available — certain arborvitae cultivars or Leyland cypress are common examples. These do fill in quickly, but fast growth usually comes with trade-offs: some are prone to snapping in heavy snow or wind because the wood is soft, and many need more frequent trimming to stay in bounds once mature. A moderate grower that takes an extra year to establish often ends up being less work over a ten-year span.
5. Use ornamental grasses for seasonal, lower-commitment screening
Tall ornamental grasses like miscanthus or switchgrass can reach five to seven feet and create a soft, moving privacy screen during the growing season. They die back in winter, so they don’t help with cold-weather privacy, but they’re inexpensive, don’t require pruning tools, and get cut back once a year. This works well for people who want a partial-year privacy boost — around a patio used mostly spring through fall — without committing to permanent shrubs.
Fence-Line Landscaping Ideas
A bare fence, especially a plain wood or vinyl one, tends to dominate a yard visually because it’s a long, uninterrupted straight line. Softening that line does more for how a yard feels than almost any other single change.
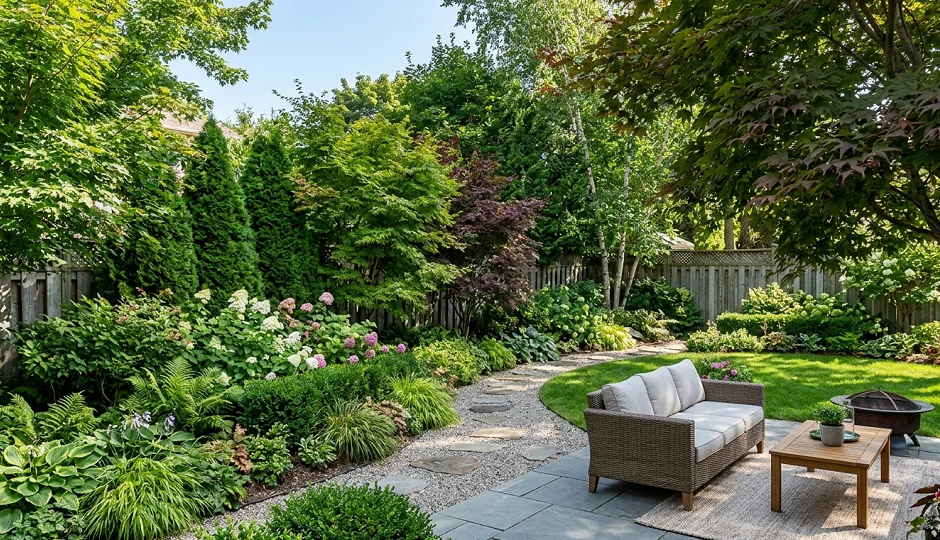
6. Build a mixed border instead of a single row along the fence
Planting one type of shrub in a straight line along a fence just recreates the fence’s rigidity in plant form. A mixed border — a few taller shrubs, some mid-height perennials, and low plants or groundcover at the front — breaks up the straight line and gives the eye more to look at. It also spreads bloom time across the season instead of one plant flowering all at once and then going quiet.
7. Let climbing plants soften vertical fence panels
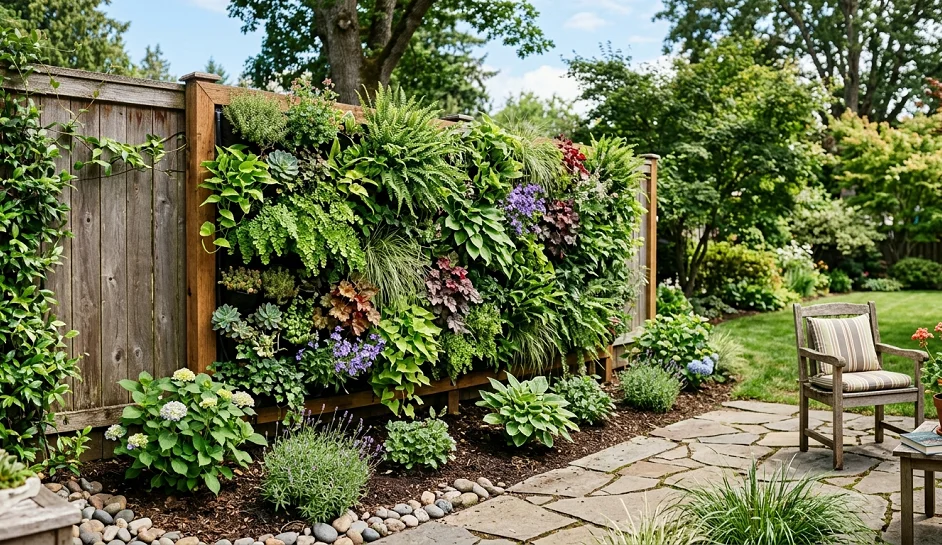
Climbing hydrangea, clematis, or trumpet vine (which spreads aggressively and needs to be kept in check) can grow directly on a fence with the right support — lattice, wire, or hooks, depending on the fence material. This is especially useful on chain-link, where the fence itself offers no privacy or visual interest on its own. Check whether the fence is shared with a neighbor before attaching anything permanently to it.
8. Use raised beds along the fence line to solve poor soil near the base
Soil directly against a fence is often compacted from construction or thin from being backfilled during installation. A raised bed solves this without amending the native soil, and it also keeps mowers and trimmers away from the fence posts, which reduces accidental damage over time.
9. Add low lighting to define the fence line at night
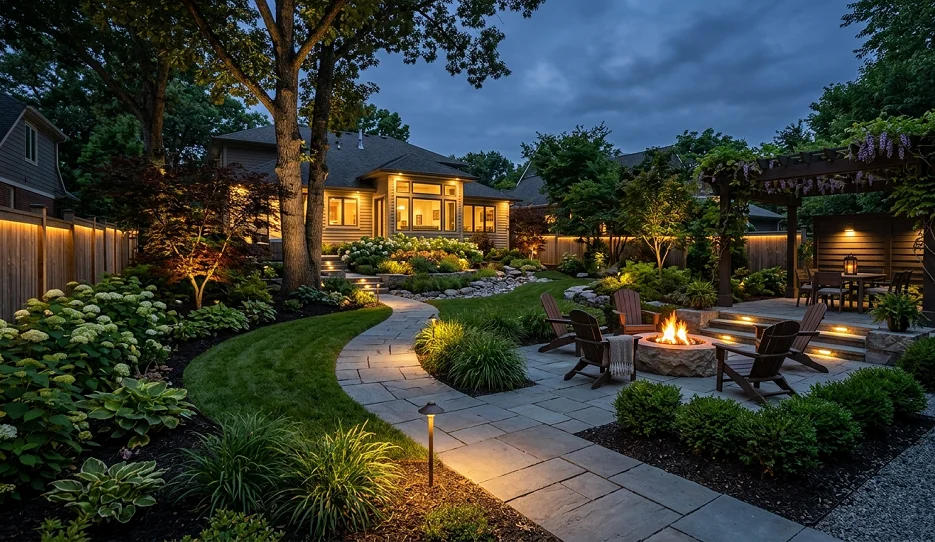
Solar path lights or low-voltage fixtures placed along a border bed do two things: they make the space usable after dark, and they visually separate the planted area from the lawn even in daylight, since the fixtures create a subtle line. This is a low-cost addition compared to most other fence-line projects and doesn’t require professional installation for solar options.
10. Match plant scale to fence height
A six-foot privacy fence next to three-foot shrubs still reads as “fence” because the fence is the dominant vertical element. Plants that reach at least half the fence height in the back row of a border start to compete visually with the fence itself, which is usually the effect people are going for when they say a yard feels “closed in” versus “walled in.” The first feels intentional; the second feels like a boundary.
Patio Landscaping Ideas
A patio surrounded by nothing but lawn tends to feel exposed and a little unfinished, regardless of how nice the pavers or concrete are.
11. Frame the edges with low plantings rather than leaving hard transitions
A patio that ends abruptly at grass creates a hard visual line. Low plantings — groundcover, dwarf shrubs, or a narrow perennial border — along the patio’s edge soften that transition and make the hardscaping look designed rather than dropped in. This doesn’t need to be wide; even twelve to eighteen inches of planting along one or two sides makes a noticeable difference.
12. Use containers where in-ground planting isn’t practical
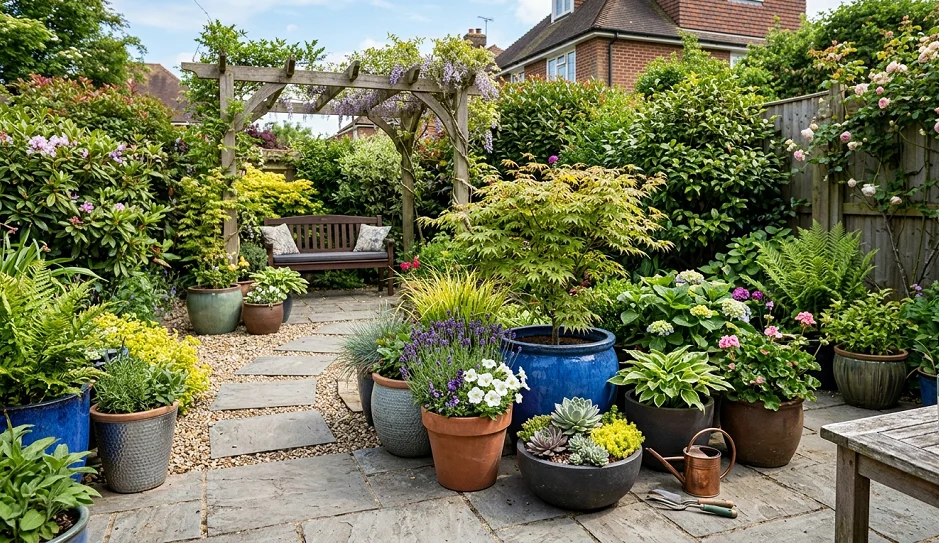
Patios built on a slab, over a septic field, or in a rental where digging isn’t an option still benefit from greenery through containers. Larger pots (at least 14–16 inches across) hold moisture longer and need less frequent watering than small ones, which matters for anyone not watering daily. Grouping containers in odd numbers of varying heights generally reads better than a single row of matching pots.
13. Plan for shade before choosing a fire pit or seating layout
A fire pit placed where afternoon sun hits directly will go unused during the hottest months, no matter how nice it looks. If there’s no natural shade nearby, a large shade tree planted a few years ahead of time, an umbrella, or a shade sail solves this. This is one of the more common patio planning mistakes — designing the layout around how the space looks rather than when it will actually be comfortable to sit in.
14. Use a defined pathway instead of letting the lawn double as the walkway
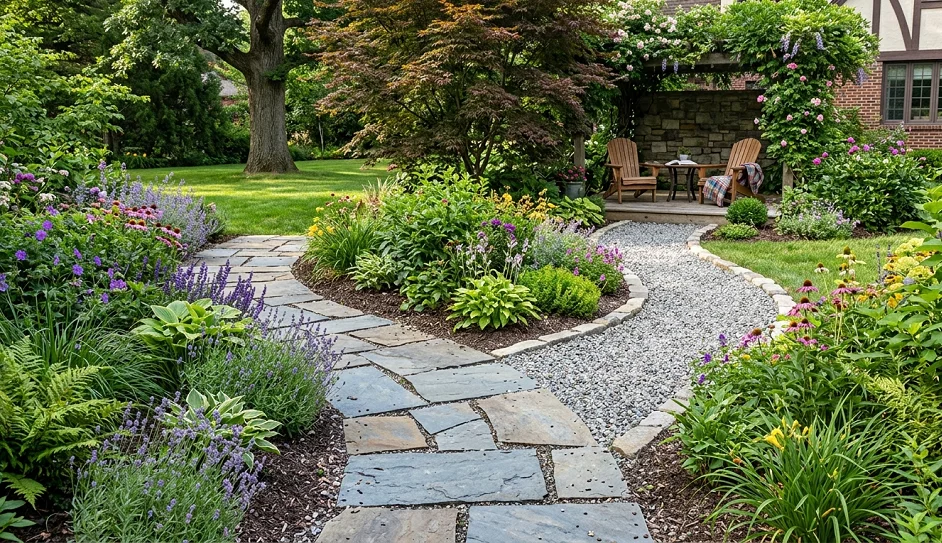
If the patio connects to a garage, side gate, or garden shed, a defined path — gravel, stepping stones, or pavers — keeps foot traffic off the lawn and prevents the worn dirt track that shows up after a season of people cutting the same corner. It also reduces mud getting tracked onto the patio itself after rain.
15. Choose plants near the patio that don’t drop debris constantly
Certain trees and shrubs — many maples, some fruiting varieties, and anything with heavy seed pods — shed a lot near a seating area, which means more sweeping and more mess on furniture and cushions. For plants placed within a few feet of a patio, it’s worth checking whether the species is known for heavy leaf, seed, or sap drop before planting, rather than after.
Rose Landscaping Ideas
Roses get requested often and placed poorly just as often, usually because people default to a single rose bed rather than thinking about where roses actually perform well.
16. Match the rose type to the role it needs to play
Not all roses grow the same way, and using the wrong type for the intended purpose is one of the most common mistakes. Climbing roses need a structure — trellis, arbor, or fence — and work well for adding height along a fence line or framing an entryway. Shrub roses, including many modern disease-resistant varieties, work as a standalone hedge or mixed into a border. Hybrid tea roses produce the classic long-stemmed bloom people picture, but they tend to need more attention and are less suited to informal, low-maintenance beds.
17. Give roses six or more hours of direct sun
Roses planted in partial shade tend to produce fewer blooms and are more prone to fungal issues like black spot and powdery mildew, because leaves that don’t dry out quickly after rain or dew stay damp longer. If the only available spot gets four hours of sun or less, it’s worth choosing a different plant rather than forcing roses into a spot that will need constant disease management.
18. Space roses for airflow, not just for looks
Planting roses close together for a fuller look in year one often backfires by year two or three, once the plants mature and airflow between them drops. Poor air circulation keeps foliage damp longer and increases the likelihood of fungal disease. Most shrub and hybrid tea roses need at least two to three feet between plants, and climbers need more room at the base even though they grow vertically.
19. Use companion planting to manage pests without over-relying on chemicals
Alliums (including ornamental onion and garlic) and lavender are commonly planted near roses because their scent is thought to help deter some pests, though results vary and this isn’t a guaranteed substitute for monitoring plants directly. Catmint and salvia planted at the base of rose bushes also hide the sometimes bare lower stems of hybrid teas while adding a different bloom color and texture. If aphids or Japanese beetles do appear, hand removal or insecticidal soap are lower-risk first steps before reaching for a broader-spectrum pesticide, and any product should be used according to its label instructions.
Ideas for Trickier Yards
Not every yard is a flat rectangle with good drainage and full sun. These situations come up often enough to deserve their own approach.
20. Sloped yards: work with the grade using terracing or retaining walls
A slope that’s too steep to mow comfortably or that erodes after heavy rain is a common reason people give up on landscaping a section of yard entirely. Terracing — building a series of flat sections held by low retaining walls — turns unusable slope into plantable, walkable space. For anything beyond a gentle grade, or where the retaining wall would need to be more than a couple of feet tall, checking local building codes or consulting a landscaping professional is worth doing before starting, since a failed retaining wall can be both expensive and, depending on placement, a safety hazard.
21. Sloped yards without a full terracing budget: plant to hold the soil
Where terracing isn’t in the budget, deep-rooted groundcovers and ornamental grasses planted directly into the slope can reduce erosion without any structural work. This won’t stop erosion on a steep grade entirely, but it slows water runoff and gives roots time to establish and stabilize the soil.
22. Shady backyards: pick plants suited to low light instead of fighting for more sun
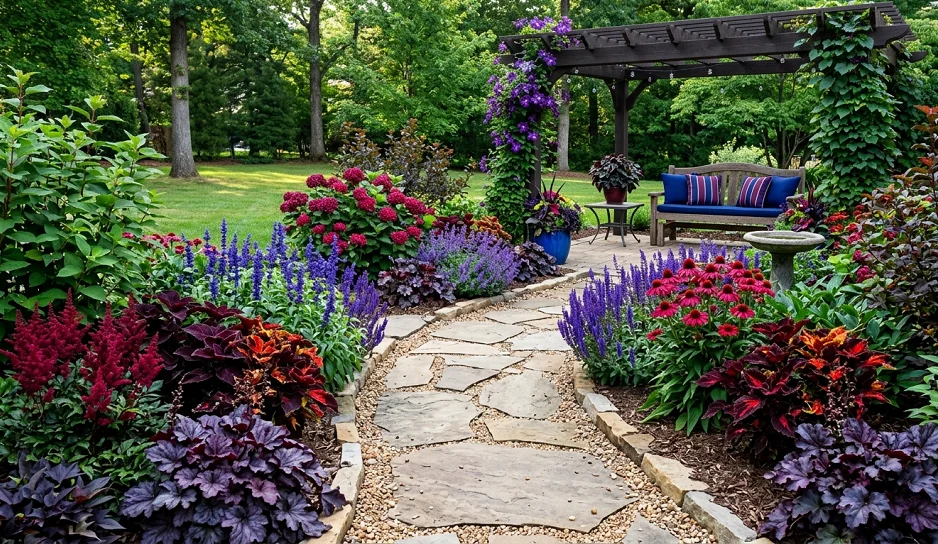
Removing a healthy mature tree just to get more sun for lawn or flowering plants is a drastic step, and one that’s often unnecessary. Hostas, ferns, astilbe, and many native woodland plants are bred or naturally adapted for shade and will outperform sun-loving plants forced into a shaded bed. Turf grass, by contrast, generally struggles in deep shade regardless of the seed blend used, so a shaded lawn area is often a better candidate for groundcover or mulched planting beds than for grass.
23. Small backyards: use vertical space and repetition instead of variety
A small yard packed with many different plant types tends to look cluttered rather than full. Repeating two or three plant varieties throughout the space, and using vertical elements — trellises, tall planters, wall-mounted planting — makes better use of limited square footage and reads as more intentional than a wide mix of one-of-each plants.
24. Low-maintenance yards: prioritize structure over flowers
Where time for upkeep is limited, hardscaping (gravel paths, defined beds, mulch) and structural plants (shrubs, ornamental grasses) hold their appearance with far less regular attention than a bed heavy in annuals or roses. This doesn’t mean no flowering plants at all — it means treating them as an accent rather than the backbone of the design.
Common Mistakes That Undo an Otherwise Good Plan
A few mistakes come up across nearly every yard type above, regardless of which specific ideas get used.
Planting too close to mature size. Small shrubs and trees look sparse at planting time, which leads to overcrowding once they reach full size. Checking a plant’s mature spread — not just its size at the nursery — before deciding on spacing avoids a lot of future pruning and removal.
Ignoring mature height near utility lines or the house. Trees and large shrubs planted without accounting for their eventual height can end up interfering with power lines, gutters, or windows. This is worth checking before planting anything expected to exceed ten or fifteen feet.
Skipping soil prep because the plant is “supposed to be tough.” Even drought-tolerant or low-maintenance plants generally establish faster and more reliably with proper soil preparation at planting time — loosening compacted soil and amending heavy clay or fast-draining sand as needed. Skipping this step doesn’t usually kill a tough plant, but it often slows establishment by a full season or more.
Choosing everything based on bloom photos rather than foliage and structure. Most plants aren’t in bloom most of the year. A yard designed entirely around flowering photos can look unfinished for the majority of the growing season. Foliage color, shape, and texture do more of the visual work most of the time than flowers do.
Frequently Asked Questions
How much of a backyard should be planting beds versus lawn? There’s no fixed ratio that fits every yard — it depends on how the space is used. A yard used mainly for lawn games or pets needs more open turf; a yard used for sitting, entertaining, or growing things can shift more space to beds and hardscaping. A useful starting question is how much of the lawn actually gets walked or played on regularly, since that portion is the part worth keeping as grass.
Do privacy plants need to go right along the property line? Not necessarily. Planting privacy screening a few feet inside the property line, rather than directly on it, leaves room for the plants to mature to full width without encroaching on a neighbor’s side, and makes future maintenance — trimming, mulching, disease treatment — easier to access from one side.
Can roses and privacy hedging be combined in the same bed? They can, but roses generally want more sun and airflow than they’ll get squeezed into a dense hedge line. A more workable combination is roses in their own sunny bed with hedging or screening plants placed elsewhere, rather than mixing the two directly.
Where to Start
Trying to tackle privacy, the fence line, the patio, and a rose bed all in the same season usually means every project gets rushed. Picking the single most pressing problem — the sightline into the yard that bothers people most, or the patio nobody sits on because it’s too exposed — and solving that one first tends to produce a better result than spreading a season’s budget and effort across four projects at once. The rest of the yard isn’t going anywhere.

About Syprose Kiche
Syprose Kiche is the creator and writer behind My Besuited Home, a practical home and garden website covering DIY projects, gardening, lawn care, landscaping, home improvement, and outdoor living. She focuses on turning everyday homeowner questions into clear, practical guides backed by careful research and useful real-world considerations.