

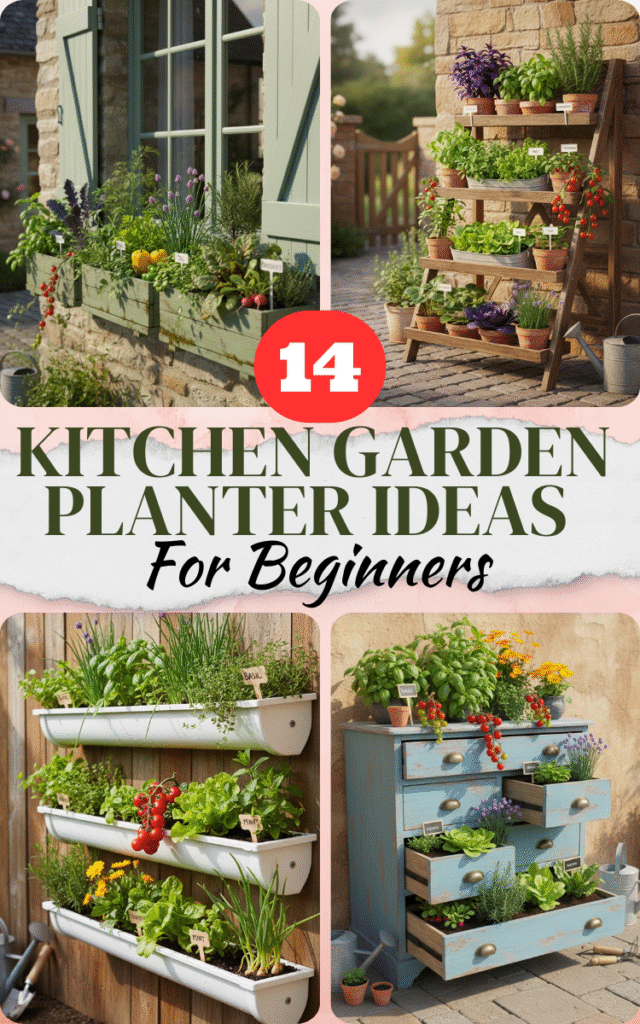
There is nothing in the world that smells better than a handful of fresh basil or a tomato still warm from the sun, and if you’ve been dreaming of that experience, I’m here to tell you it is completely within your reach. Forget the sprawling acreage, the massive piles of compost, and the back-breaking weeding sessions. That vision of traditional gardening often stops people before they even start, but a truly productive food garden doesn’t need a backyard—it just needs a little creative thinking.
A kitchen garden, or a potager, is simply a functional, beautiful garden designed for daily harvesting. It’s the patch of land (or, in our case, the collection of containers) that feeds you what you need most often: fresh herbs, quick greens, and maybe a few cherry tomatoes. The 14 ideas below are built specifically for small spaces and busy lives. If you have a patio, a balcony, or even just a sunny windowsill, you have all the room you need to start growing. Let’s explore how to turn everyday containers into flourishing food sources.
Why Planters are a Beginner’s Best Friend
If you’re just starting out, containers offer immense advantages over planting directly in the ground. The control is unparalleled. You can move your basil indoors when a late frost threatens or shift your sun-loving tomatoes throughout the day to catch every ray. This portability drastically increases your chances of success.
Furthermore, planters virtually eliminate the most common gardening headache: weeds. Because you are using sterile potting mix, weeds simply aren’t introduced into your growing environment. This control also extends to the soil itself; you get to choose the perfect, light, and airy blend, ensuring your plants never have to fight through compacted dirt. Finally, if you do get an unwelcome visitor, like a pest or disease, it’s typically isolated to one pot, making management far simpler.
The 14 Kitchen Garden Planter Ideas
Category A: Simple & Classic Containers
1. Classic Terracotta Pots
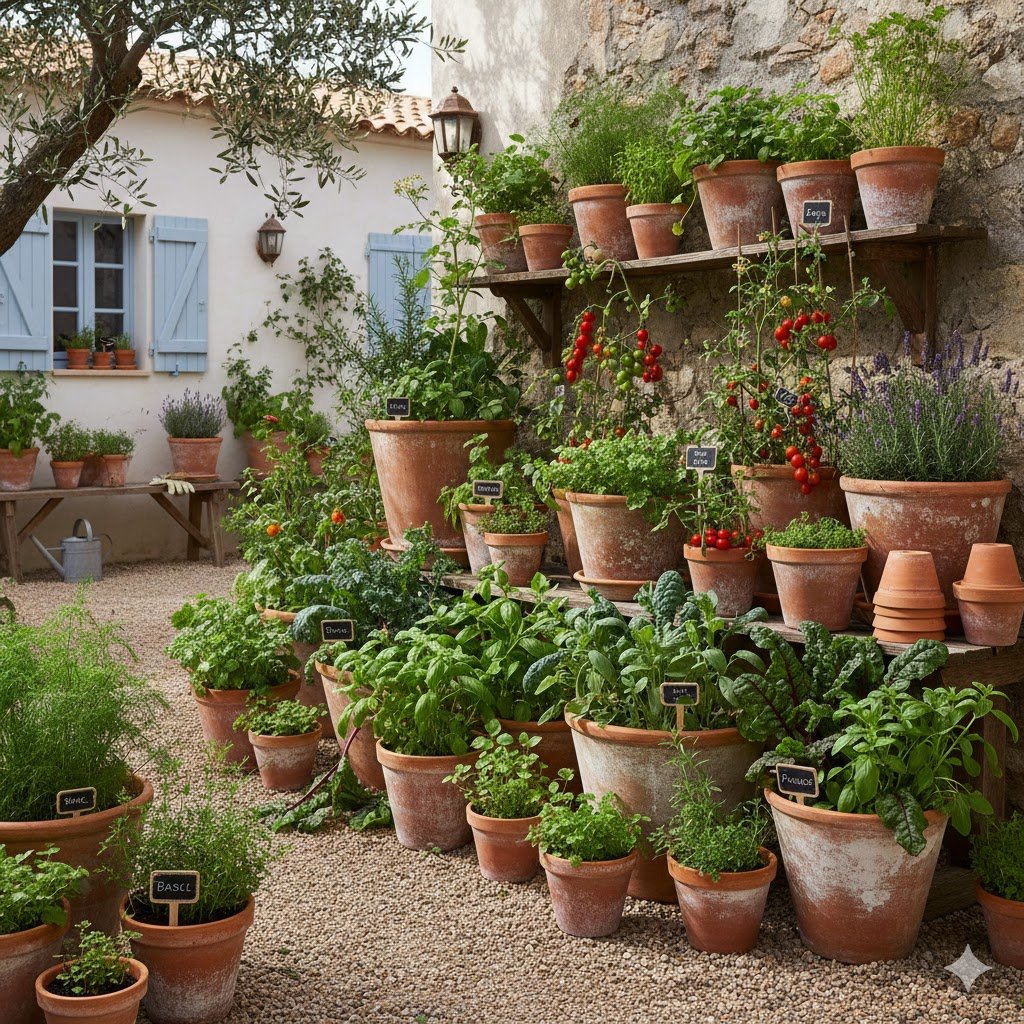
Terracotta pots are the ultimate beginner standard, and I love them for their straightforward simplicity and their timeless, earthy look. They come in every size imaginable, are inexpensive, and their porous clay walls provide great aeration, which means healthier, less-waterlogged roots for your plants. It’s hard to beat the clean lines of a set of terracotta pots lined up on a sunny step.
Because they are so versatile, terracotta is best used for woody, Mediterranean herbs like rosemary, sage, and lavender. These plants love well-drained soil, and the clay naturally helps the soil dry out a little faster than plastic does, which prevents the roots from sitting in excess moisture—a common killer of herbs. When picking your pots, remember that large herbs like rosemary will need a pot that is at least 8 to 10 inches wide.
My crucial tip for using terracotta is always to soak them in water for a couple of hours before you fill them with soil. The clay is extremely absorbent, and if you skip this step, the dry clay will immediately wick all the precious moisture out of your potting mix the moment you water your newly planted herbs. Soaking them first allows the pot to get its fill of water, leaving the moisture where the roots need it most.
2. Repurposed Food Cans & Tins
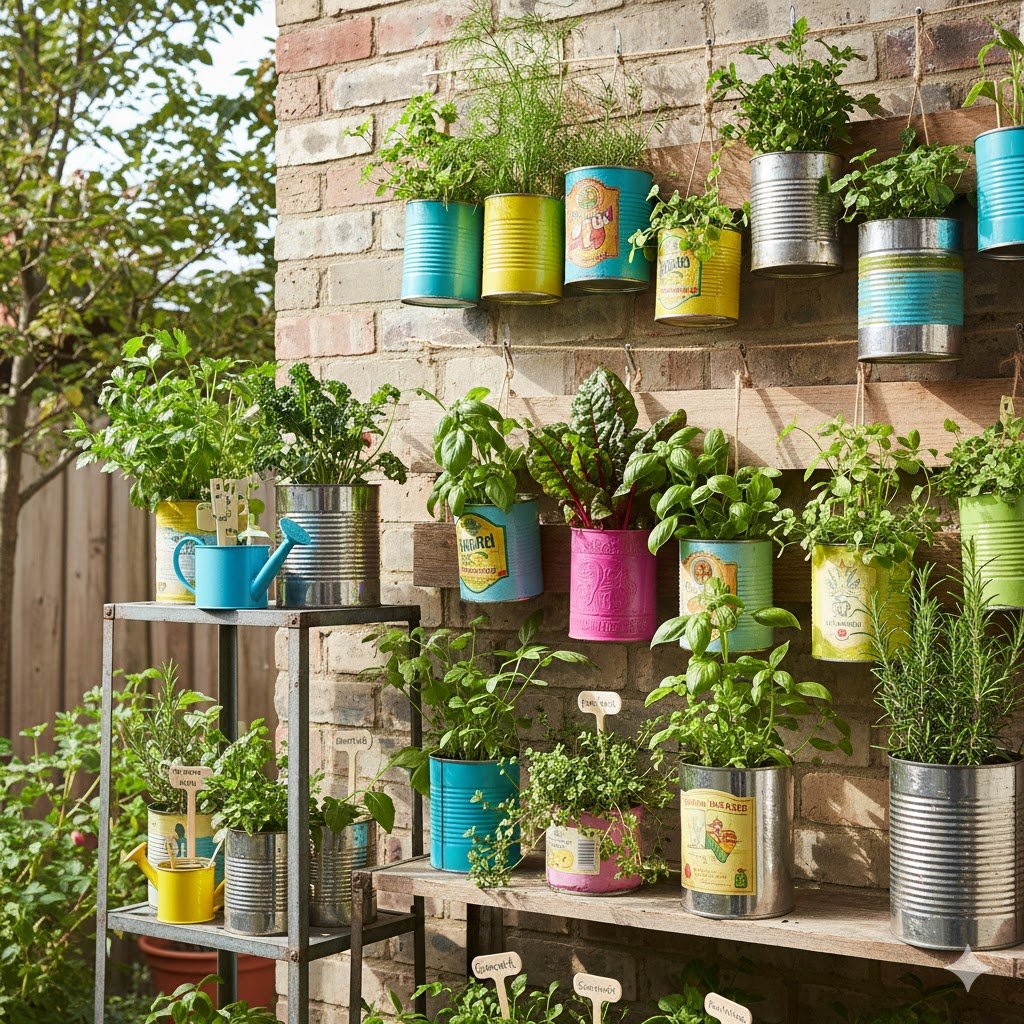
If you’re looking for the cheapest, most accessible entry point into gardening, start saving your soup cans, large bean tins, or coffee containers. This is a wonderful way to upcycle items that would otherwise end up in the recycling bin, and the uniform size of the cans makes them look surprisingly cohesive when lined up on a windowsill. They’re perfect for tiny, forgotten corners of the kitchen.
Due to their small volume, these tins are best used for microgreens, sprouts, or single, small cuttings of herbs like thyme or basil. They work exceptionally well for regrowing common items, too, such as the white ends of green onions or starting a new ginger root. You can keep several of these tins right on your countertop for quick, snipped harvests as you cook.
The main safety and functional hurdle here is drainage. You absolutely must drill or punch several small drainage holes in the bottom of every tin. Metal cans are easy to pierce with a hammer and a nail or a drill bit, but make sure to wear gloves and sand down any sharp edges that result. Standing water is lethal to plant roots, and because these cans are so narrow, water can accumulate quickly.
3. Simple Window Boxes
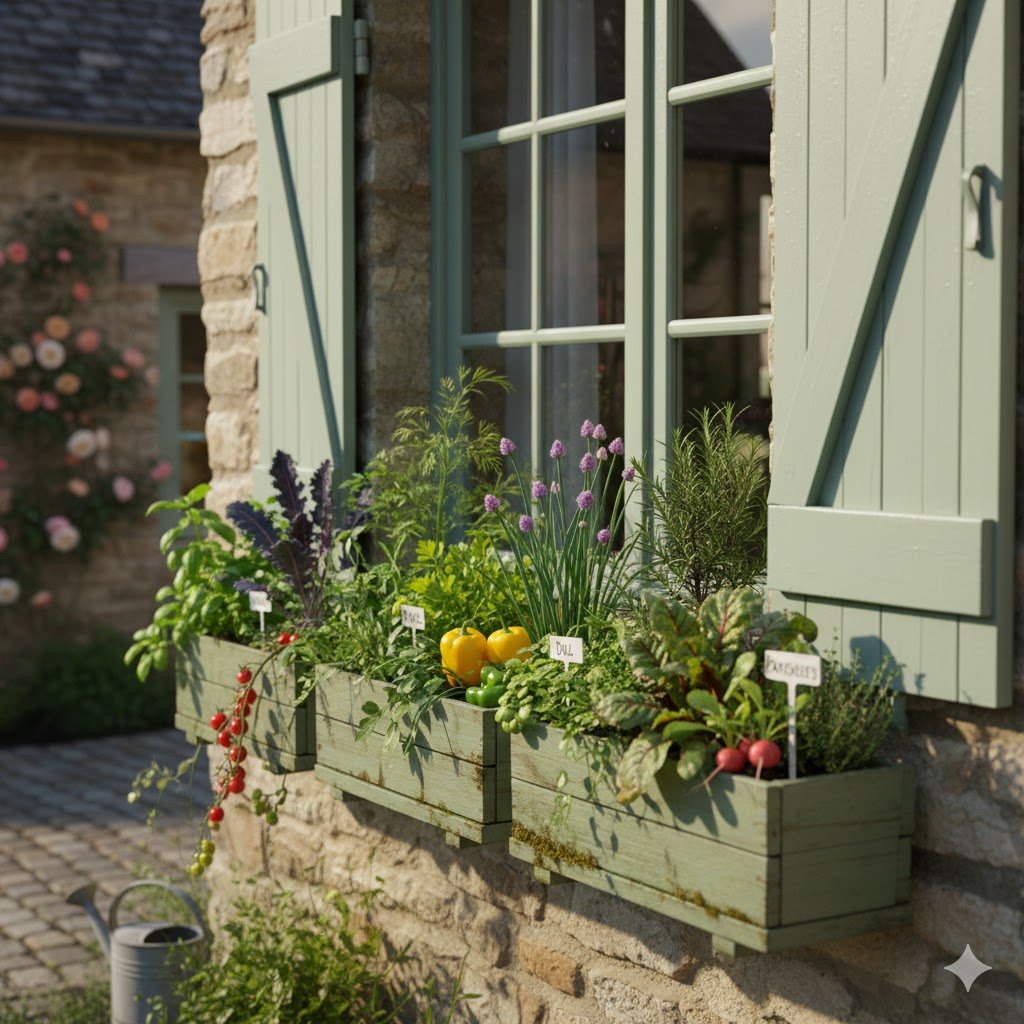
Window boxes are the classic space-saver, designed to utilize the narrow horizontal space of a window ledge or a porch railing. They are long and shallow, creating a continuous line of greenery that can make even a tiny urban balcony feel lush. Look for models that can be securely fastened with brackets to prevent them from becoming top-heavy.
These long, shallow containers are ideal for continuous, shallow-rooted crops like salad mixes, radishes, and leafy herbs such as parsley. You can practice successive planting here—sowing a small section of lettuce seed every two weeks—to ensure a steady, continual harvest of fresh greens rather than a single massive yield all at once. The wide, flat surface makes tending and harvesting quick and easy.
Because window boxes are often exposed to wind and direct, intense sunlight, they tend to dry out rapidly. My tip is to select a box that is at least 6-8 inches deep if possible, as this small extra volume of soil acts as a better moisture buffer. Be sure to check the soil moisture every day, especially during the hottest part of the summer.
4. Heavy-Duty Plastic Storage Totes
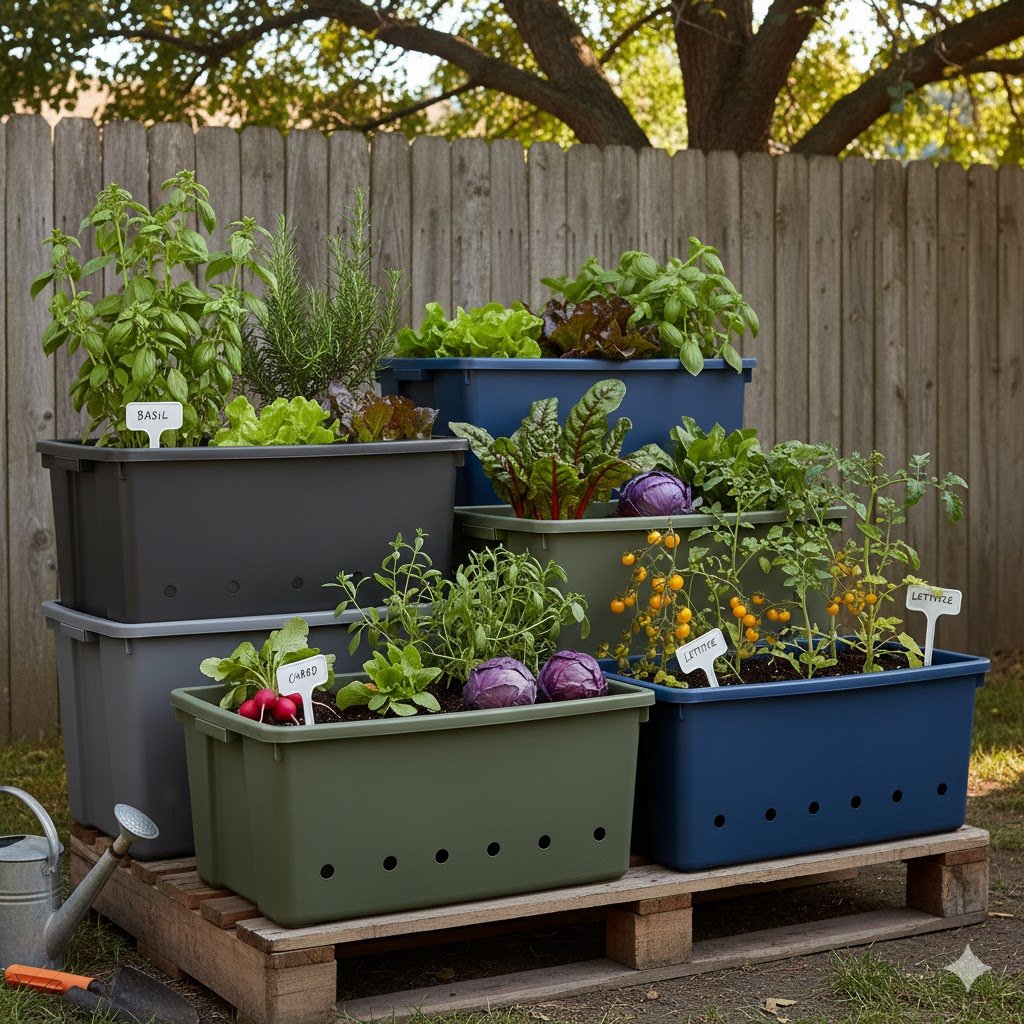
The humble, heavy-duty plastic storage tote—the kind you use for moving or closet storage—is one of the unsung heroes of container gardening. While not traditionally beautiful, they are incredibly cheap, lightweight (when empty), and offer the high volume required for larger, more productive plants. They allow you to scale up your gardening ambition without buying expensive ceramic pots.
This large, deep volume makes them the best container for ambitious edible plants that need room to grow, such as bush tomatoes, peppers, eggplant, or root vegetables that need deep soil (like carrots or turnips). I’ve successfully grown an entire zucchini plant in a single 18-gallon tote. They function essentially as mini raised beds, providing the stability and depth these heavy feeders require.
For such a large volume of soil, drainage is even more critical than in small pots. Before filling, drill at least five half-inch holes in the very bottom of the tote. To further ensure proper drainage and prevent the holes from getting clogged with dirt, consider covering the holes with small squares of screen mesh or broken pieces of terracotta pot before adding your soil.
Category B: Space-Saving Vertical Solutions
5. Tiered Ladder Planters

If your space is vertically oriented (like a skinny porch or a small patio corner), a tiered ladder planter is the perfect marriage of form and function. These planters stand tall, usually consisting of three or four deep boxes set on an ascending frame, allowing you to maximize light exposure while creating a stunning visual display. They look intentional and neat, even when packed with plants.
The tiered structure is fantastic for creating microclimates. Place your most sun-loving herbs and small vegetables on the top level—things like oregano, basil, and thyme. Use the lower, slightly shaded steps for crops that prefer a little afternoon shelter, such as mint, parsley, or low-light greens. This system lets you grow a much wider variety of plants in a single, compact footprint.
My tip here is simple but crucial: Put the most sun-loving plants on the top step. Logically, you should also remember that watering the top tier will saturate the tiers below it. Therefore, start your watering routine at the top and work your way down, but be mindful that the top soil tends to dry out the quickest due to greater sun and wind exposure.
6. Hanging Baskets
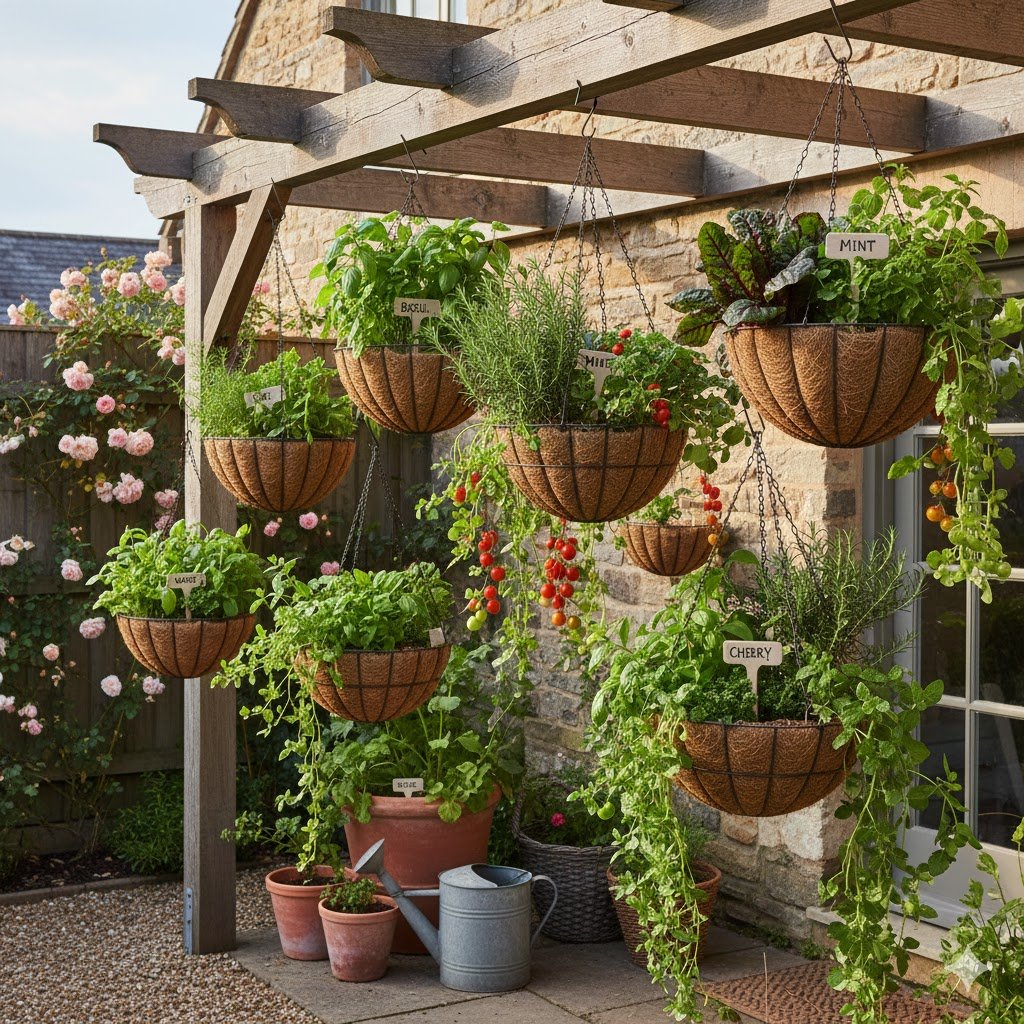
Hanging baskets are the ultimate way to utilize overhead space, adding a floating dimension to your garden. They draw the eye upward and are especially useful for keeping certain plants out of the reach of pets or ground-level pests. A few baskets suspended from a balcony overhang or a ceiling hook can instantly create a beautiful, lush canopy.
Hanging baskets are best used for trailing herbs like oregano and thyme, as well as vining small fruits like strawberries. Planting strawberries in baskets keeps the fruit off the soil, which helps prevent rot and keeps the berries cleaner. The cascading effect of the plants spilling over the edges is also highly decorative.
Hanging baskets have a major weakness: they dry out incredibly fast, especially on windy days. When it’s time to water, you should take the basket down completely. Soak it in a bucket of water for about 10 minutes until the air bubbles stop rising, then let it drain thoroughly before rehanging it. This ensures the entire root ball is properly saturated, rather than just the top inch of soil.
7. Pallet Wood Planters (DIY)
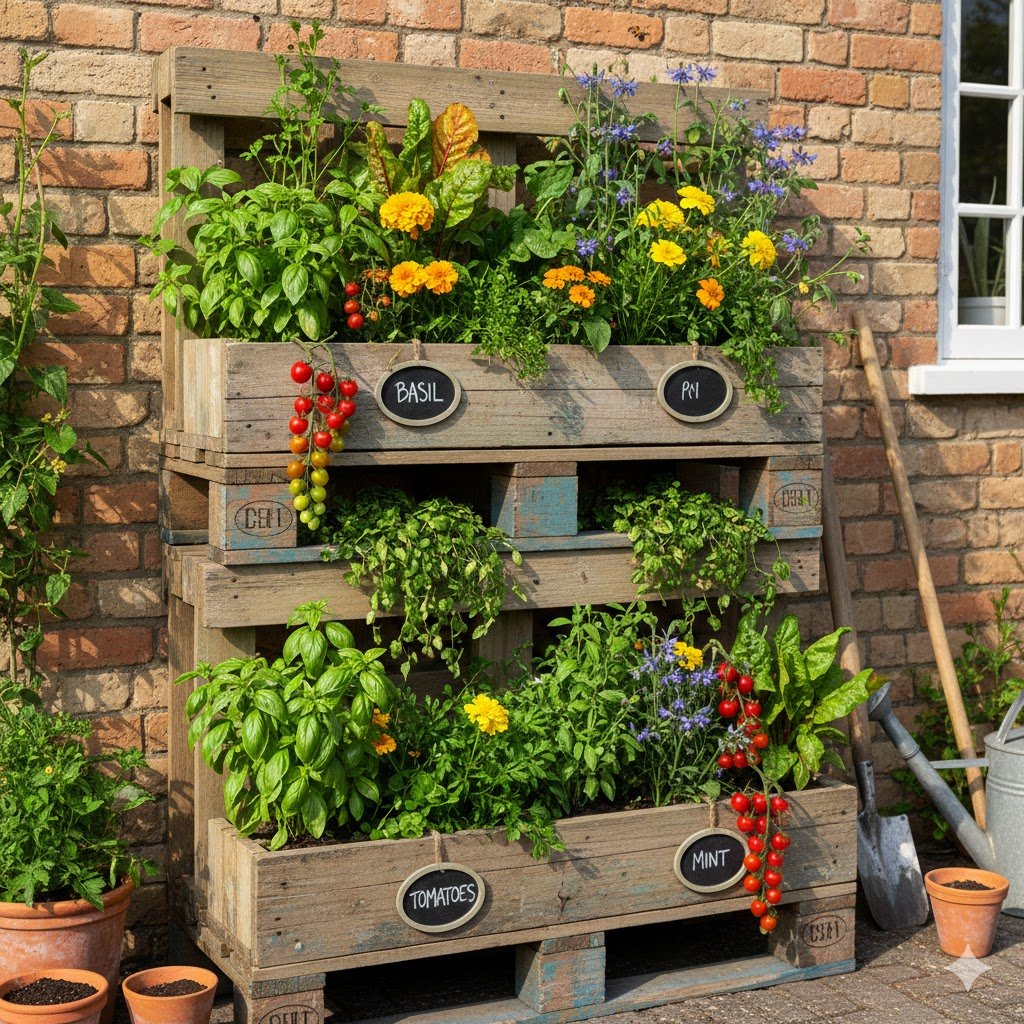
For those who enjoy a rustic aesthetic and a bit of weekend DIY, transforming discarded wooden shipping pallets into vertical V-shaped planters is rewarding and incredibly budget-friendly. Pallets can be deconstructed into beautiful, weathered wood that provides excellent, long-lasting growing boxes, often perfect for mounting against a fence or wall.
These planters create sturdy, elongated rows that mimic the feel of a traditional garden bed. They are wonderful for planting in blocks or rows, making them great for carrots, peas, pole beans (if supported), and long rows of leaf lettuce. Since they offer more surface area than round pots, you can fit a higher density of smaller crops.
The safety tip here is mandatory: Only use pallets marked “HT” (Heat Treated). Pallets marked “MB” (Methyl Bromide) have been treated with a toxic pesticide and should never be used for food crops, even if lined. You can usually find the stamp on the side or end blocks of the pallet. If you cannot find a stamp, it’s best to leave it alone.
8. Shoe Organizer Wall Garden
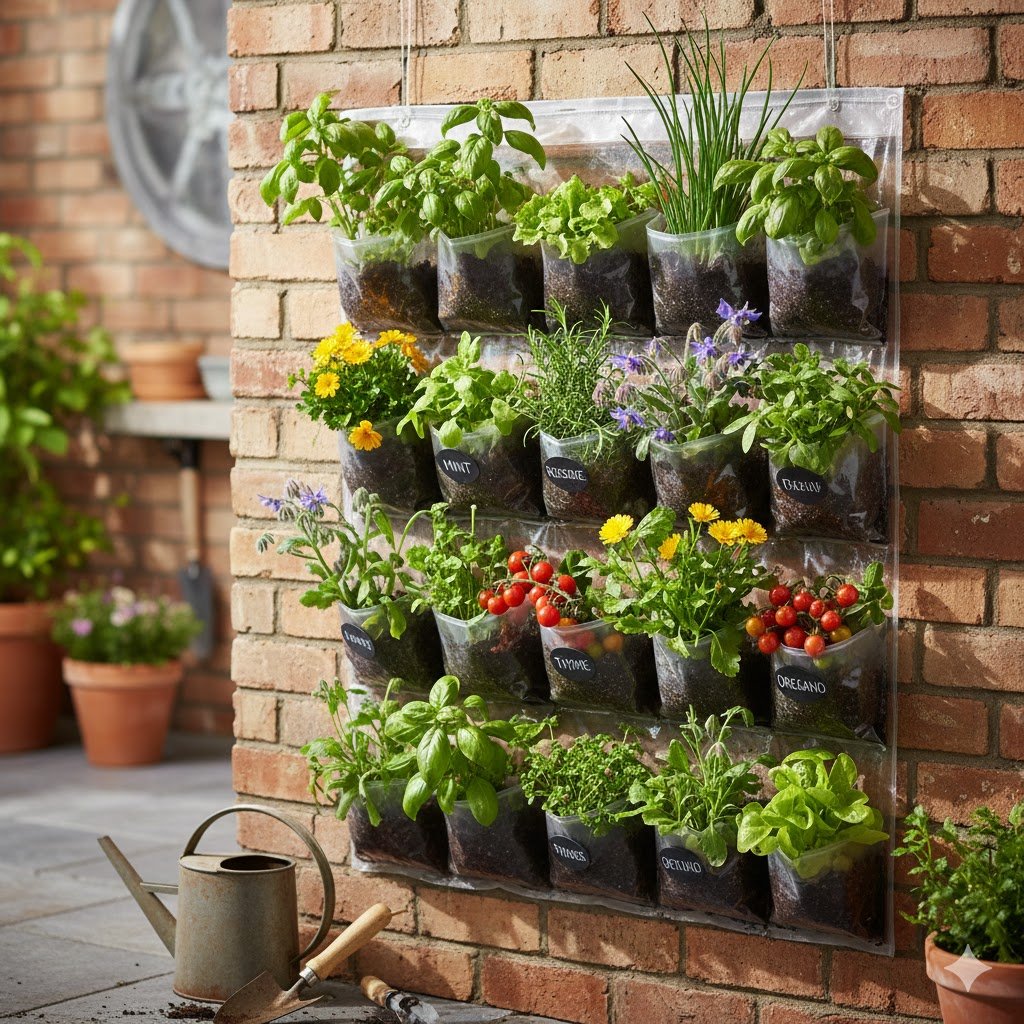
This is one of my favorite hack solutions for vertical gardening. A cheap, over-the-door fabric or plastic shoe organizer, hung on a sunny wall or railing, is instantly transformed into a pocket-sized garden. The pockets create small, individual, self-contained planting cells that keep your garden incredibly organized.
The small, clearly defined pockets are best used for individual herb plants or short-rooted leafy greens. Assign one pocket to a single basil plant, one for chives, one for mint, and so on. This prevents aggressive growers (I’m looking at you, mint!) from taking over, and it makes harvesting easy because everything is clearly sectioned.
Because each pocket holds a very small amount of soil, you must be diligent about watering. When watering, start at the very top row and let the water naturally trickle down through the pockets. This allows the bottom rows to wick up moisture, but it means you must ensure you apply enough water to the top to reach the plants at the bottom.
Category C: Low-Maintenance & Unique Ideas
9. Fabric Grow Bags
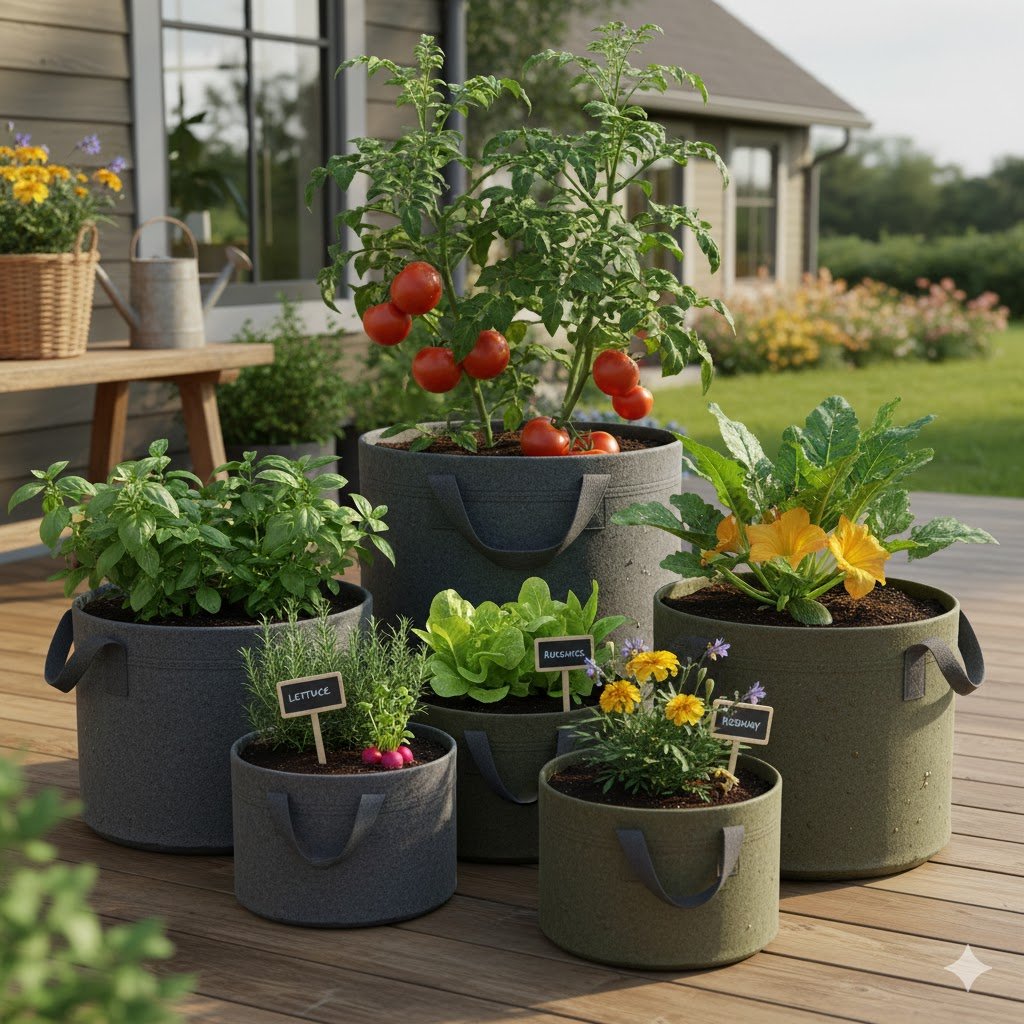
Fabric grow bags are an innovative solution that has gained immense popularity, and for good reason. They are made of thick, breathable felt-like material, which makes them light, portable, and extremely durable. Functionally, they are superior because they promote “air pruning”—when the roots hit the side of the fabric bag, they stop growing rather than spiraling, leading to a denser, healthier root ball.
These bags are fantastic for root crops like potatoes, carrots, or large basil plants that need consistent moisture and excellent drainage. For potatoes, you simply roll the sides of the bag down, plant the seed potatoes at the bottom, and then roll the sides up and add soil as the plants grow, making the process incredibly easy and the harvest even easier.
The porosity of the fabric is both a blessing and a curse. While it prevents accidental overwatering, it also means the bags require more frequent attention. Your main maintenance focus will be watering more often than plastic or ceramic containers. However, unlike rigid containers, you can visibly and tactically feel when the sides of the bag are dry, which takes the guesswork out of the finger test.
10. Self-Watering Containers (SWCs)

For the forgetful gardener, or anyone who takes weekend trips, the self-watering container (SWC) is a game-changer. These containers have a built-in reservoir at the bottom and a wicking system that pulls water up into the soil as needed. This simple mechanism reduces your watering chore from a daily event to a weekly one.
SWCs are perfect for thirsty, high-yield plants like cucumbers, zucchini, bell peppers, and tomatoes. These vegetables need consistent moisture to avoid problems like blossom end rot. The reservoir ensures they get exactly what they need, exactly when they need it, leading to healthier plants and more bountiful harvests.
While they are low-maintenance, they are not zero-maintenance. You should still give the soil a top-down watering every few weeks to flush out any mineral salts that have accumulated at the top of the container. Otherwise, simply keep an eye on the water level indicator, which typically tells you when the reservoir needs topping up.
11. Mason Jar Hydroponics (Windowsill)

This idea transforms basic kitchen supplies into a clean, modern, soil-free indoor garden. Mason jar hydroponics uses nothing more than water, a small net cup (or foil), and a little liquid plant food to grow cuttings right on your brightest windowsill. This is an incredibly satisfying and mess-free method for urban gardening enthusiasts.
This system is best used for regrowing kitchen scraps like green onion bottoms, propagating fresh cuttings of basil or mint, or starting small leafy greens like watercress. The clear glass allows you to watch the roots develop, which is a surprisingly delightful part of the gardening process. Just ensure the jar gets plenty of indirect or direct bright light.
Here’s the critical tip: The roots and water must be kept dark to prevent algae growth. If you are using clear mason jars, you must either paint the jar or wrap it in aluminum foil (which looks quite modern and metallic) to block all light from the reservoir. Algae will steal nutrients from your plant, so blocking the light is key to success.
12. Old Dresser Drawers
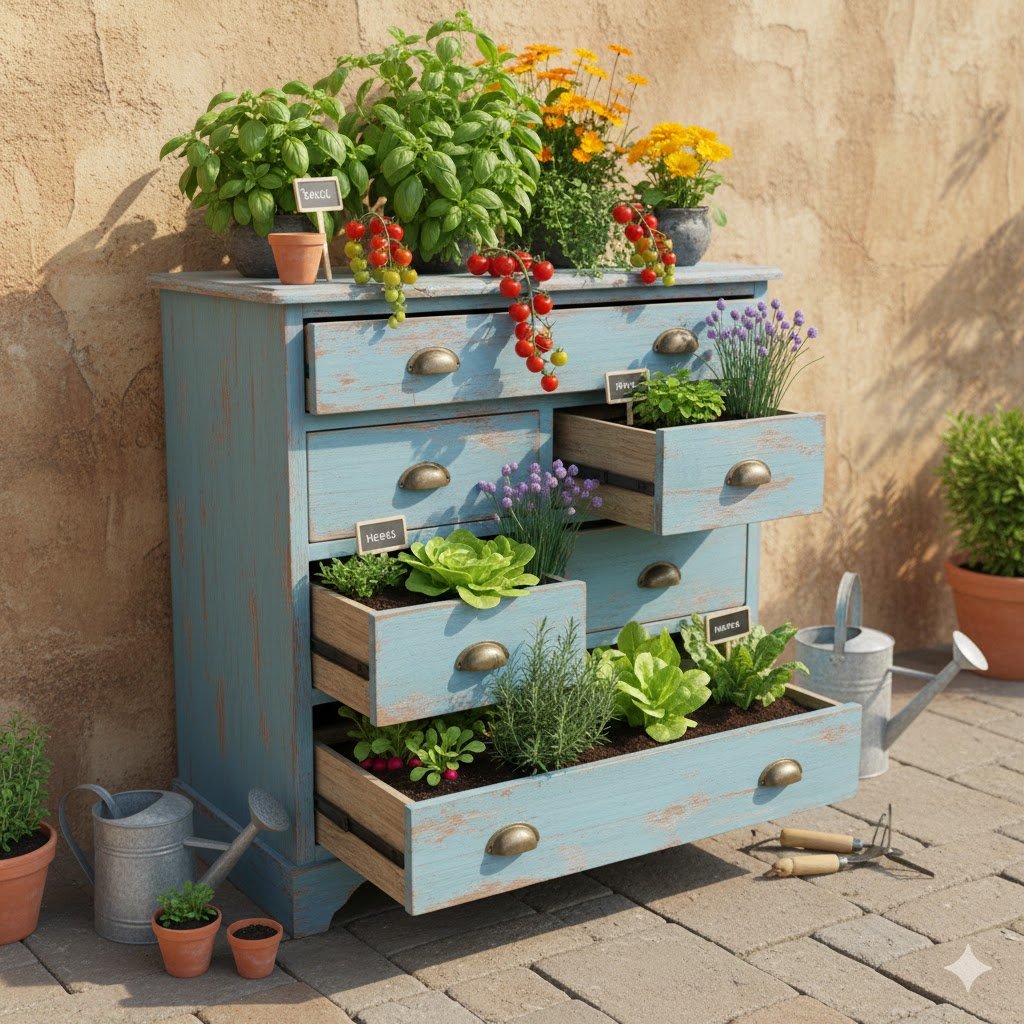
Salvaging and repurposing old wooden furniture like dresser drawers adds a touch of rustic charm and history to your outdoor space. When removed from the frame, a drawer provides a surprisingly deep and beautiful planting area. They instantly elevate your patio with a unique, vintage style that looks far more intentional than plastic containers.
Dresser drawers offer a lovely depth and width for creating miniature mixed garden beds—think a beautiful blend of pansies, kitchen herbs, and small peppers all growing together. The wood provides a strong, durable frame that is naturally attractive. Just make sure the drawer is placed on a level surface so that water does not pool in one corner.
Because wood naturally rots when exposed to constant moisture, you must line the interior of the drawer with thick plastic sheeting (like a heavy-duty trash bag or pond liner) before adding any soil. Make sure the plastic liner also has drainage holes poked into it, and then set the drawer on small blocks or feet to allow air circulation underneath. This prevents the wood from quickly deteriorating.
Category D: Mobile & Accessible Containers
13. Wagon or Wheelbarrow Planters
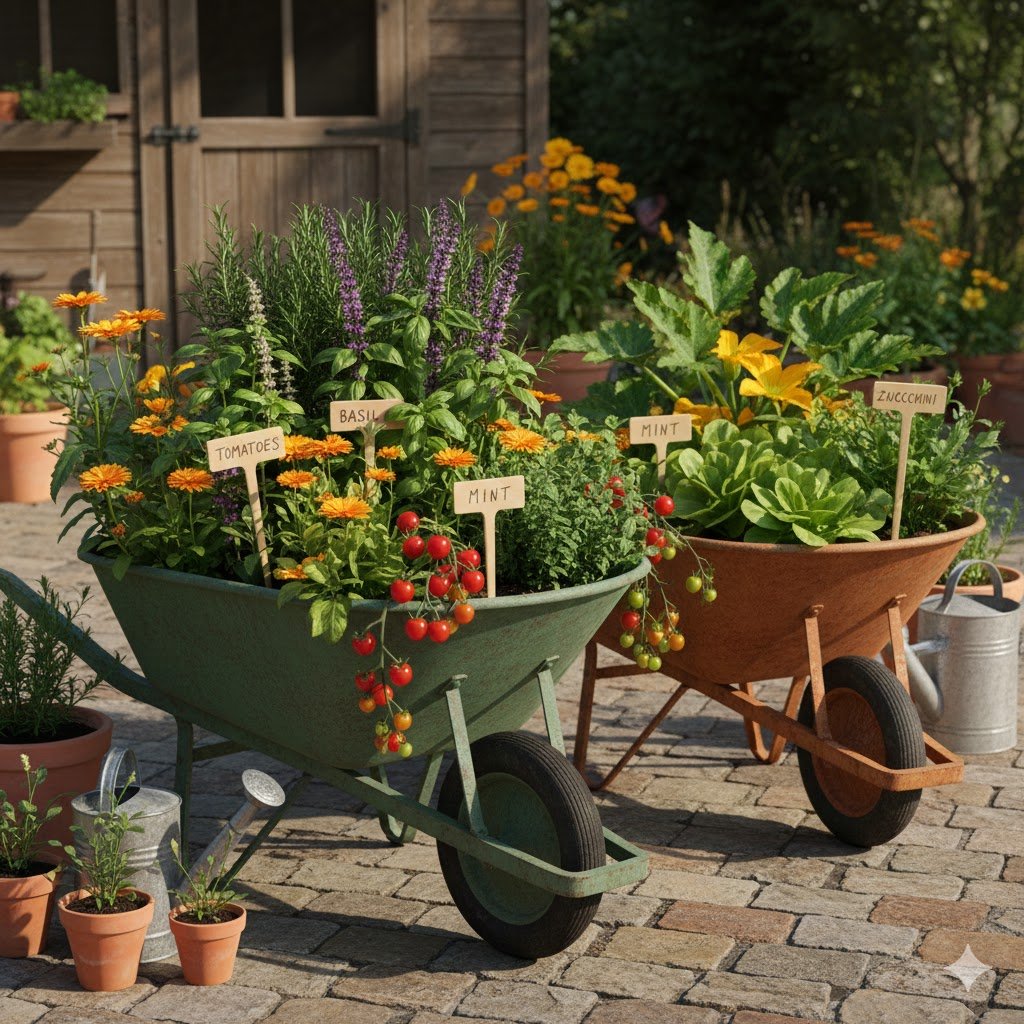
A retired steel wheelbarrow or an old wooden wagon can be transformed into a large, highly productive, and incredibly mobile garden bed. The beauty of this approach is that you can simply wheel the entire garden to a new location—to chase the afternoon sun, to shelter from a sudden hailstorm, or to move it indoors before the first frost.
The large volume offered by a wheelbarrow or wagon basin is fantastic for deep-rooted or ambitious plants. Use them for large clusters of carrots, a collection of peppers, or even a small dwarf citrus tree (if you live in a climate where you need to bring it indoors for the winter). They make large-scale container gardening far more accessible.
The most crucial tip for this idea is drainage. Since these items are designed to hold material, they rarely come with drainage holes. You must use a drill to put several half-inch holes into the lowest point of the metal basin to ensure that water never stands. Wet, soggy soil in such a large container will lead to root rot very quickly.
14. Gutter Planters
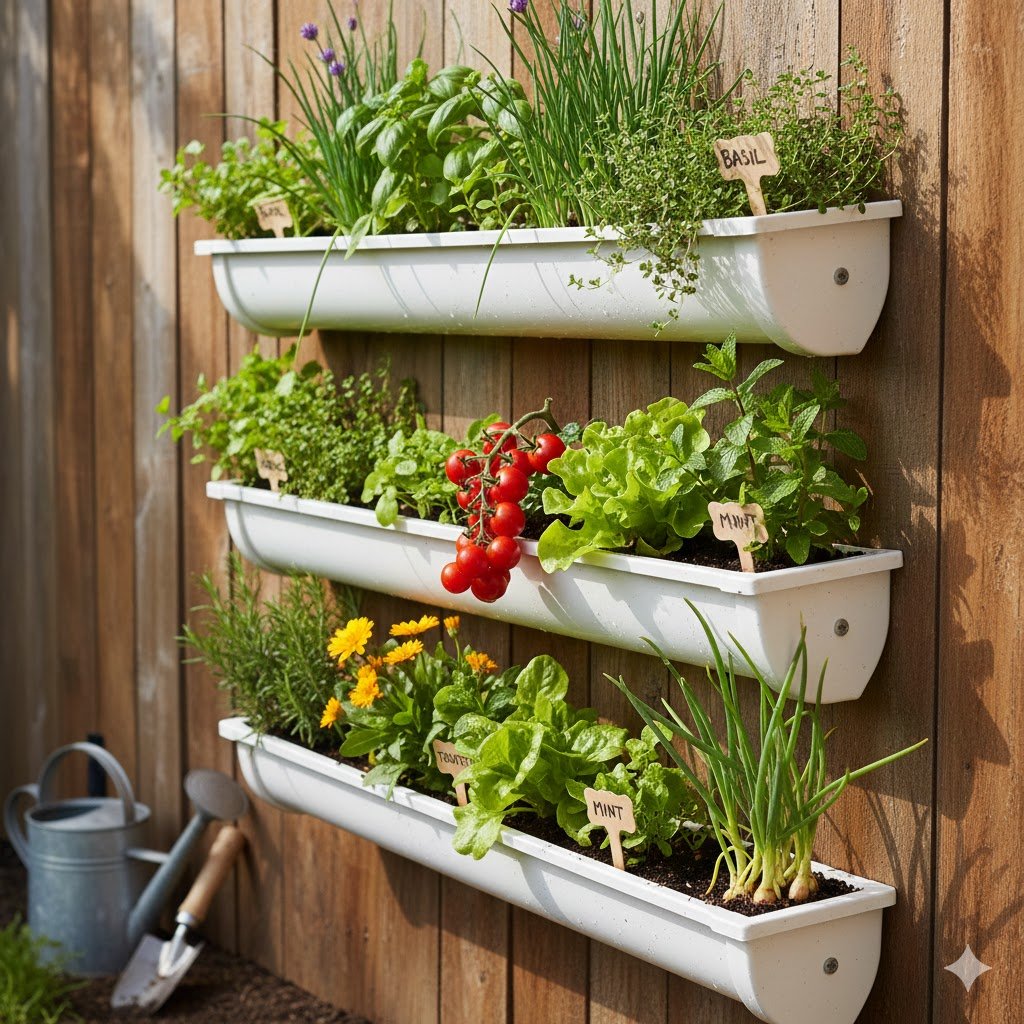
Gutter planters take the concept of a window box and shrink it down, using long strips of inexpensive vinyl or aluminum guttering mounted to a fence, wall, or even a balcony railing. They are incredibly discreet and perfect for maximizing narrow vertical space where a tiered planter might be too bulky.
Due to their extreme narrowness and minimal soil depth, gutter planters are best used for continual, quick harvests of microgreens, baby spinach, or extremely shallow-rooted crops like scallions. You can easily maintain a perpetual supply of salad greens by seeding a new 12-inch section of the gutter every week.
Because these planters hold very little soil, they are prone to drying out completely in a single sunny day. You must check the soil daily, especially in peak summer. I recommend installing a simple drip system line in them if you have a lot of gutter length, but if you’re watering by hand, be sure to use a gentle stream so you don’t wash the soil and seeds right out of the trough.
Quick Setup Guide for Planter Success
Now that you have your perfect container, there are four rules that separate a successful container garden from a disappointing one. These rules are simple, but absolutely critical for beginners.
- Drainage is King: I can’t stress this enough. If you buy a pot without holes, drill them. If you repurpose a container, drill them. Water needs to escape. Containers without drainage quickly become stagnant pools where roots suffocate and rot, guaranteeing a failed harvest. Ensure your planter is elevated slightly so water can actually escape the bottom.
- Choose the Right Soil: Do not, under any circumstances, scoop dirt from your yard into your container. Garden soil is too dense and compacts easily in pots, suffocating the roots. You need potting mix, which is light, airy, and designed to retain moisture while allowing excess water to drain quickly. I like to add a handful of compost or a slow-release fertilizer into the mix to feed the plants throughout the season.
- Watering: Containers dry out much faster than garden beds because they are exposed to air on all sides. As a beginner, master the “finger test.” Stick your index finger about 1 inch deep into the soil. If it feels dry, it’s time to water. If it feels moist, wait another day. It is far better to water deeply until it runs out the drainage holes than to water shallowly every day.
- Placement: Plants run on sunlight, and in a container garden, sunlight is your main variable. Before you plant, observe your space. Does it get 4 hours of morning sun or 8 hours of afternoon sun? Place your tomatoes and peppers where they get 6+ hours of sun, and place your herbs and greens where they get 4-6 hours. If the pot has wheels (like the wheelbarrow idea), you can optimize this throughout the season.
Conclusion & Next Steps
If you’ve made it this far, you’ve realized that the entry point to growing your own food is remarkably low. Whether you’re leaning toward the instant gratification of a shoe organizer on your balcony or the large-volume potential of a repurposed wheelbarrow, there is a perfect container solution for every type of beginner. The biggest secret to successful gardening is simply starting.
Don’t overthink the first attempt. Pick an idea that excites you—like that DIY terracotta pot or a simple fabric grow bag—and choose one thing to grow, like basil or salad greens. You’ll find immense satisfaction in grabbing a handful of fresh ingredients for dinner, knowing you grew them yourself. Which of these 14 ideas are you going to implement first?