

The end of the year brings that beautiful, frenetic energy we call Christmas, but if you have a kid in the house, you know the real challenge isn’t surviving the holiday party—it’s managing the wait. My little one starts asking, “Is it Christmas yet?” sometime around Labor Day, and I quickly realized that a simple, highly tactile countdown was the best way to maintain peace (and sanity) in our home.
That’s why I stopped buying those flimsy, sugary store-bought calendars and started making my own. When you create your own Advent calendar, you get complete control over what’s inside, ensuring every tiny item is age-appropriate, durable, and free of choking hazards. More importantly, the calendar itself becomes a personalized activity, tailored perfectly to your child’s interests and abilities.
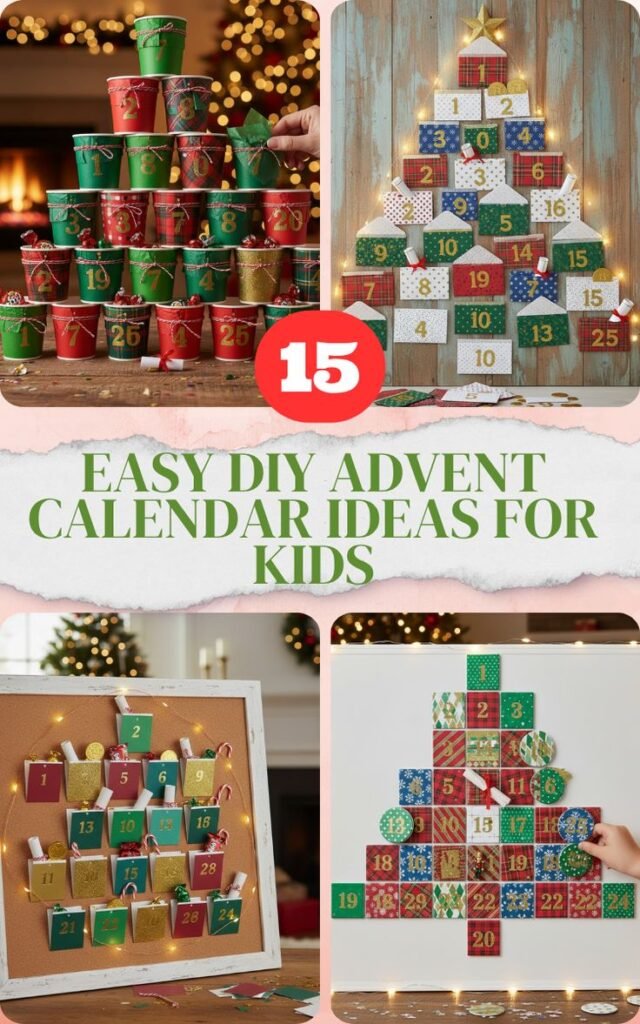
The best part? These calendars don’t require a craft degree or a full weekend of work. I’ve compiled 15 of my favorite, low-effort DIY concepts that use minimal supplies and can genuinely be put together in one afternoon. Ready to trade that expensive cardboard box for a memory-making tradition? Let’s explore the ideas, complete with filler suggestions perfect for those busy little hands.
Part 1: No-Fuss, Super Simple Calendars
These first five ideas focus on speed and simplicity, utilizing items you likely already have around the house.
1. The Muffin Tin Match-Up
The muffin tin calendar is the ultimate hack for busy parents. It’s already perfectly divided into shallow compartments, durable enough to withstand toddler testing, and eliminates the need to buy or construct 24 separate containers. This takes the stress out of the DIY process entirely, allowing you to focus on the fun stuff: what goes inside.
Setting this up is delightfully simple. Grab a standard 12-cup or 24-cup muffin tin. Cut out 24 paper circles that are slightly larger than the muffin opening. Number them 1 through 24 and use painter’s tape or masking tape to secure them firmly over the openings. The tape is key here—toddlers can easily peel it off without tearing the paper, and the little pop of the paper releasing adds to the excitement.
Because the cups are shallow, you’ll need small, safe fillers. I love this one for tiny sensory items like colorful, large pom-poms (ensuring they are large enough not to be choking hazards) or counting bears. You could also tuck in a single animal cracker or a small piece of seasonal dried fruit each morning. Once December is over, the tin is empty, the numbers are gone, and you just pop it back into the kitchen drawer.
2. Paper Bag Puppet Countdown
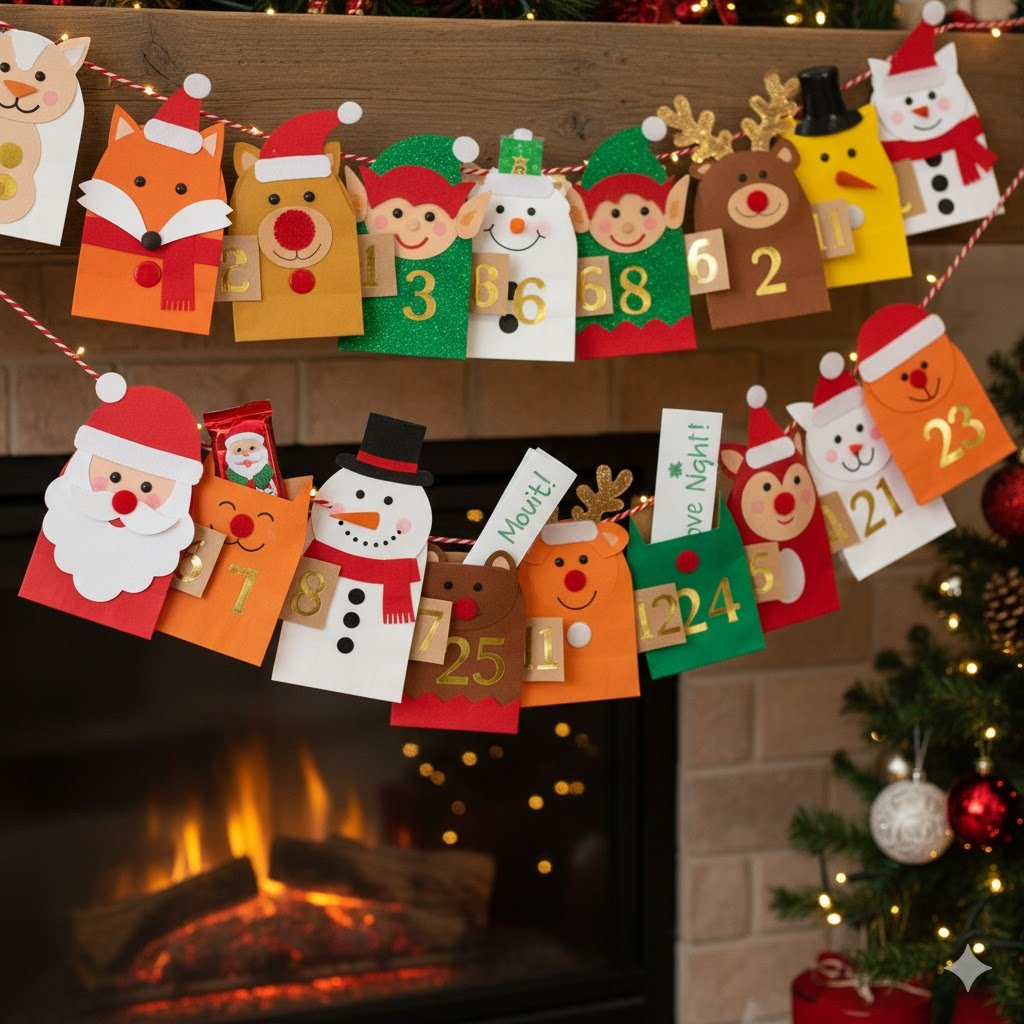
If you’re looking for a simple calendar with great vertical impact, this is it. Small paper lunch bags or gift bags are perfectly sized for toddler fillers and offer a sturdy, opaque hiding spot. They are also incredibly easy to hang, making them a centerpiece of your holiday décor without any complex construction.
The DIY process involves nothing more than basic stamping or writing. Number the bags 1 through 24 using a festive stamp, a marker, or even simple block letters cut from construction paper. Fill the bags, fold the tops down, and secure them shut with a decorative sticker or a small clip. Then, run a piece of twine or ribbon across a mantle or wall and hang the bags using wooden clothespins.
This method is great because the bags can hold chunkier items. Think of fillers like a sheet of holiday stickers, a few chunky crayons, or a couple of mini toy cars. You could even use the bags to hide simple hand puppets, which encourages immediate imaginative play after the morning reveal.
3. TP Roll Honeycomb Tower
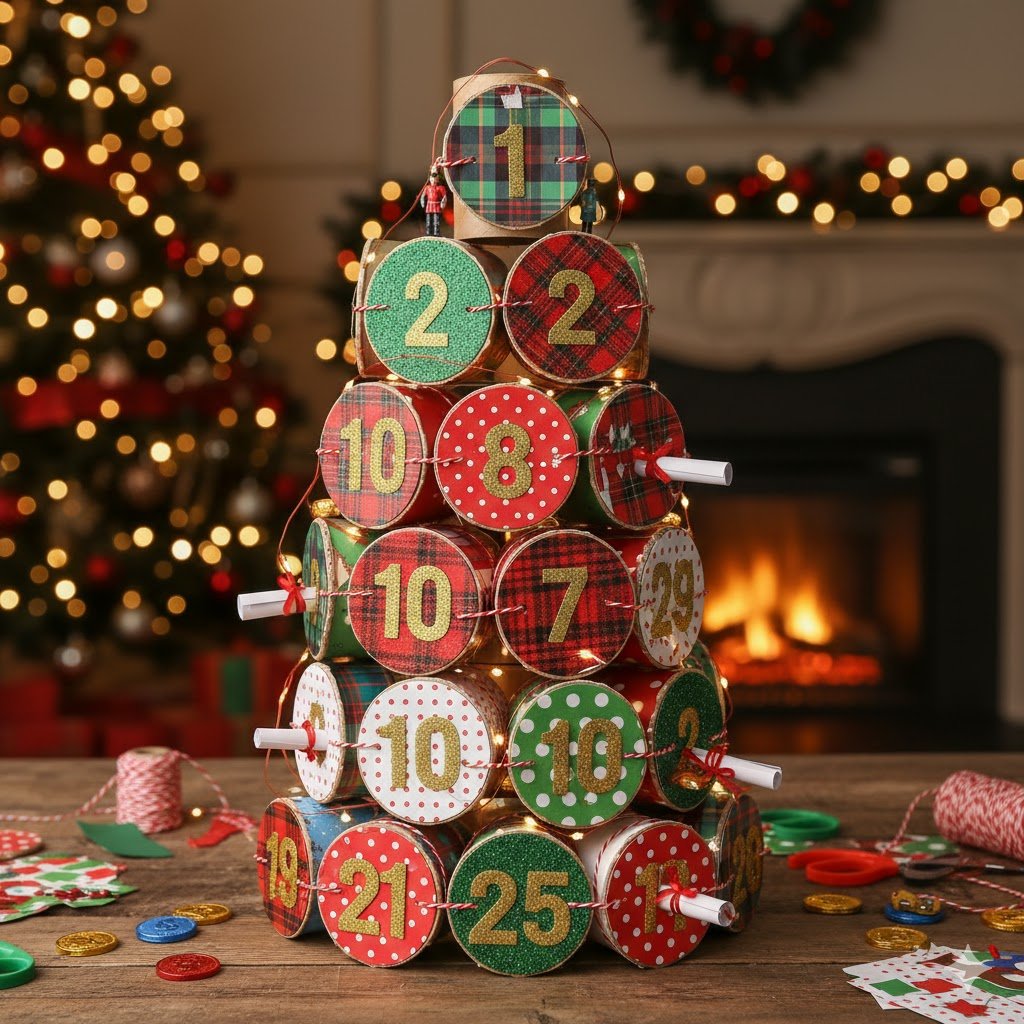
This is the quintessential upcycled calendar, perfect for when you’re committed to the zero-waste route. The cylindrical shape of the toilet paper roll creates a strong, yet lightweight, container, and when glued together, they form a fascinating structure that’s irresistible to little fingers.
To build the tower, start by collecting 24 empty toilet paper rolls. Use hot glue to join them together into a secure pyramid or rectangular shape. Once the structure is stable, cover one end of each roll with a square of colored tissue paper, securing it with a rubber band or thin layer of glue. Number the tissue paper circles 1 through 24.
The fun of this calendar is in the interaction: the toddler pushes or pokes through the thin tissue paper to retrieve their treat, which is a satisfying sensory moment. Because the rolls are deep, they can hold slightly larger items like small blocks (perfect for Duplo), simple finger puppets, or maybe even soft cloth scraps for sensory exploration.
4. Sock/Mitten Garland

When the weather turns cold, mismatched winter accessories seem to multiply in the laundry room, making them the perfect, ready-made containers for an Advent calendar. This idea is fantastic because it’s soft, safe, and already has a pocket built-in.
The construction is truly zero-effort. Simply gather 24 mismatched baby socks or mittens. Clip them individually to a long piece of decorative ribbon or yarn using simple wooden clips or clothespins. You don’t even need to number the socks directly; just number the clothespins 1 through 24, indicating which one is ready to be opened that day.
Since socks are plush and easy to handle, they are great for small plastic animals, safety washcloths, or small nesting/stacking cups. You could also place a simple, colorful bracelet or a small, soft, holiday ornament inside. The beauty here is that once the Advent season is over, you have 24 cozy accessories back in rotation for the rest of winter!
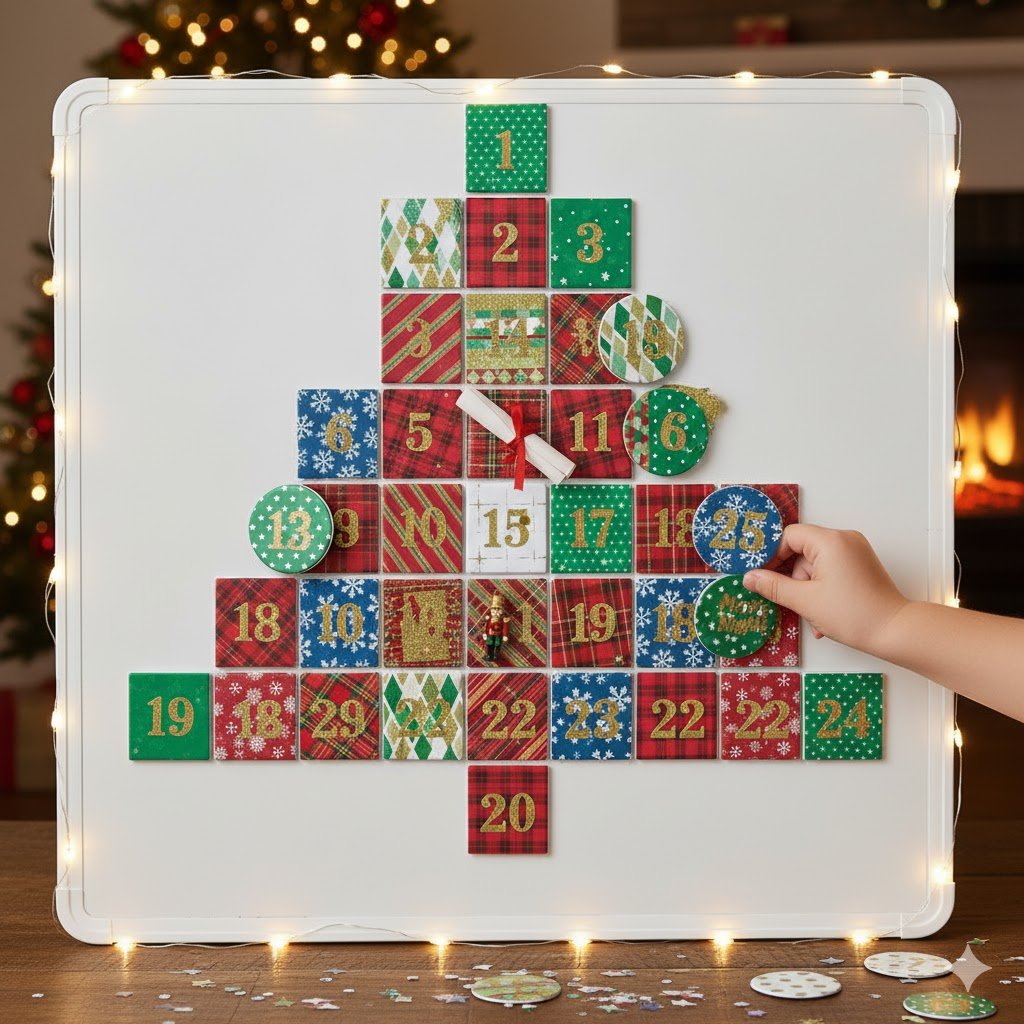
5. Envelope Wall Art
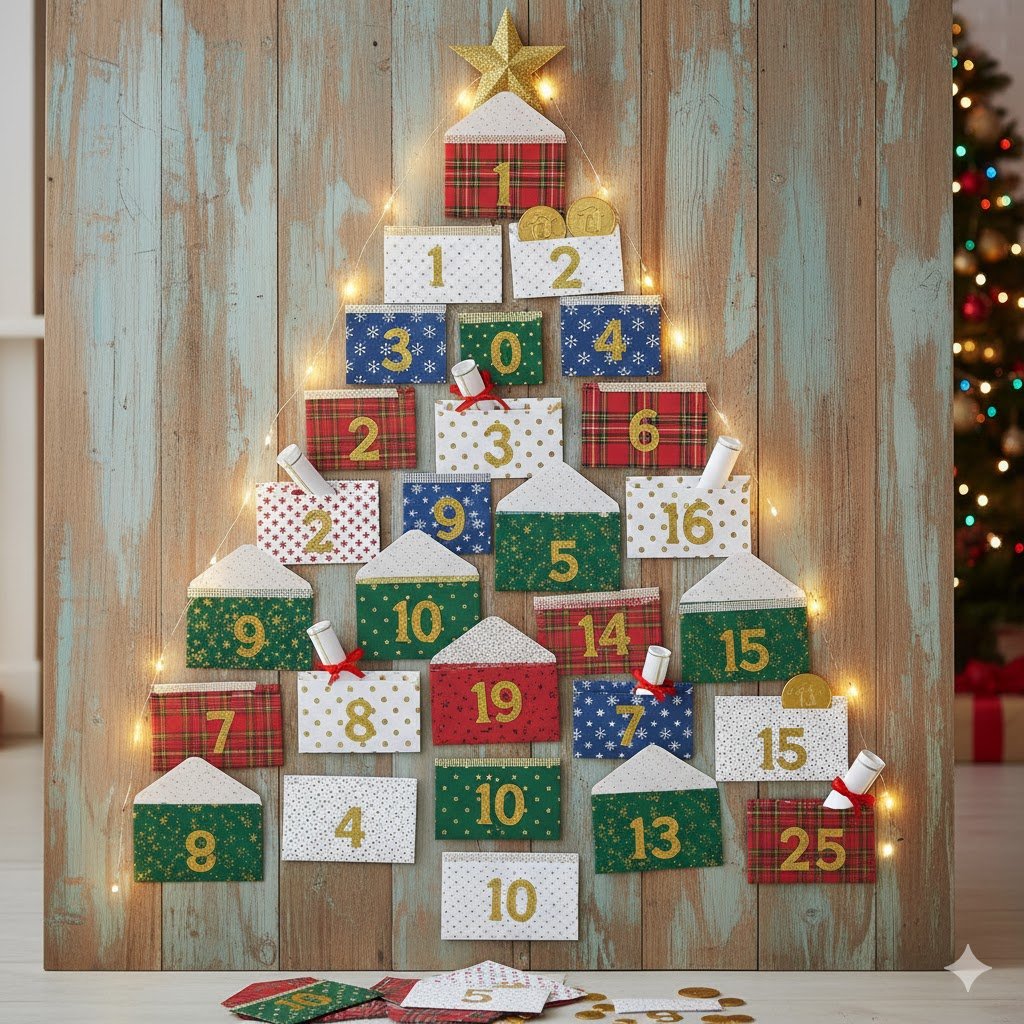
If you prefer a flat, artistic display that doesn’t jut out from the wall, the envelope calendar is a winner. The structure is clean and minimal, and you can easily arrange the envelopes into a shape, such as a Christmas tree or a starburst, making it instantly decorative.
To create this, purchase 24 small, colorful envelopes (4×6 or 3×5 size works well). Number them 1 through 24 and fill them with your flat fillers or activity clues. Use painter’s tape or removable mounting putty to adhere them directly to a large poster board or wall in your chosen holiday shape.
Envelopes naturally call for flat items, which opens the door to personalized and sentimental fillers. Try including puzzle pieces (a few pieces each day to build the whole picture by Christmas), a small family photo for them to hold, or maybe a simple card with a handwritten ‘kiss’ mark or a silly drawing from a parent.
Part 2: Activity & Sensory Calendars
These calendars focus on engaging the toddler’s senses and turning the daily reveal into an active experience.
6. Felt Tree with Velcro Treats
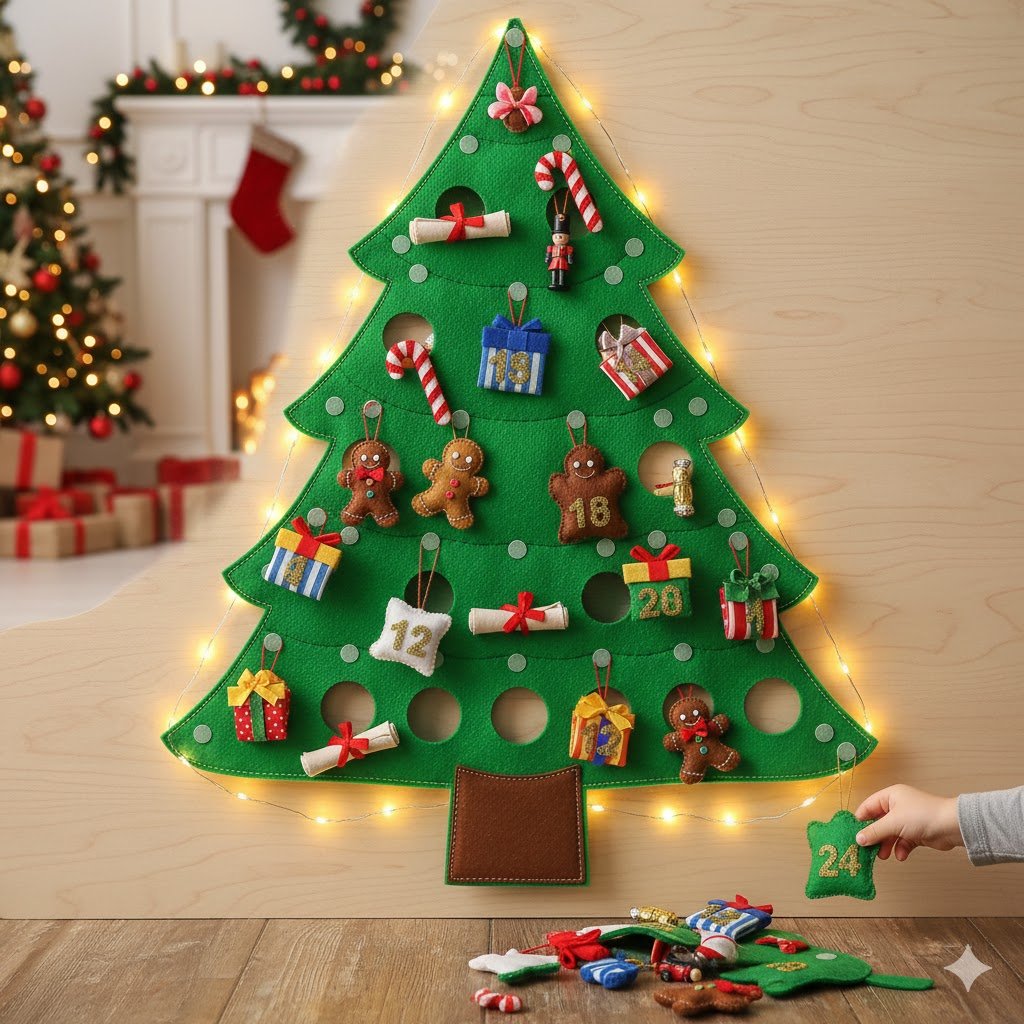
This is my go-to recommendation for maximum tactile fun. Because the calendar pieces themselves attach to the tree, the act of “opening” the day becomes a simple, yet satisfying fine motor activity, perfect for toddlers who love to stick things onto walls and furniture.
To construct this, you will need one large piece of green felt cut into a Christmas tree shape and hung on the wall. Cut out 24 numbered felt circles or shapes (like ornaments or presents) in coordinating colors. Attach a piece of soft-side Velcro to the back of the ornaments and the hook-side Velcro to the tree.
Instead of traditional objects, this often works best as an activity calendar. Simply hide a small slip of paper or a flat activity card behind the felt shape. The activities should be simple and immediate: “Build a block tower with Mommy,” “Read a Christmas book before dinner,” or “Wear your pajamas all day.”
7. Clothespin Photo Display
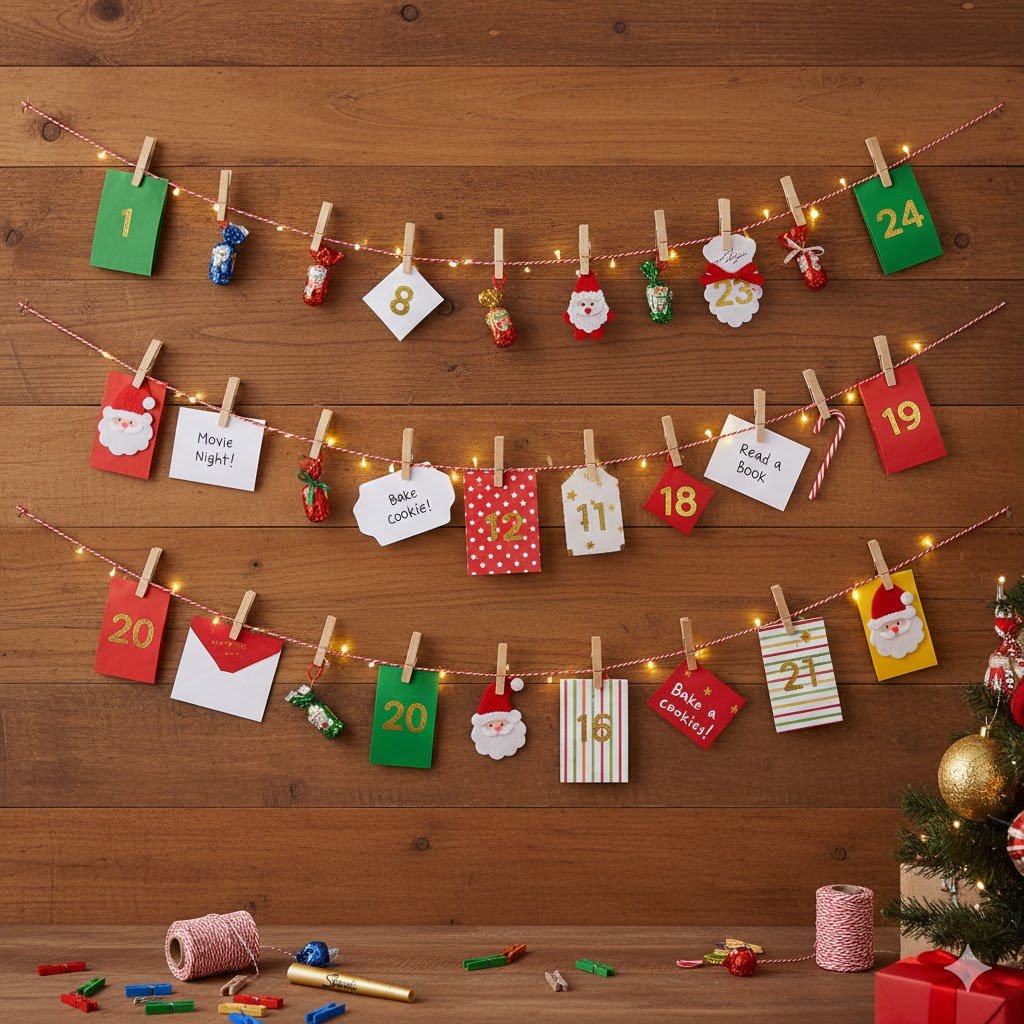
This is a wonderful way to build excitement for holiday activities and events you already have planned. Rather than offering a filler toy, the daily reveal is a visual clue of the family fun that awaits, focusing on togetherness rather than things.
For the DIY, print 24 pictures. These could be photos from last year’s Christmas, pictures of current holiday crafts, or even pictures representing an upcoming event (like a photo of Santa). Clip the daily activity photo/card to a string with a numbered clothespin.
The beauty of the photo display is that the image does most of the heavy lifting. You can use the photo as the activity itself (e.g., a photo of a family member with a note: “Call this person today!”). Or, the card could contain a simple Christmas song lyric to sing together, or a holiday-themed coloring page to tackle right after breakfast.
8. “Pop the Cup” Stack
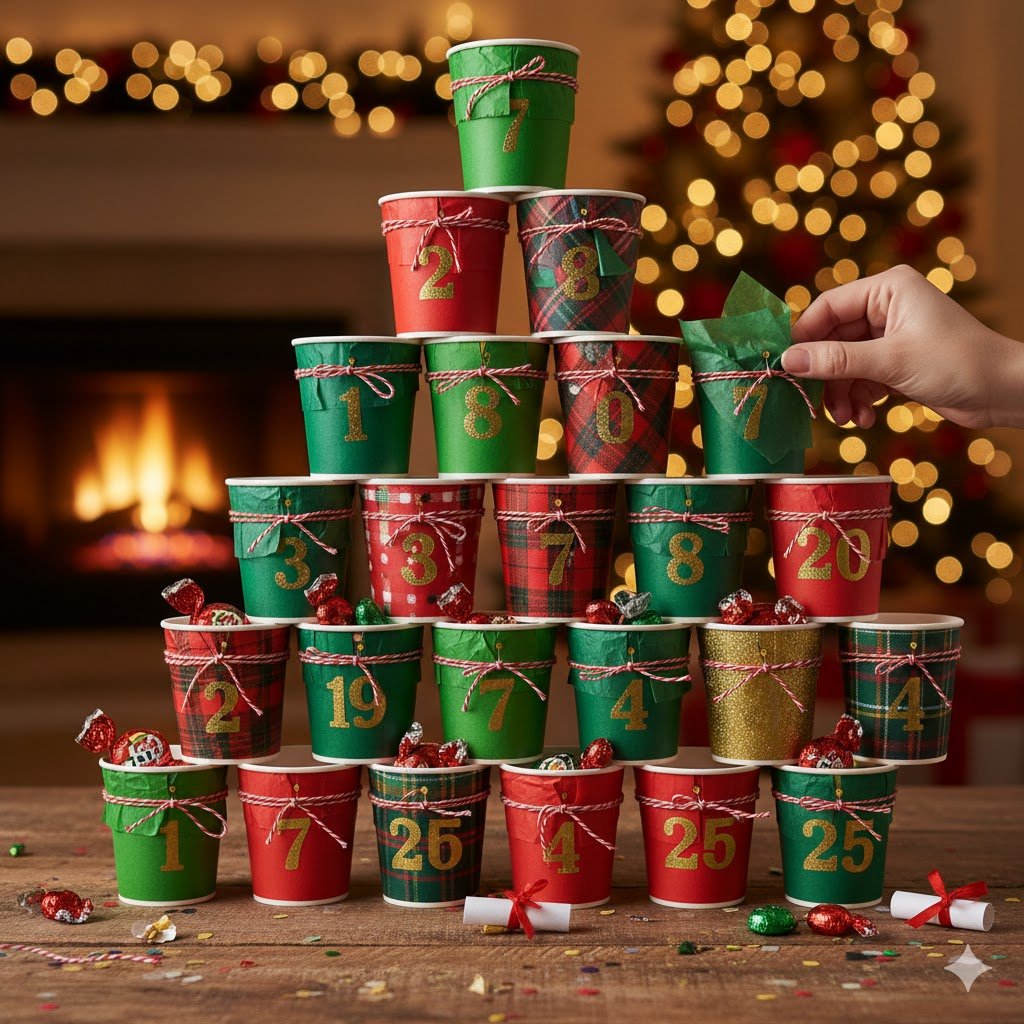
Toddlers adore cause-and-effect activities, and this calendar delivers a satisfying “pop” every time. It’s essentially a large, decorative game of peek-a-boo that makes the reveal a fun, slightly messy sensory experience.
To set it up, get 24 disposable plastic cups (or clear party cups for extra fun). Turn them upside down and hide a treat beneath each. The magic happens when you cover the open top of the cup with festive crepe paper or tissue paper, securing it with a colorful rubber band. Write the numbers 1 through 24 on top.
The anticipation of breaking the paper seal is the main draw. This design is robust enough to hold small containers, making it ideal for bubbles, a small, noisy jingle bell, or little tubs of playdough. Just make sure the paper is thin enough for tiny fingers to safely punch through!
9. Mini Cardboard Box Village
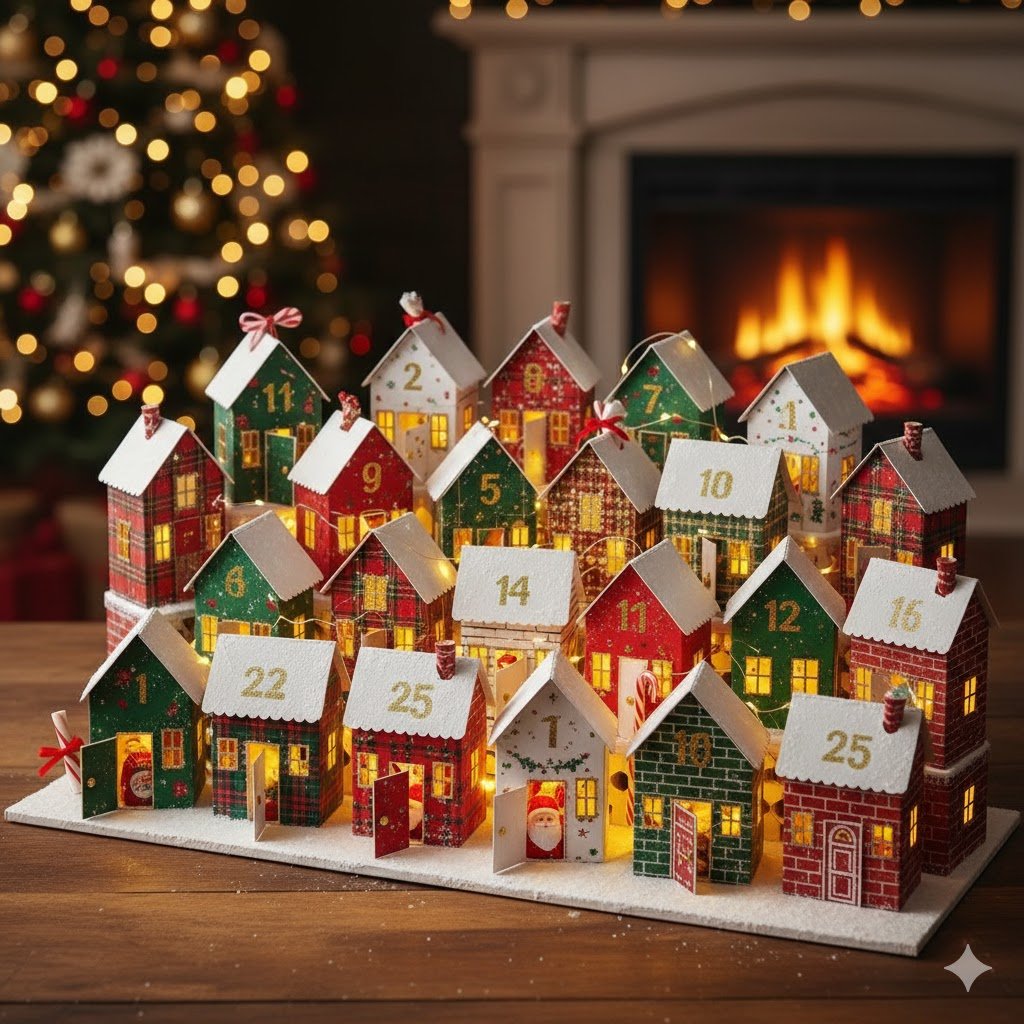
This calendar feels like a miniature holiday display, appealing to the toddler’s sense of wonder and scale. By decorating 24 tiny boxes, you create a charming, reusable set of containers that feels more like a village than a countdown.
You will need to collect or purchase 24 very small gift or jewelry boxes. The DIY is simply decorating them—you can wrap them in different holiday papers, paint them to look like snow-covered houses, or give them little felt roofs. Arrange them on a shelf or table in the shape of a cozy Christmas village.
Since these are boxes, they are great for storing slightly nicer fillers that you want to keep safe. Consider small bath toys, hair clips or bows, or maybe one piece of a simple train track set each day, allowing them to build the complete track by the 24th.
10. Chalkboard Activity Board
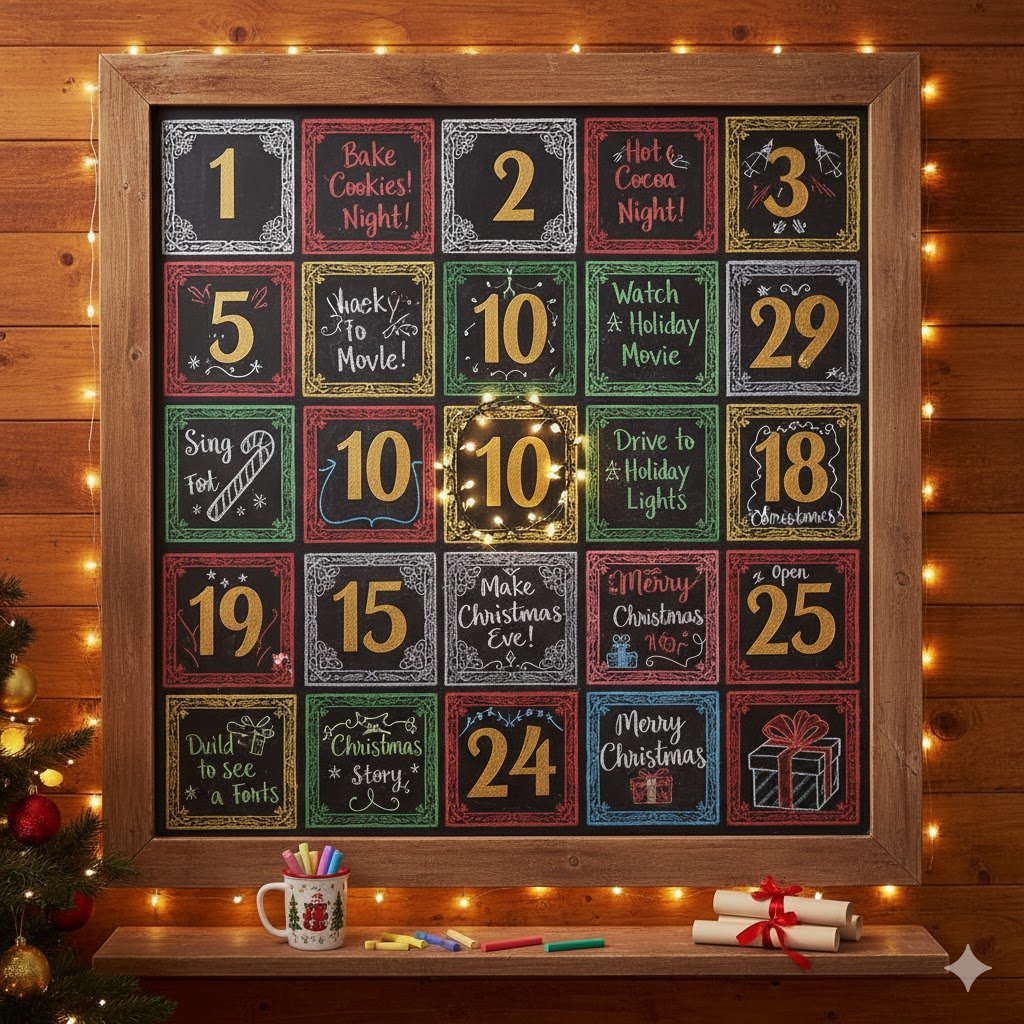
If you want a truly adaptable and reusable calendar that changes yearly, ditch the containers and go straight for the chalkboard. This is an activity-focused calendar that encourages connection and experiences over consumption.
The DIY part is minimal. Get a large chalkboard or whiteboard and draw a simple 1-24 grid using a ruler or painter’s tape for crisp lines. Instead of putting fillers in the grid, you write one simple activity idea in each square with chalk or a dry-erase marker.
Each day, the toddler gets to erase the number and read the activity, which could be a slip of paper hidden in the box (the physical clue). Activities work best when they are simple and immediate: “Bake cookies,” “Drive around to see Christmas lights,” “Make snow angels,” or “Donate one toy to charity.”
Part 3: Display & Upcycled Calendars
These final ideas introduce slightly more structured crafts or innovative ways to reuse specific materials.
11. The Paint Chip Pocket
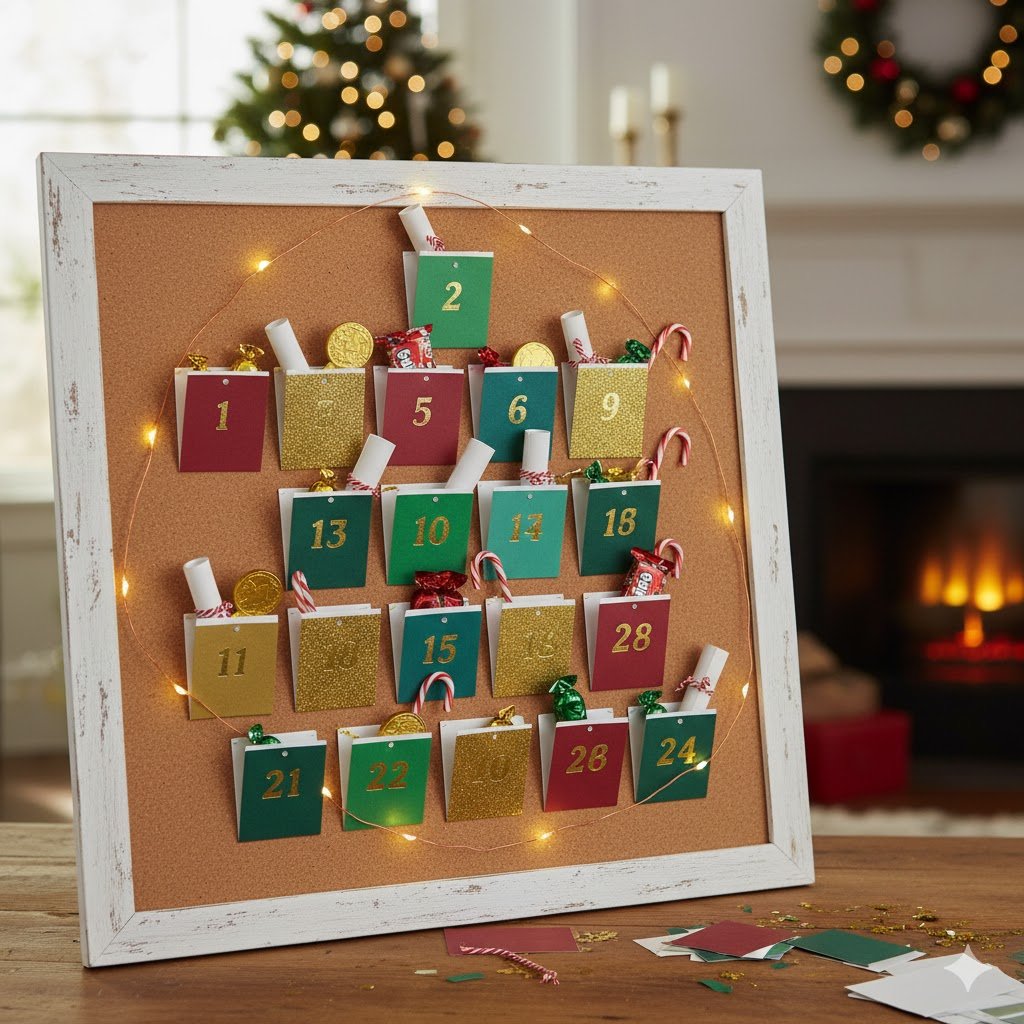
This is a fun, budget-friendly idea that adds a huge splash of color without needing expensive craft paper. It uses the free samples found at any hardware store and turns them into tiny, surprisingly effective pockets.
The construction is straightforward: collect 24 colorful paint chips, preferably the long strips with several color swatches. Fold the bottom edge up a few inches and use a stapler or craft glue to secure the sides, creating a tiny pocket. Glue or tape them to a backing board, and number each pocket 1 through 24.
Because these pockets are so small and flat, they excel at holding equally tiny items. I suggest mini-stickers, a single piece of a magnetic letter, or perhaps a small, safe temporary tattoo. You can also slip in a small folded note with a joke or a simple compliment (“You are so helpful!”).
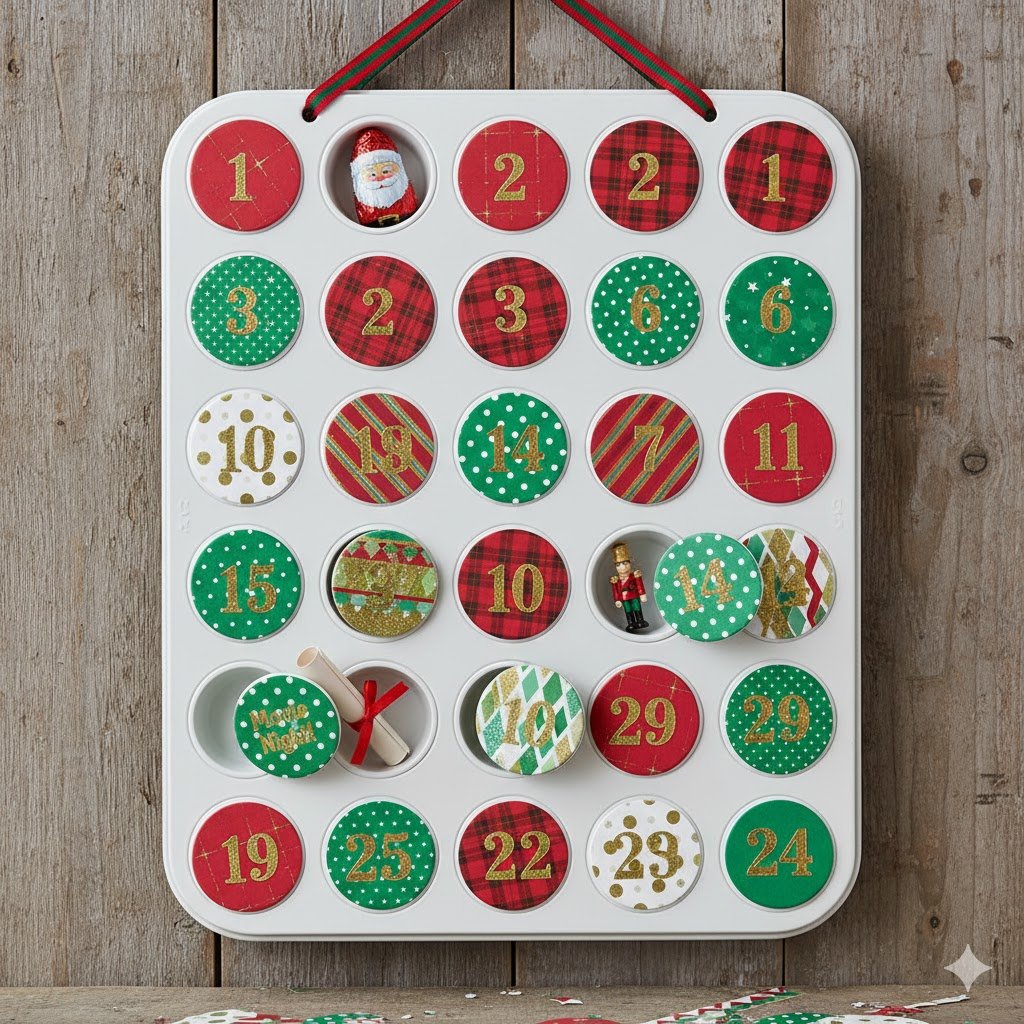
12. Baby Food Jar Lanterns
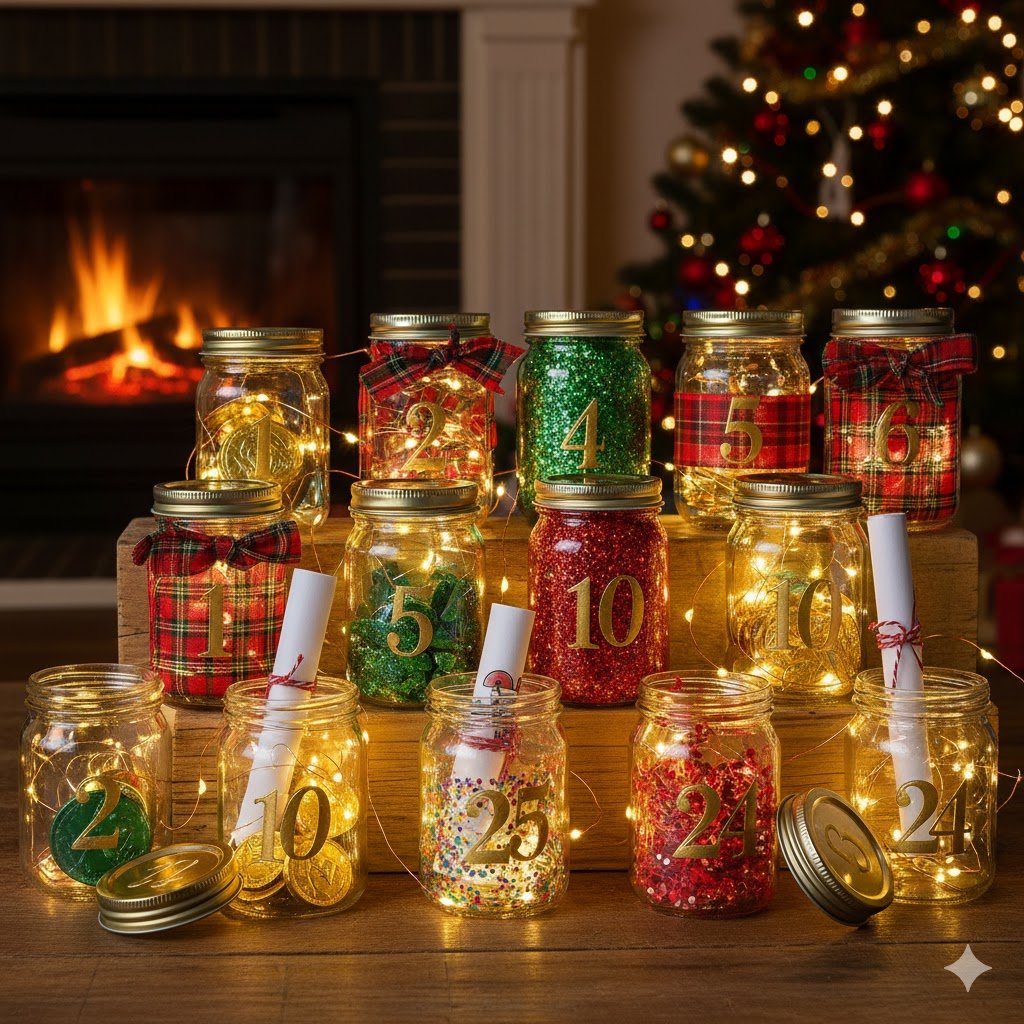
For parents of toddlers, collecting 24 baby food jars is not a chore—it’s just Tuesday. These jars make perfect, sturdy containers for an Advent calendar, offering a clean, uniform look that can be decorated beautifully.
The only DIY is decoration and safety. Clean the jars thoroughly. Decorate the lids with paint, ribbon, or fabric and number them 1 through 24. After the treats are removed each day, you can put a small, battery-operated tea light inside the empty jar, turning your calendar into a beautiful, flickering Advent display.
The volume of these jars is great for things you want to keep sealed, like small rubber stamps, a few seasonal finger foods (like little crackers or dried fruit), or even a non-toxic craft glue stick (to be used with supervision, of course!).
13. Craft Stick Pockets
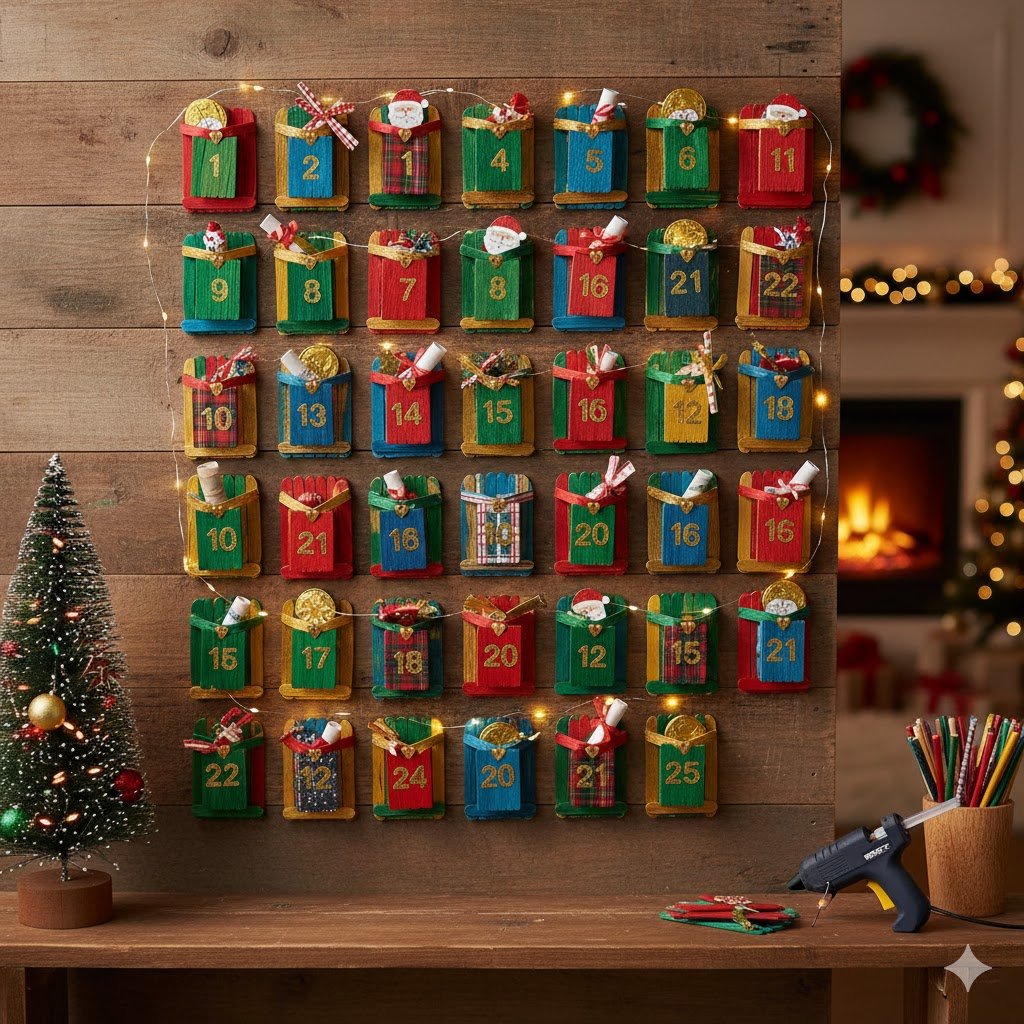
This DIY takes a little more structural effort but results in a super sturdy, rustic calendar that will last for years. Using jumbo craft sticks (Popsicle sticks) makes the process manageable and the resulting pockets surprisingly robust.
You will glue the jumbo craft sticks together to form small square pockets. You’ll need four sticks per pocket, forming a little wooden box. Once dry, you can decorate them with glitter or paint to give them a festive touch. Arrange and glue them to a large piece of plywood or thick cardboard and number them.
These wooden pockets are strong enough to hold heavier, small toys. Consider a small toy soldier or figure, a bouncy ball (of safe size, of course), or if your child is old enough, a single, carefully selected seasonal candy or chocolate.
14. The Magnetic Tile Cover
This is a brilliant idea if your child is already obsessed with magnetic tiles (Magna-Tiles, etc.). It integrates the calendar seamlessly into their existing playtime, turning a familiar toy into a countdown activity.
The DIY requires minimal cutting: use paper or cardstock to create numbered triangular or square covers that perfectly fit over a single magnetic tile. You then secure a tiny filler or clue beneath the tile on your magnetic surface (like the fridge or a magnetic drawing board).
Since the magnetic tiles hold the weight, the hidden item needs to be very flat. This works perfectly for a flat sticker sheet, a picture clue pointing to a bigger toy that’s hidden nearby, or perhaps a photo of a family pet (or favorite character). The activity of lifting the tile adds a fun, physical component to the reveal.
15. Water Bottle Cap Match
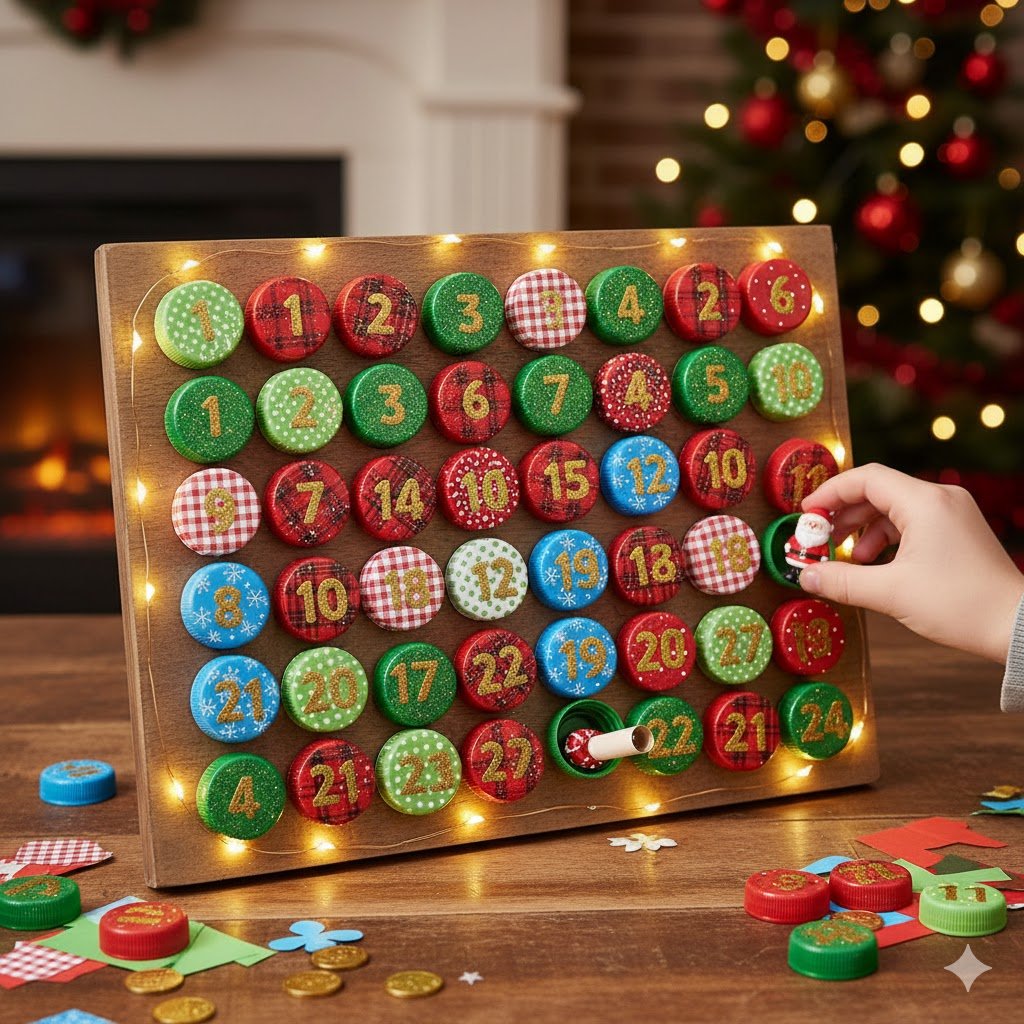
This utilizes another common household item and turns it into a simple fine motor matching game. It’s a great way to safely present small clues or extremely flat items.
To assemble, collect 24 plastic bottle caps. Glue a small magnet to the back of each cap. On a magnetic surface (like a fridge door), hide the treat or activity clue, and then cover it with the numbered cap. The toddler must pull the correct number off to reveal the item beneath.
Because of the small space, this is perfect for tiny, colorful things that encourage fine motor development, like small pompoms to be sorted into a cup, a simple shape to trace onto paper, or maybe a tiny piece of chalk for drawing.
Toddler-Safe Filler Ideas
When selecting fillers, always prioritize safety and size. The best fillers are those that encourage connection or creation, not just consumption.
- Small Toys/Novelties: Mini board books or flashcards, bubbles, bath crayons, chunky chalk, mini Play-Doh cans, finger puppets, rubber ducks, toy cars, plastic animals.
- Art Supplies: Washable markers, jumbo crayons, sheet of stickers, single pieces of construction paper, non-toxic glue sticks.
- Practical Fun: Festive socks, small hair clips/bows, toothbrushes, safe lip balm, festive silicone molds.
- Experience/Activity Cards: A note for “Dance Party,” “Hot Cocoa Night,” “Call Grandma,” “Read 5 books,” or “Watch a Christmas movie.”
Tips for DIY Advent Success
My best advice is to keep this tradition as low-pressure as possible. If you happen to miss a day, don’t stress—just do two the next day! Always remember to prioritize safety by ensuring there are absolutely no small parts that could pose a choking risk. I recommend hiding the calendar slightly out of reach to prevent accidental opening. Finally, mix small toys with experience cards; it keeps costs down and ensures the focus remains on family time and holiday bonding.
Wrapping Up
Bringing the magic of the season to life doesn’t require a perfect, store-bought piece of art. It simply requires a little bit of time and imagination. These simple DIY Advent calendars are more than just a countdown; they are tiny, tangible memories you’re crafting with your toddler every single morning of December. Each peeling, poking, or unwrapping moment is a shared piece of joy that will stick with them long after the lights come down. Which of these simple, joyful ideas will you be starting with this year? I’m excited to hear about your finished creation!