

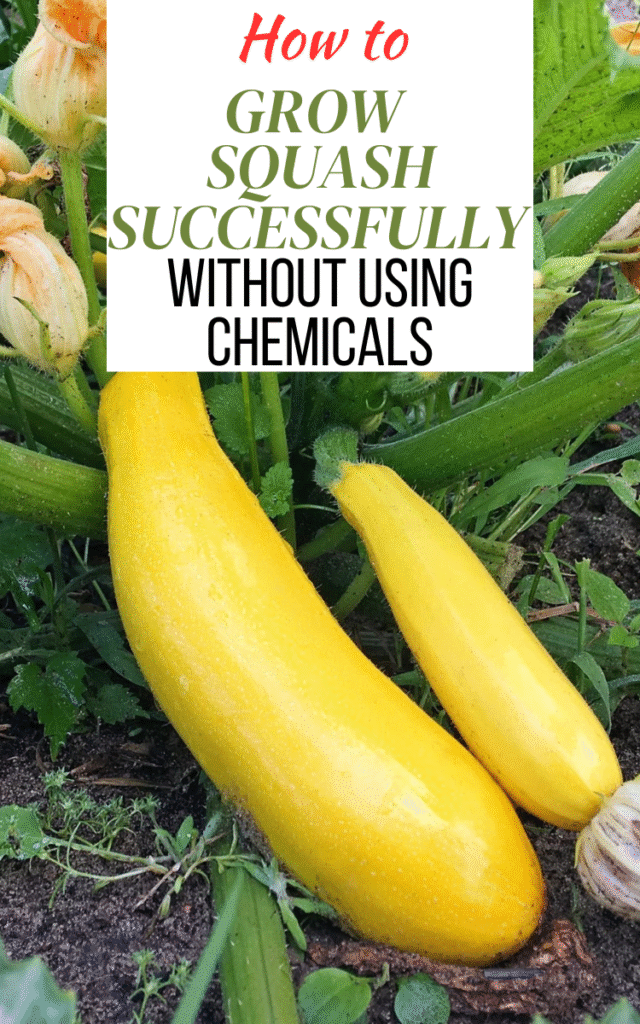
Growing squash is one of those gardening experiences that feels rewarding from start to finish. From the moment those broad green leaves start sprawling across the garden bed to the day you pick your first tender zucchini, it’s pure satisfaction. But I’ve found that the real magic happens when you decide to grow squash the natural way—without chemicals.
Chemical-free gardening isn’t just about keeping toxins out of your food; it’s also about nurturing the soil and creating a thriving mini-ecosystem right in your backyard. Your soil becomes richer, pollinators stick around, and your plants grow stronger naturally. Plus, you’ll notice the flavor difference—organic squash tastes earthier and more wholesome.
When I switched to all-natural methods a few seasons ago, I realized how resilient squash can be if you just give it the right environment. So, let’s walk through how you can grow your own squash successfully without a single drop of synthetic fertilizer or pesticide.
Understanding Squash Basics Before You Plant
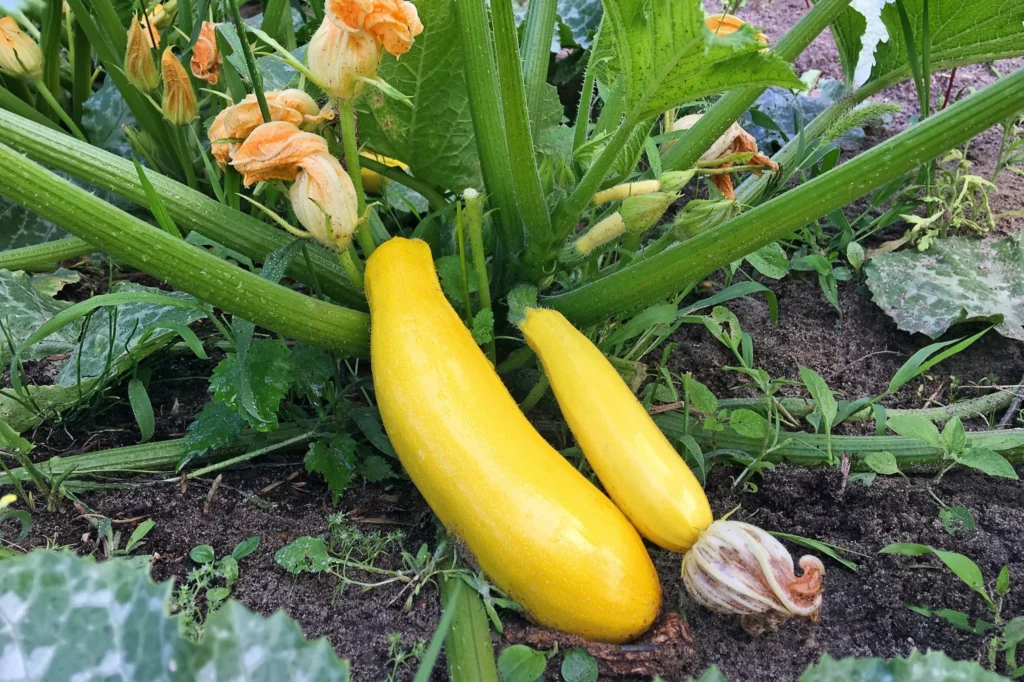
Before you plant your first seed, it helps to know what type of squash you’re growing. Summer squash—like zucchini and yellow crookneck—grows fast and produces tender fruits best eaten fresh. Winter squash, such as butternut, spaghetti, or acorn, takes longer to mature but stores beautifully through colder months. Each variety has its own growing rhythm, but both need warmth, space, and sun to thrive.
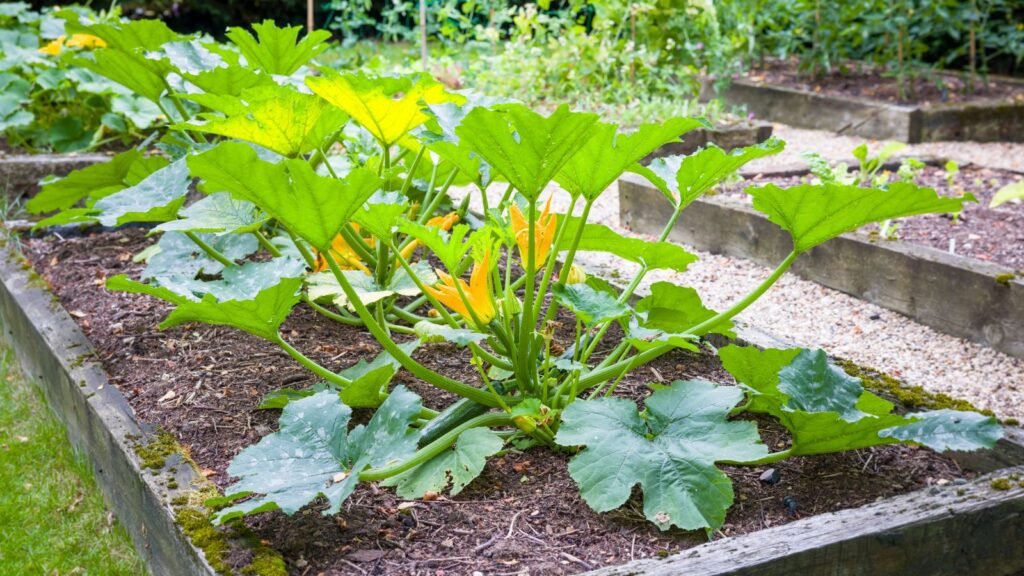
Squash loves a full-sun spot, soaking up six to eight hours of sunlight each day. The soil should be warm (above 18°C/65°F) and well-drained. If your soil is heavy or compacted, loosen it up with compost or aged manure to improve drainage. Remember, squash vines need space—about 3 to 4 feet apart—so don’t crowd them.
Pollination is key for healthy squash yields. Since these plants have separate male and female flowers, bees and other pollinators are essential. I’ve noticed that having flowers like marigolds or zinnias nearby encourages more bee activity, leading to fuller harvests. It’s a small effort that makes a big difference.
Choosing the Right Location and Soil Preparation
Location is everything. Choose a sunny, open space with good air circulation to reduce disease risks. Avoid planting in low spots where water pools after rain; squash roots don’t like sitting in soggy soil. Raised beds or mounds can work wonders for better drainage and root development.
When preparing your soil, focus on building health rather than feeding fast. Test the soil’s pH—it should be slightly acidic, between 6.0 and 6.8. If it’s off, balance it naturally using compost or organic amendments. Mixing in rich organic matter like aged manure or leaf mold creates a nutrient-dense environment that slowly feeds the plants as they grow.
Skip the synthetic fertilizers altogether. Instead, rely on organic compost, worm castings, or compost tea for a slow, steady nutrient release. I like to top my squash mounds with straw mulch, which keeps the soil moist and weeds at bay. Over time, this natural layer breaks down and enriches the soil even more.
Starting Your Squash the Natural Way
You can start squash from seeds or seedlings, but I prefer direct seeding since squash doesn’t love transplanting. Once the soil is warm enough, sow seeds about an inch deep in small hills or mounds, leaving 3–4 seeds per hill. When seedlings emerge, thin to the two strongest plants. It’s simple, and you’ll be surprised how quickly they sprout under the right conditions.
If you’re starting seeds indoors, use an organic seed-starting mix made from coconut coir, perlite, and compost. Avoid synthetic fertilizers or treated seeds—they often interfere with natural soil biology. Before planting, I like to soak my seeds in compost tea overnight to give them a nutrient boost and improve germination rates.
Companion planting can make a world of difference. Try pairing squash with beans, which add nitrogen to the soil, and marigolds or nasturtiums, which repel common pests. Just avoid planting squash near potatoes—they compete for nutrients and attract similar pests. It’s like matchmaking for plants: some pairs thrive together, others don’t.
Natural Pest Control Strategies (No Chemicals Needed!)
Every squash grower knows the heartbreak of finding squash bugs or vine borers munching away. But don’t reach for synthetic sprays—there are natural ways to manage pests effectively. Prevention is key: rotate crops each season, keep the area weed-free, and remove debris where pests hide. I’ve also found that laying down floating row covers early on helps protect young plants until they start flowering.
When pests do show up, handpicking works wonders. It may sound tedious, but spending a few minutes inspecting the undersides of leaves makes a huge difference. For more stubborn infestations, try neem oil, insecticidal soap, or homemade garlic-chili spray—all safe, natural alternatives that won’t harm pollinators when used correctly.
Don’t forget about beneficial insects! Ladybugs, lacewings, and parasitic wasps are your best allies against aphids and squash bugs. Attract them by planting herbs like dill, mint, and borage nearby. Over time, you’ll build a natural balance in your garden where good bugs outnumber the bad ones.
Watering and Mulching for a Chemical-Free Garden
Squash plants are thirsty, but too much water can lead to rot and mildew. The trick is deep, consistent watering—about an inch per week—directly at the base of the plant. Avoid wetting the leaves since moisture sitting on foliage encourages disease. I like to water early in the morning so the plants dry off by midday.
Mulching is your best friend for chemical-free gardening. It locks in soil moisture, keeps weeds under control, and protects the roots from temperature swings. Natural mulches like straw, shredded leaves, or grass clippings work beautifully. As they break down, they add nutrients to the soil, creating a continuous cycle of fertility.
A good mulch layer also prevents soil-borne fungi from splashing onto leaves during rain. Think of it as a protective blanket for your plants. Just make sure to leave a little space around the stem so it doesn’t stay damp, which can cause rot.
Natural Ways to Prevent & Treat Diseases
Diseases like powdery mildew or bacterial wilt can quickly ruin a squash crop if you’re not careful. Prevention always beats treatment, so start with proper spacing—give your plants room to breathe. Water only at the roots, not overhead, and avoid working in the garden when the leaves are wet. These small habits drastically reduce disease spread.
If mildew starts showing up, try a simple homemade remedy: mix a teaspoon of baking soda with a few drops of mild soap in a liter of water and spray it on affected leaves. Compost tea is another great option; it strengthens plants and offers mild disease resistance when used regularly as a foliar spray.
When I notice a diseased leaf, I remove it immediately and dispose of it away from the garden. Don’t compost infected material—it can carry spores that resurface later. Also, practice crop rotation every year to prevent soil-borne diseases from building up. Healthy soil equals healthy plants.
Feeding Your Squash Plants Naturally
Squash are heavy feeders, but they don’t need synthetic fertilizers to thrive. I feed mine organically three times during the growing season: at planting, mid-growth, and just before flowering. Compost and aged manure provide a steady nutrient release, while seaweed or kelp extract adds valuable micronutrients that encourage strong fruiting.
To apply, spread compost around the base of each plant and gently work it into the topsoil. Water afterward to help nutrients seep into the root zone. If you prefer liquid feeding, try compost tea or worm tea every two weeks during active growth—it gives plants a gentle but effective energy boost.
Watch for signs of nutrient deficiency like yellowing leaves or stunted growth. Instead of reaching for chemical quick fixes, add a thin layer of compost or a sprinkle of organic fertilizer. Plants often bounce back within days when they’re fed naturally.
Pollination: Boosting Squash Yields Naturally
Pollination is where the magic happens for squash. Each plant produces separate male and female flowers, and bees are responsible for transferring pollen between them. Without this exchange, you’ll end up with small or misshapen fruits. To encourage pollinators, plant bee-friendly flowers like lavender, zinnias, or sunflowers nearby.
Avoid using any pesticides, even organic ones, during peak flowering. They can discourage or harm pollinators. I like to keep a small shallow dish of water and pebbles near my garden for bees—it keeps them hydrated and coming back.
If pollination still seems low, hand-pollinating is easy. Gently pick a male flower, remove its petals, and brush its pollen onto the center of a female flower (the one with a tiny fruit at the base). It’s quick, natural, and surprisingly satisfying to watch those little fruits start growing days later.
Harvesting Squash the Right Way
Knowing when to harvest makes all the difference. Summer squash should be picked young and tender, usually when 6–8 inches long. Waiting too long makes the skin tough and the flavor bland. Harvesting regularly also encourages the plant to produce more.
Winter squash, on the other hand, needs patience. Wait until the rinds harden and the vines begin to wither before harvesting. Use pruning shears to cut the squash, leaving a couple of inches of stem attached—this helps them store longer.
After harvest, cure winter squash in a warm, dry spot for about 10 days before storing. This allows the skin to toughen and the flavor to develop fully. Stored properly, they’ll last for months and serve as a tasty reminder of your summer garden.

Maintaining a Healthy Organic Garden Long-Term
The secret to long-term garden success is consistency. Each year, rotate your squash to a new spot to prevent nutrient depletion and pest buildup. Add compost or organic matter at the end of every growing season to keep your soil alive and balanced.
Encourage biodiversity in your garden—invite pollinators, beneficial insects, and even birds. They help create a natural cycle of balance where pests rarely take over. I’ve noticed that the more variety I plant, the less I need to intervene.
Finally, save seeds from your healthiest plants. Over time, those seeds adapt to your garden’s unique conditions, giving you stronger, more resilient crops every year. That’s the beauty of growing naturally—it just gets better with time.
Conclusion: The Joy of Growing Squash Naturally
Growing squash without chemicals isn’t complicated—it’s simply about working with nature instead of against it. From feeding your soil with compost to attracting helpful insects, every small, natural choice adds up to a healthier garden and tastier harvest.
The first time I tasted a homegrown zucchini straight from my organic patch, it reminded me why I started gardening this way—it was pure, earthy, and delicious. When you nurture your plants naturally, you’re not just growing food; you’re cultivating a thriving ecosystem right in your backyard.
So go ahead—plant those seeds, roll up your sleeves, and let nature do its thing. Your squash (and your soil) will thank you for it.