
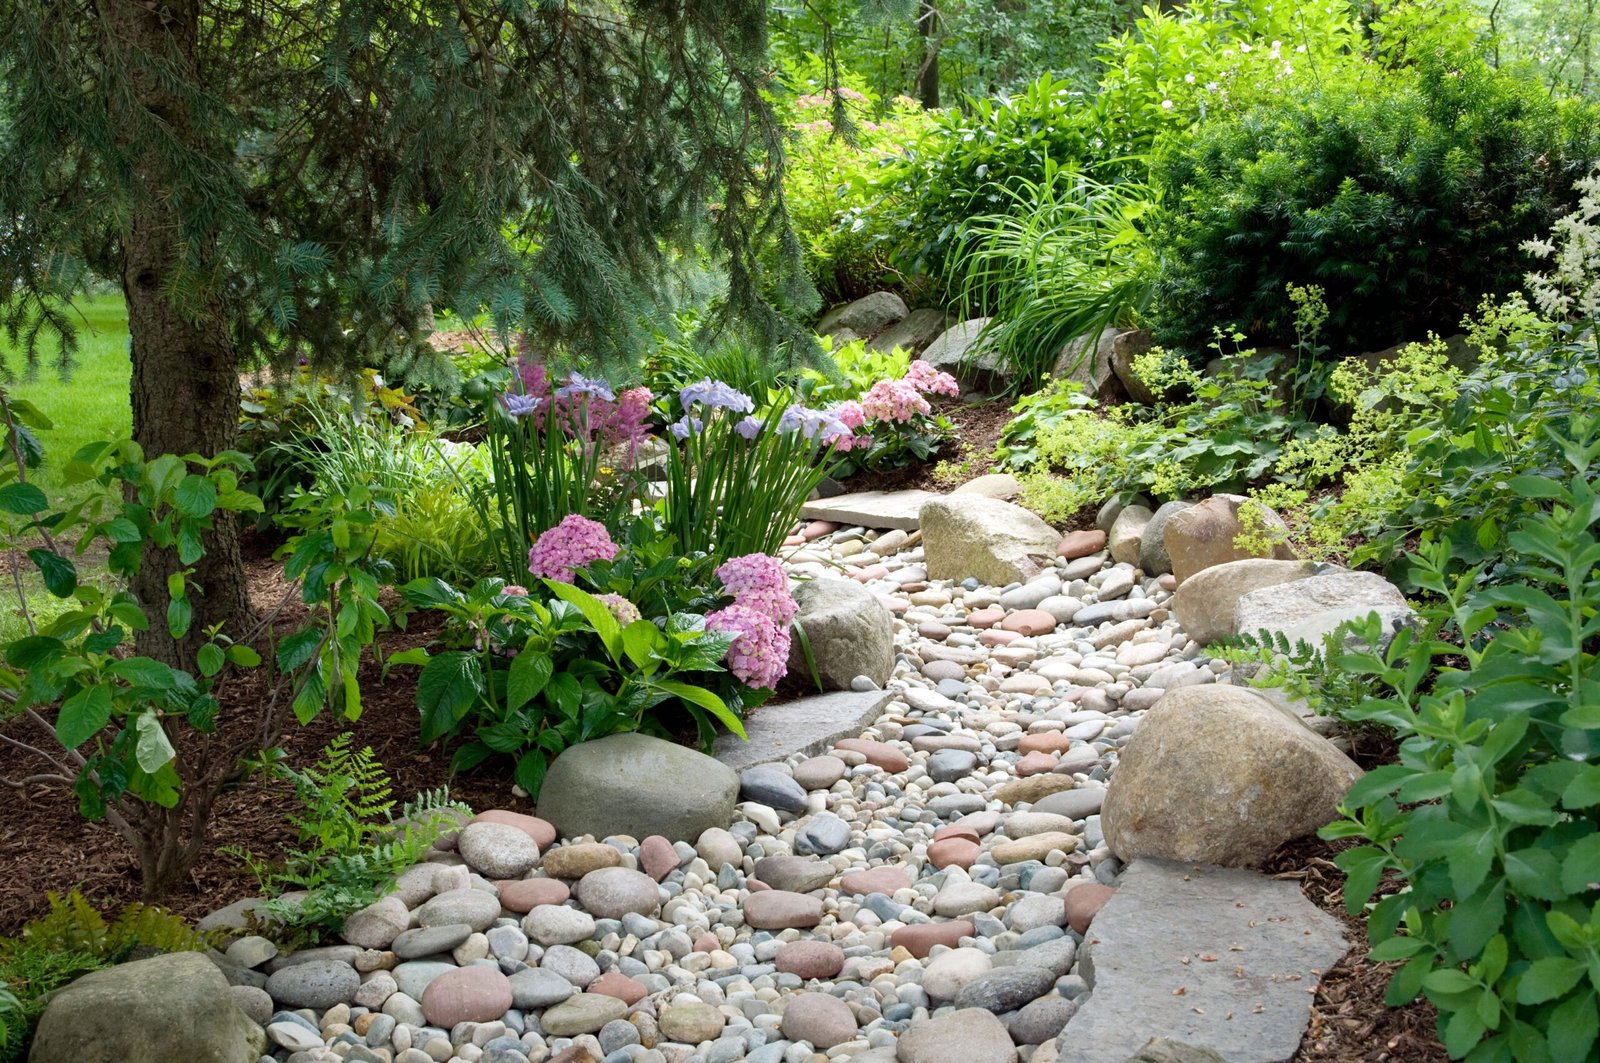
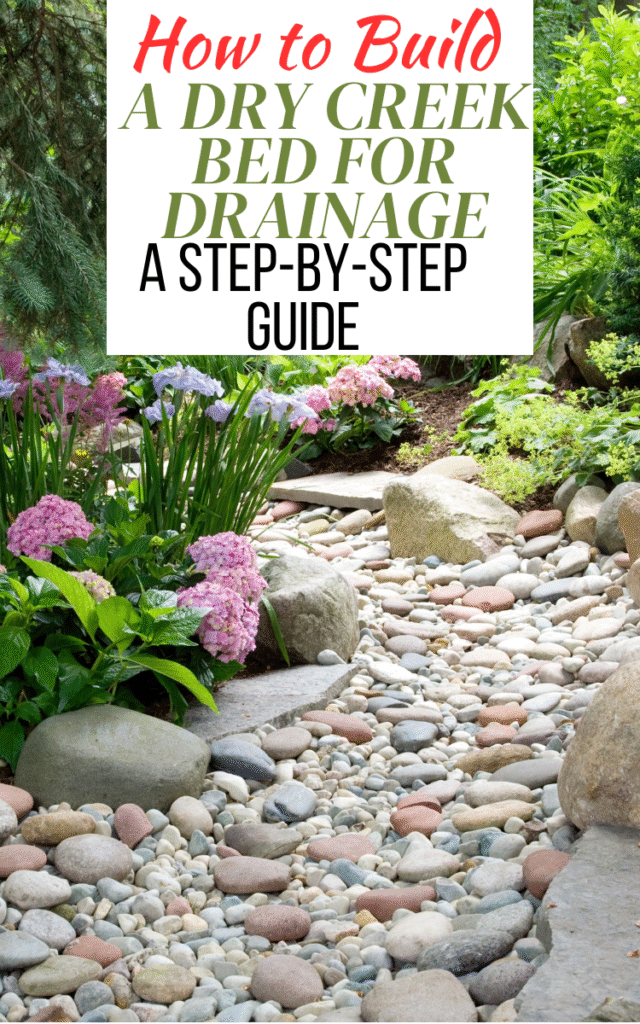
A few years back, I had a corner of my yard that turned into a muddy mess every time it rained. Water collected, grass struggled to grow, and it was an eyesore. Instead of constantly patching the problem, I discovered a solution that not only fixed the drainage issue but also added charm to my landscape—a dry creek bed. Building one doesn’t require heavy machinery or a crew of landscapers. With a shovel, some stone, and a bit of planning, you can transform soggy trouble spots into natural-looking features that actually improve your yard.
Why Choose a Dry Creek Bed?
A dry creek bed does more than just look pretty—it’s a hardworking feature. The main reason people install one is drainage. If your lawn has low spots where water collects or runoff erodes soil, a creek bed channels that water to a safer location. Think of it as a natural gutter system on the ground.
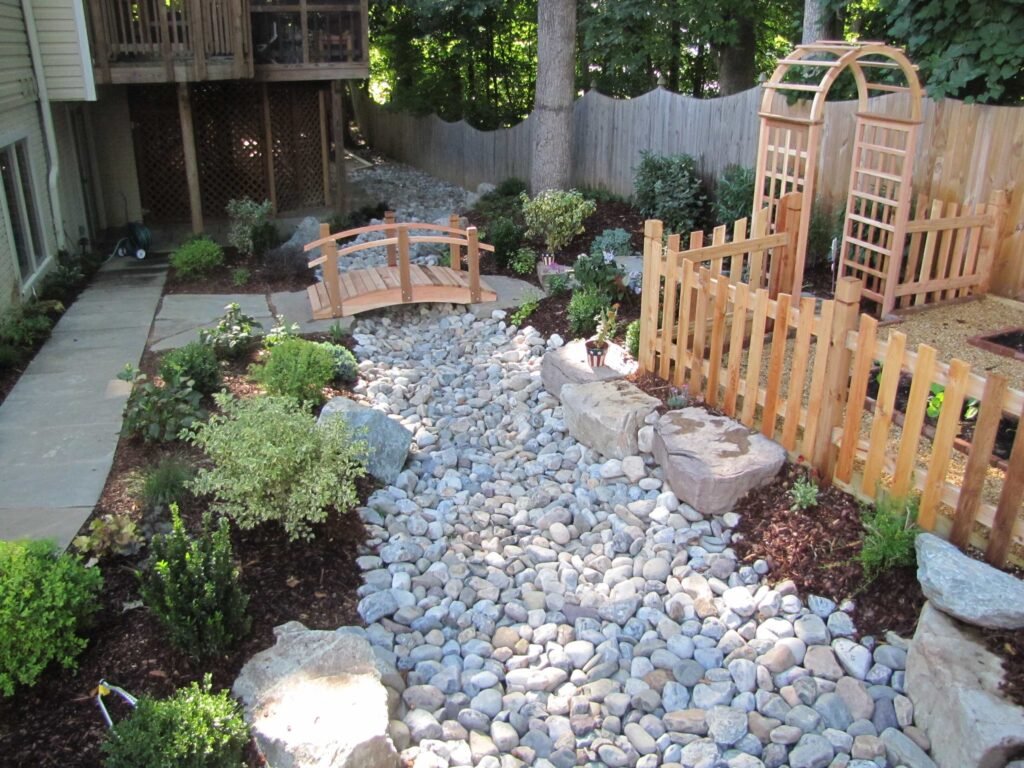
But it’s not all about function. Once you’ve built one, you’ll realize how much character it adds. The mix of stones, curves, and surrounding plants creates texture that flat lawns lack. Many people even design them as decorative focal points, weaving them through gardens like a natural stream.
On top of that, they’re eco-friendly. By slowing down and guiding rainwater, they help reduce erosion, filter water, and even encourage it to soak back into the soil. It’s a sustainable way to solve a problem that might otherwise mean installing unsightly drains or pipes.
Planning Your Dry Creek Bed
Before you start digging, take a little time to plan. Watch how water flows in your yard after a heavy rain. Where does it collect? Where could you guide it safely? Mark those spots in your mind—that’s where your creek bed should go.
Design is the fun part. Instead of a straight trench, think about how real streams look. They curve, widen in places, and narrow in others. Adding those natural bends to your design not only looks better but also slows water flow, which helps with erosion control.
You’ll also want to think about size. A small bed may handle light runoff, but if you’re dealing with heavy downpours, make it deeper and wider. Gather your materials in advance: landscape fabric, gravel, river rock, a variety of stone sizes, and edging stones. Don’t forget some plants to soften the edges later.

Preparing the Site
Start by marking your creek bed’s path. I like to use a garden hose—it’s flexible and makes it easy to create curves. You can also use spray paint or rope if you prefer.
Once your layout is set, grab a shovel and start digging. Aim for at least 6–12 inches deep and wide enough to handle the volume of water you expect. Slope the trench slightly in the direction you want water to flow. It doesn’t need to be dramatic—about 1 inch of drop for every 10 feet of length usually works.
Clear out any grass, weeds, or roots as you dig. You want a clean base so nothing interferes with water flow or pokes through your fabric later. This step takes the most effort, but it sets the foundation for everything else.
Building the Dry Creek Bed
Now comes the rewarding part—building.
Step 1: Line the trench. Roll out landscaping fabric along the entire bed. This keeps weeds from sprouting and prevents your gravel from sinking into the soil over time.
Step 2: Add a gravel base. Spread a 2–3 inch layer of gravel to improve drainage and create stability. Tamp it down lightly so it’s compact.
Step 3: Place larger rocks. Add bigger stones and boulders first, especially along the edges and curves. They anchor the design and help guide water flow.
Step 4: Fill with river rock. Once the big rocks are in place, pour in river rock or medium-sized stones. Mix in smaller pebbles for a natural look, just like you’d see in a real stream.
Step 5: Secure the edges. Use soil, edging stones, or mulch along the sides to keep everything in place and give the bed a polished finish.
When you step back, you’ll see a feature that looks like it’s always been part of your yard.
Enhancing with Plants and Features
To keep it from looking like just a pile of rocks, add life around it. Plant ornamental grasses, ferns, or native perennials along the edges. They soften the hard edges of the stone and help absorb excess water.
You can also add decorative touches. A piece of driftwood, a small footbridge, or stepping stones crossing the creek can turn it into a true garden feature. I once tucked a birdbath nearby, and now it’s one of the most visited spots in my yard.
For areas prone to erosion, choose plants with deep roots. They stabilize the soil and prevent washouts, especially after big storms.
Maintenance Tips
A dry creek bed doesn’t require much upkeep, but a little attention goes a long way. After heavy rain, check for rocks that might have shifted and nudge them back into place.
Weeds will eventually try to sneak in, even with fabric underneath. Pulling them when they’re small makes the job quick and easy. Also, keep the bed clear of leaves and debris so water can flow freely.
If you’ve planted along the edges, keep an eye on growth. Some plants may spread quickly and crowd the creek bed, while others may need seasonal trimming to look tidy.
Common Mistakes to Avoid
One of the biggest mistakes people make is digging the bed too shallow. If it’s only a couple of inches deep, water will just spill over the sides instead of following the channel.
Another issue is using only small rocks. Without a mix of larger stones, the creek bed will look flat and unnatural—and water may wash the small ones away.
Skipping landscaping fabric is also a recipe for frustration. Weeds will quickly invade, and you’ll be battling them constantly. Finally, don’t ignore slope. Without the right grade, water won’t move properly, and you’ll end up with puddles instead of flow.
Wrap Up
What once was a muddy, frustrating patch in my yard has turned into one of my favorite features—a dry creek bed that works as well as it looks. It carries water away after heavy rains, keeps my lawn intact, and adds a sense of natural beauty that grass alone couldn’t provide.
If you’ve got a drainage issue or just want to add something unique to your landscape, building a dry creek bed is a project worth tackling. It’s part function, part art, and all satisfaction once you see it come to life.