
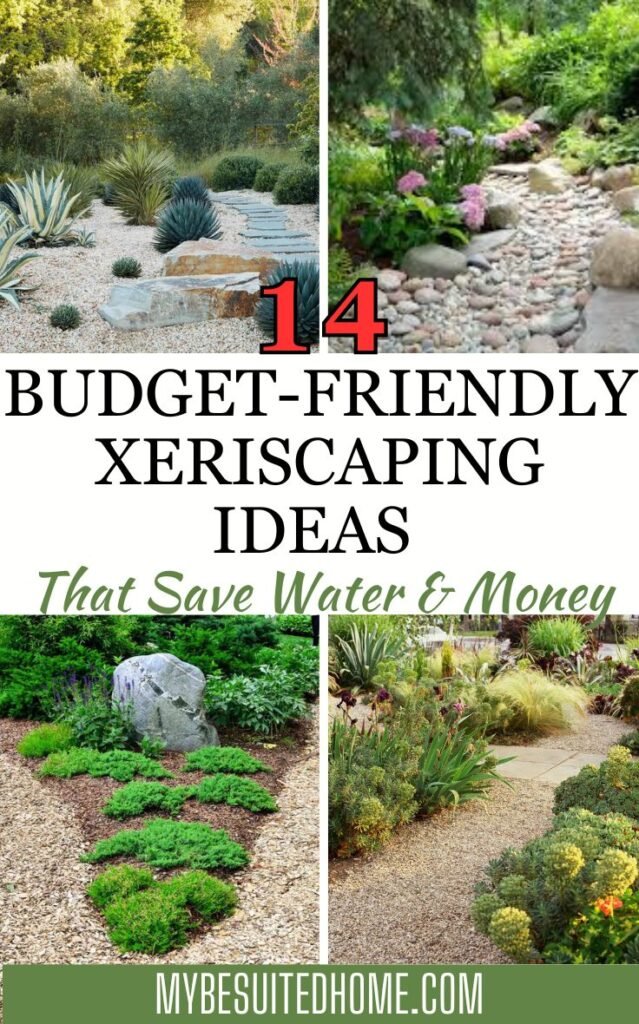
Looking for a gorgeous yard that doesn’t guzzle water or empty your wallet? Xeriscaping may be your new best friend. This water-wise landscaping method embraces native plants, efficient design, and sustainable practices. The result? A low-maintenance outdoor space that’s beautiful, budget-friendly, and built to thrive in any climate—especially dry ones.
Contrary to popular belief, xeriscaping isn’t just gravel and cacti. With the right strategies, you can create a thriving, colorful yard without the high costs or endless upkeep. Ready to transform your yard into a stylish oasis? Let’s explore 14 affordable xeriscaping ideas that are big on impact and low on budget.
What is Xeriscaping?
Xeriscaping is a landscaping approach that reduces or eliminates the need for supplemental irrigation. It’s particularly useful in drought-prone areas, but it benefits anyone looking to save water and cut back on landscape maintenance. The term comes from the Greek word xeros, meaning dry, but don’t let that fool you—xeriscapes can be vibrant, green, and full of life.
The key to xeriscaping is choosing water-efficient plants, grouping them by water needs, and using materials that help retain moisture in the soil. This method also emphasizes thoughtful planning and design, rather than just planting as you go. By being intentional with layout, soil, and irrigation, you’ll maximize water savings and visual appeal.
Best of all, xeriscaping doesn’t have to cost a fortune. In fact, many xeriscaping ideas can be done using materials you already have, DIY techniques, and clever plant selections. Here are 14 ideas to help you get started on a budget.
14 Xeriscaping Ideas on a Budget
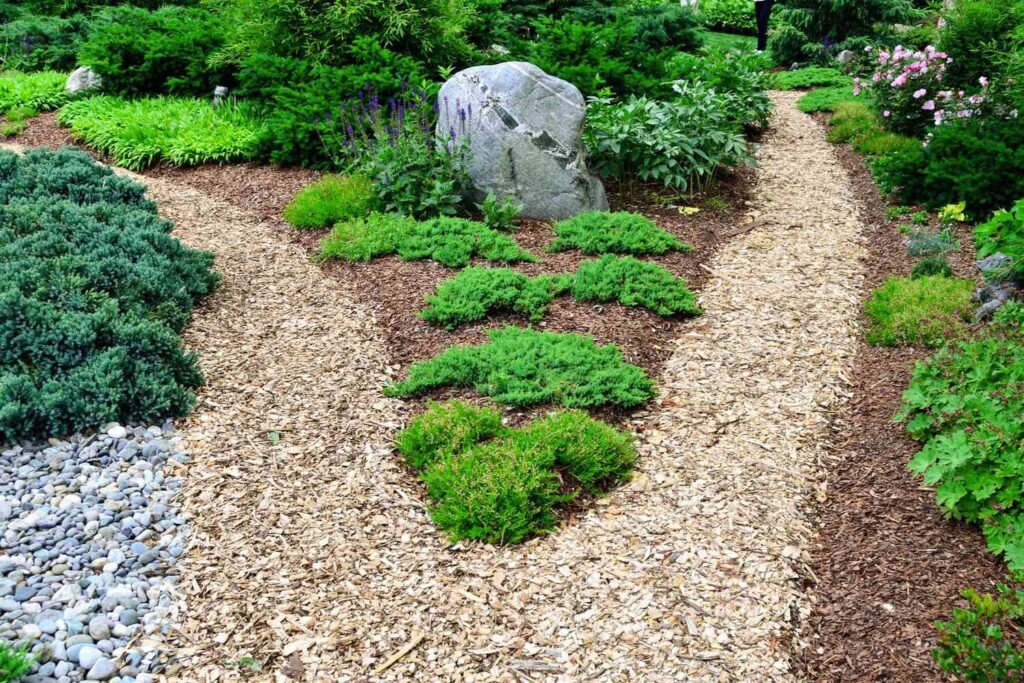
1. Start with Mulch
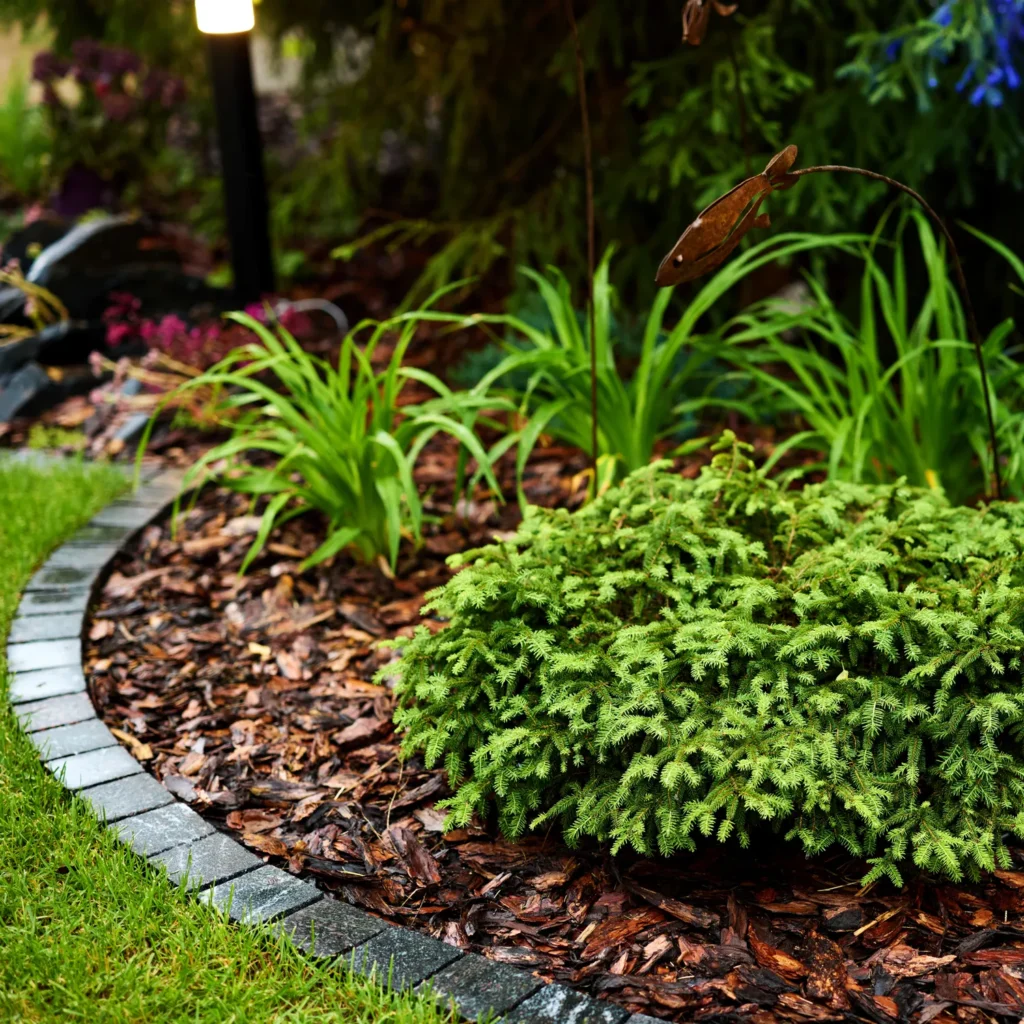
Mulch is one of the most cost-effective tools in xeriscaping. It helps lock in soil moisture, suppress weeds, and regulate soil temperature. Organic options like bark chips, straw, shredded leaves, or compost can often be sourced cheaply—or even for free from your own yard or local landscaping services.
By creating a thick layer of mulch (2–4 inches), you reduce the need for frequent watering, which can significantly lower your water bill. This is especially helpful during the hot summer months when evaporation rates are high. Mulching also improves soil health over time as organic materials break down and enrich the earth.
You don’t need to go fancy with store-bought mulch. Look into municipal compost giveaways, arborist wood chip programs, or use materials you have on hand like pine needles or newspaper. A little bit of creativity here can lead to major savings while giving your xeriscape a clean, finished look.
2. Use Native and Drought-Tolerant Plants
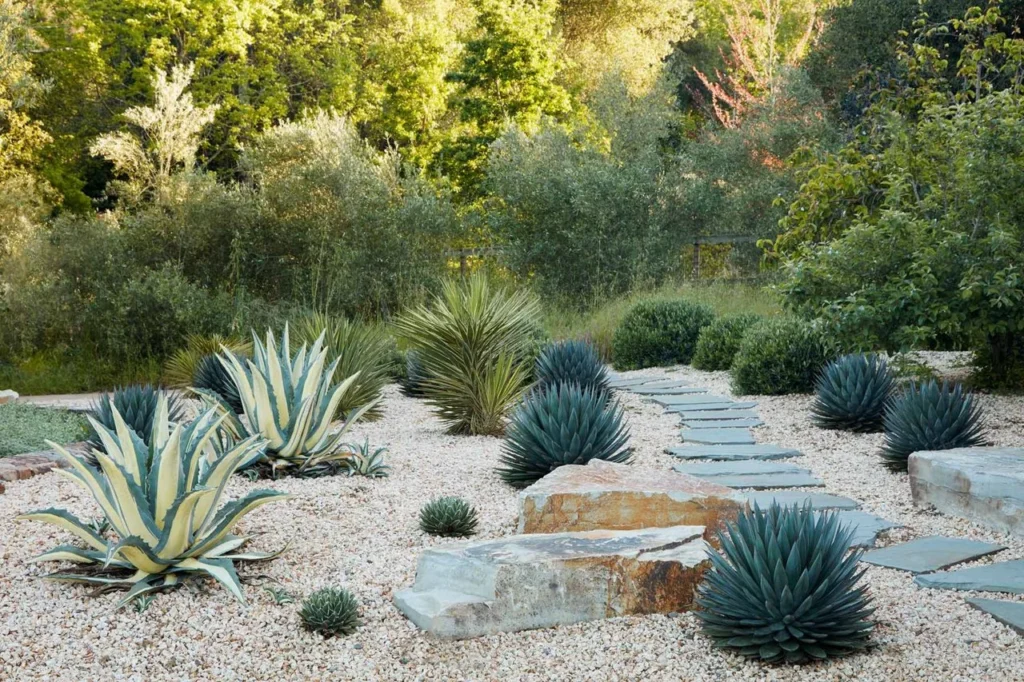
Native plants are a cornerstone of successful xeriscaping. They’re adapted to your local climate and soil conditions, meaning they require far less water, fertilizer, and maintenance than exotic species. Choosing these plants ensures your landscape thrives naturally, even during dry spells.
Drought-tolerant plants like lavender, sedum, yarrow, coneflowers, ornamental grasses, and succulents are excellent options. These hardy plants come in a wide range of colors, textures, and sizes, offering both visual variety and eco-friendliness. Group them according to sunlight and water needs to create a lush, cohesive design.
Look for native plant sales through local nurseries or garden clubs, which often offer lower prices than big-box stores. You can also swap cuttings with neighbors or propagate from existing plants to save even more money. Over time, your landscape will grow fuller without costing you extra.
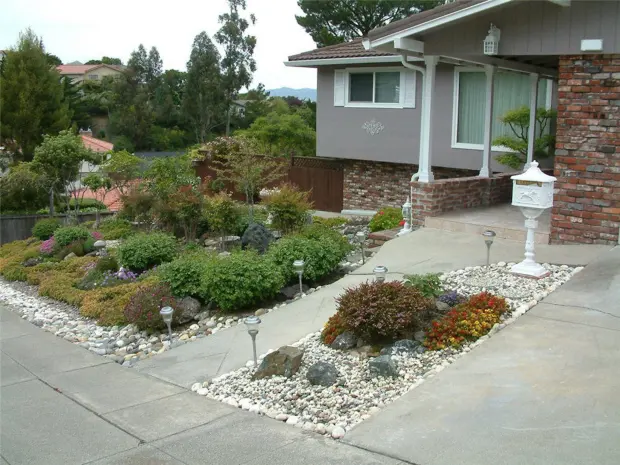
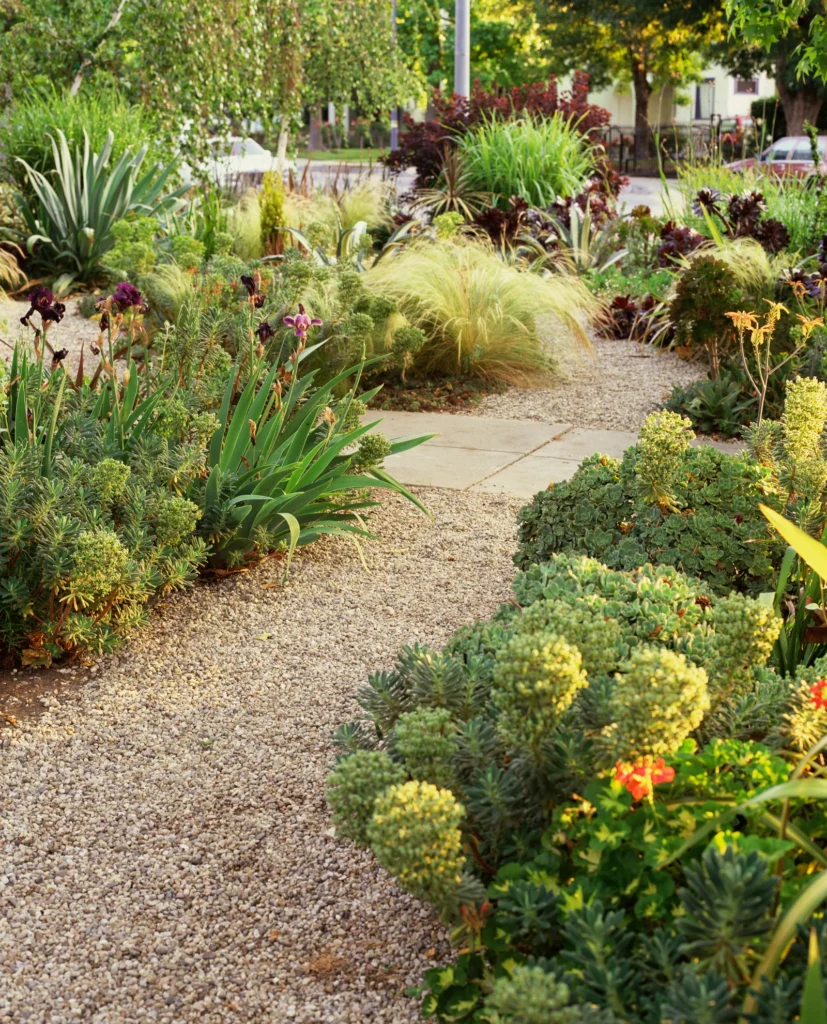
3. Incorporate Gravel and Decomposed Granite
Gravel and decomposed granite are excellent alternatives to grass or concrete. These materials are not only affordable but also allow for water permeability, which prevents runoff and supports healthy soil. Plus, they add a natural, rustic aesthetic to your yard.
Use gravel or DG to create walkways, patios, or accent areas around plants. You can also mix different textures and colors to add visual interest. These hardscaping elements require little to no upkeep and never need to be watered, making them a perfect match for a xeriscape garden.
To save money, check with local quarries or landscaping suppliers who often sell bulk materials at a discount. Some even allow you to bring your own container to haul smaller loads. If you’re working in phases, you can gradually add gravel over time, keeping your project budget-friendly.
4. Repurpose Old Materials

One of the best ways to keep xeriscaping costs down is by repurposing materials you already have. Old bricks, broken concrete, wood planks, and stones can be used for edging, pathways, or borders. These elements add character and charm while reducing the need to buy new landscaping supplies.
For example, concrete chunks (often called “urbanite”) can be laid like pavers to create unique garden paths. Weathered wood can be used for raised planters or trellises. Even rusty metal items, like old buckets or wheelbarrows, make charming planters that fit right into a rustic xeriscape vibe.
Check neighborhood giveaways, construction sites, or Facebook Marketplace for free materials. With a bit of creativity and DIY spirit, you can build functional, decorative elements that tell a story—without spending a dime.
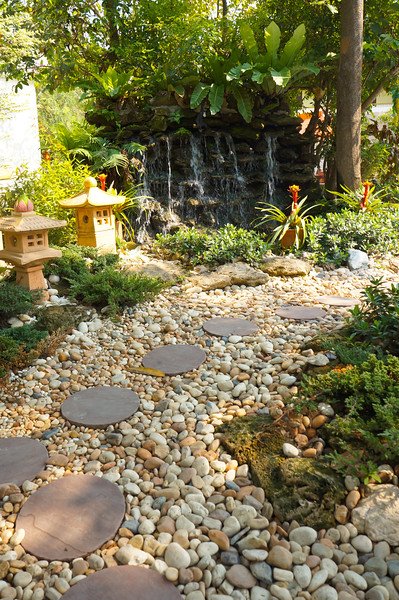
5. Create a Rock Garden
Rock gardens are the perfect xeriscaping feature for homeowners on a budget. They require zero water, can be built with free or inexpensive materials, and are incredibly low maintenance. They also add a sculptural, artistic touch to your landscape.
Start by collecting rocks in various sizes and colors. Arrange them naturally, mimicking how rocks are found in nature—clustered, layered, and partially buried. You can intersperse the rocks with low-water plants like hens-and-chicks, sedum, or creeping thyme for added interest.
Not only are rock gardens visually appealing, but they also help with drainage and erosion control. You don’t need to landscape your entire yard this way—a small rock feature in a corner or along a path can make a big impact at minimal cost.
6. Use Drip Irrigation Instead of Sprinklers

Traditional sprinklers can be inefficient, watering everything in sight—including sidewalks and weeds. Drip irrigation, on the other hand, delivers water directly to plant roots, reducing waste and ensuring plants get exactly what they need. It’s a more sustainable and budget-friendly way to water.
You can purchase a basic drip irrigation kit for less than $50 at most home improvement stores, and installation is often simple enough for a DIY weekend project. Once in place, the system can be automated with a timer to reduce manual watering and save you even more on your water bill.
Drip systems also prevent soil erosion and minimize weed growth by targeting only the desired areas. Over time, the savings on water and improved plant health more than pay for the initial investment—making it a smart xeriscaping upgrade.
7. Group Plants by Water Needs
“Hydrozoning” is the practice of grouping plants with similar water requirements together. This strategy allows for more efficient irrigation, reduces waste, and keeps your plants healthier. It’s also a simple design technique that brings order and logic to your xeriscape layout.
For example, place high-water-use plants near the house or rainwater collection areas, and drought-tolerant varieties further out where irrigation is minimal. This zoning reduces the need to overwater one area just to keep a thirstier plant alive nearby.
You’ll spend less on watering and avoid plant stress caused by inconsistent moisture levels. Over time, hydrozoning will help your garden grow more predictably and reduce your maintenance workload—especially if you’re working with a tight schedule or budget.
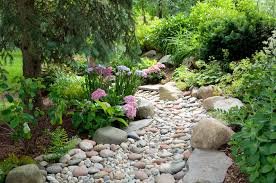
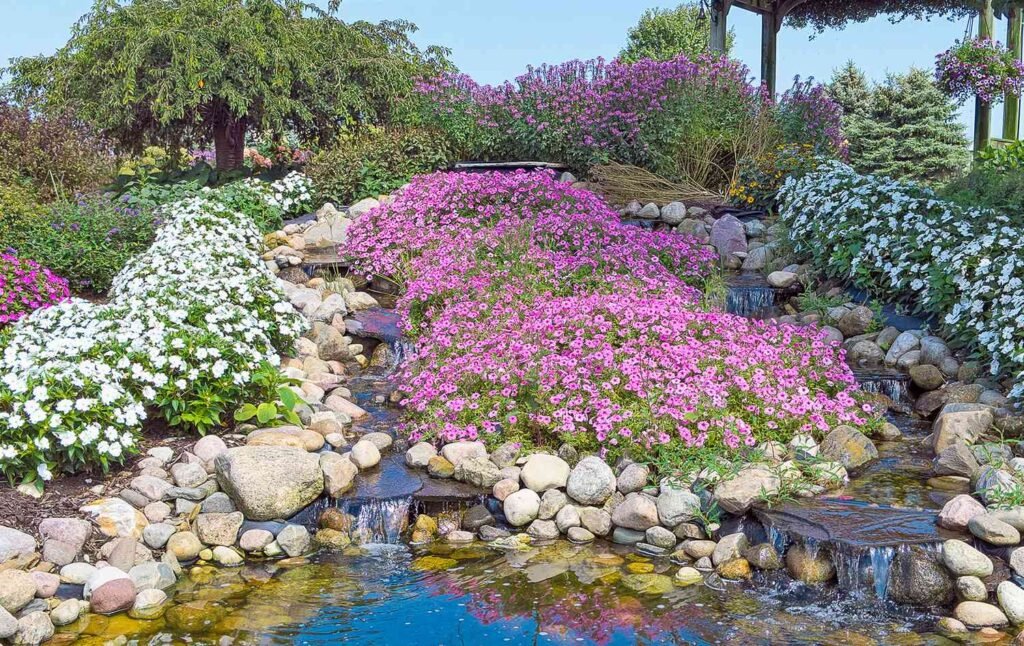
8. Add a Dry Creek Bed

A dry creek bed is a functional and decorative feature that mimics a natural stream using rocks and gravel. It helps manage rainwater runoff by directing it to plants or a rain garden, and it prevents pooling or erosion in problem areas. Best of all—it looks fantastic and costs very little to make.
You can design your dry creek bed to meander through your yard like a natural water feature. Line the path with river rocks or gravel, and border it with drought-tolerant plants or decorative boulders. It adds visual movement and texture to your space, even when dry.
Many homeowners build dry creek beds using leftover rocks, old bricks, or scavenged materials. They can also be a great DIY weekend project. With a little digging and creativity, you can build a feature that boosts curb appeal and solves drainage issues—on a shoestring budget.
9. Plant Groundcovers Instead of Grass
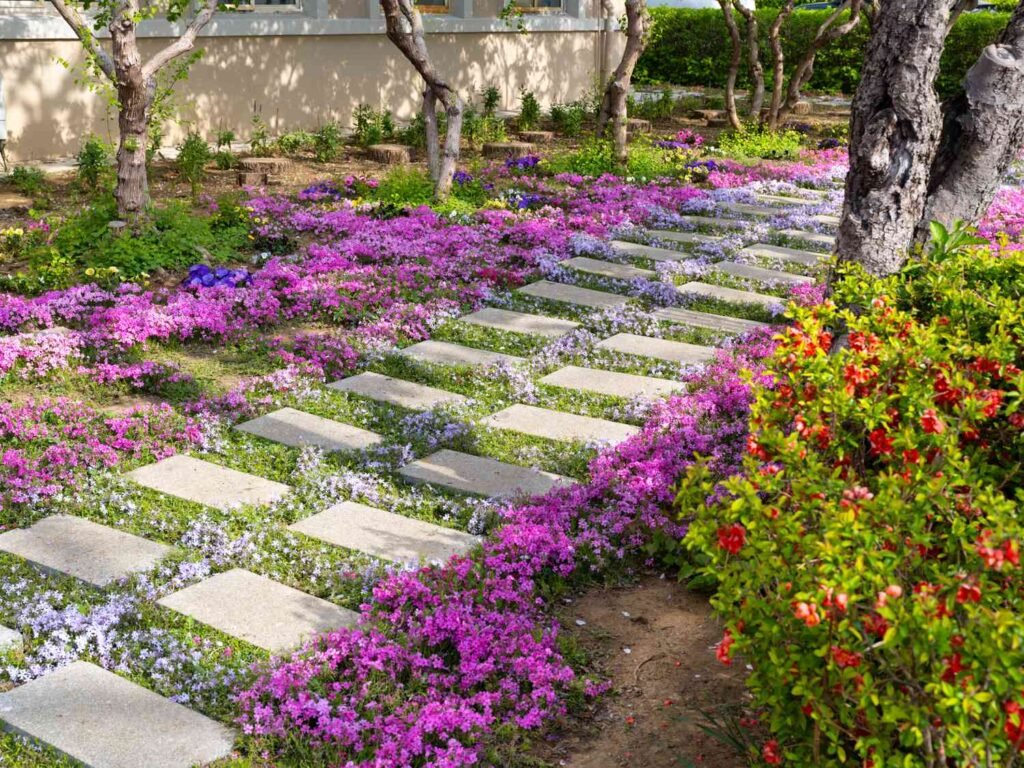
Grass lawns are high-maintenance, water-hungry, and expensive to upkeep. Swapping turf for drought-resistant groundcovers is a smart xeriscaping move. Groundcovers like creeping thyme, clover, blue star creeper, or ice plant provide green coverage with a fraction of the water needs.
These plants spread quickly, resist foot traffic, and often bloom with small, colorful flowers. Some, like creeping thyme, even release a pleasant scent when walked on. They’re ideal for covering large areas without the mowing, fertilizing, and watering demands of traditional lawns.
Establishing a groundcover lawn may cost a little upfront, but you’ll recoup that quickly in reduced water and maintenance bills. Look for plug trays or seed options to lower initial costs, and consider planting in phases to stay within budget.
10. Build Raised Beds with Salvaged Materials
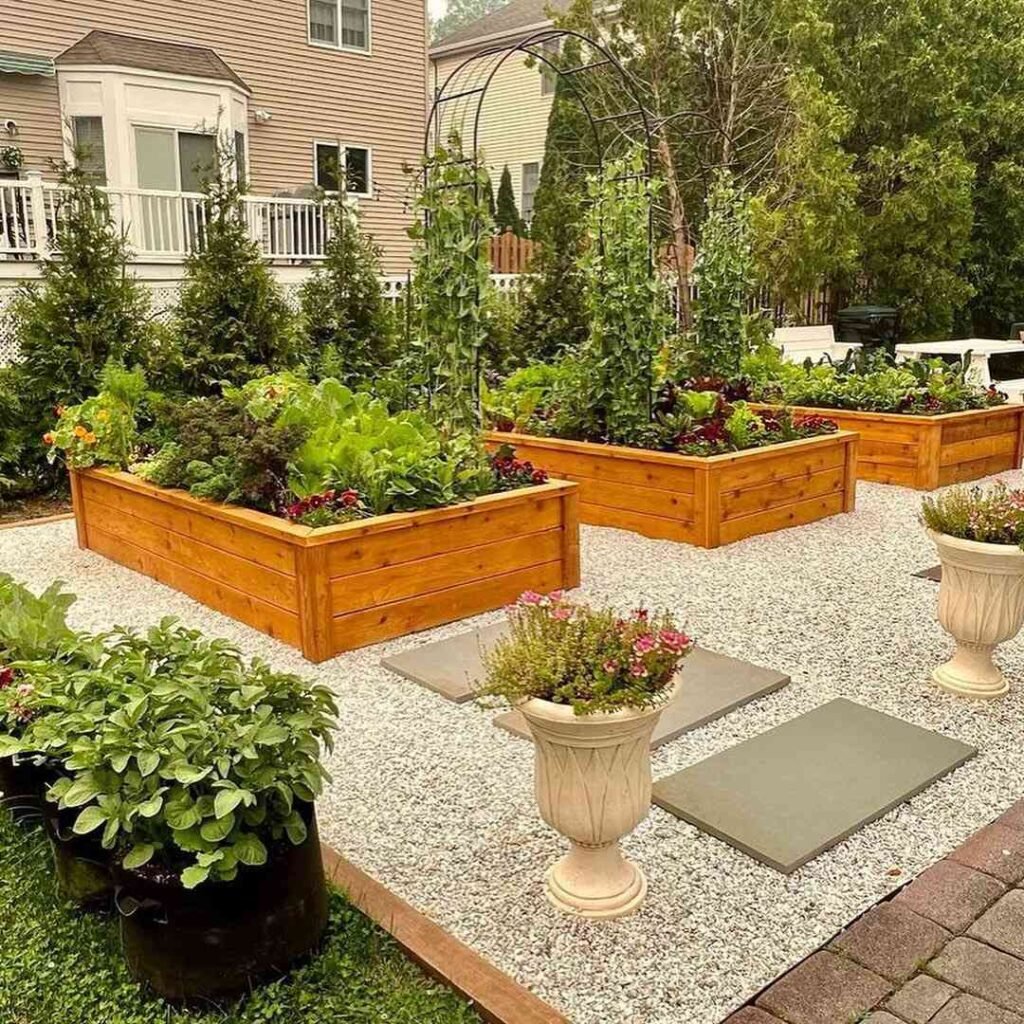
Raised beds are an excellent way to control soil quality and water usage. They allow for better drainage and help prevent water loss due to soil compaction. Plus, you can concentrate your efforts—and water—exactly where it’s needed most, rather than wasting resources across a sprawling yard.
Using salvaged materials to build your raised beds makes this even more budget-friendly. Old pallets, bricks, cinder blocks, or reclaimed wood can be repurposed to construct attractive and functional garden boxes. These materials are often free or inexpensive and bring a rustic charm to your landscape.
Once built, fill your beds with a quality soil mix and mulch the surface to retain moisture. Plant drought-tolerant herbs, vegetables, or flowers for a low-cost, high-reward gardening setup that supports both sustainability and style in your xeriscape.
11. Collect and Use Rainwater
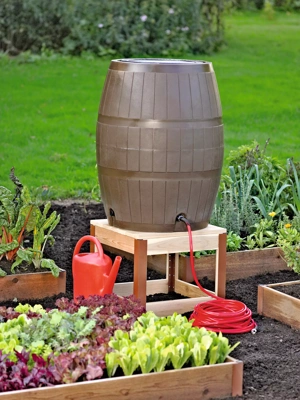
Harvesting rainwater is a smart, sustainable way to water your xeriscape for free. Even in drier climates, a single rainstorm can yield gallons of water—enough to keep your garden hydrated for days. Setting up a basic rain barrel system is simple and doesn’t have to cost much.
You can purchase a rain barrel kit or DIY one using a large trash can, screen, and spigot. Position it under a downspout to collect runoff from your roof. Use the stored water for deep watering your plants during dry periods, giving your irrigation system (and wallet) a break.
Not only does rainwater collection help conserve municipal water, but it’s also free of chemicals like chlorine, making it healthier for your plants. Pair your rain barrels with a drip system or watering can, and you’ll be stretching your budget and resources with ease.
12. Design with Shapes, Not Just Plants
Great xeriscape design isn’t only about the plants—it’s about the layout and shapes you use to organize the space. By focusing on geometry, lines, and patterns, you can create an eye-catching yard without having to fill every square foot with vegetation.
Consider using curved pathways, geometric gravel zones, or repeating plant shapes to create a sense of movement and structure. Negative space, such as open mulch or gravel areas, can be just as important as filled-in beds. These design strategies reduce the number of plants needed—thus lowering costs—while still making your yard look intentional and attractive.
This technique allows you to be creative without overspending. A well-designed xeriscape uses repetition, contrast, and texture in smart ways. With careful planning, your outdoor space can look magazine-worthy—even on a tight budget.
13. DIY Your Edging and Borders
Edging and borders are important for giving your xeriscape a clean, finished look. They define spaces, keep gravel or mulch in place, and help organize plant zones. Luckily, you don’t need expensive materials to create effective and attractive borders.
Use items like old bricks, stones, metal scraps, logs, or even recycled bottles to edge garden beds or paths. Lay them in creative patterns—like staggered or stacked arrangements—to bring a custom flair to your yard. These small touches go a long way in elevating the overall design.
Edging also helps reduce maintenance by keeping invasive plants or grasses from spreading into your xeriscaped areas. It adds structure without requiring ongoing work. With a little elbow grease and imagination, you can craft functional borders that cost next to nothing.
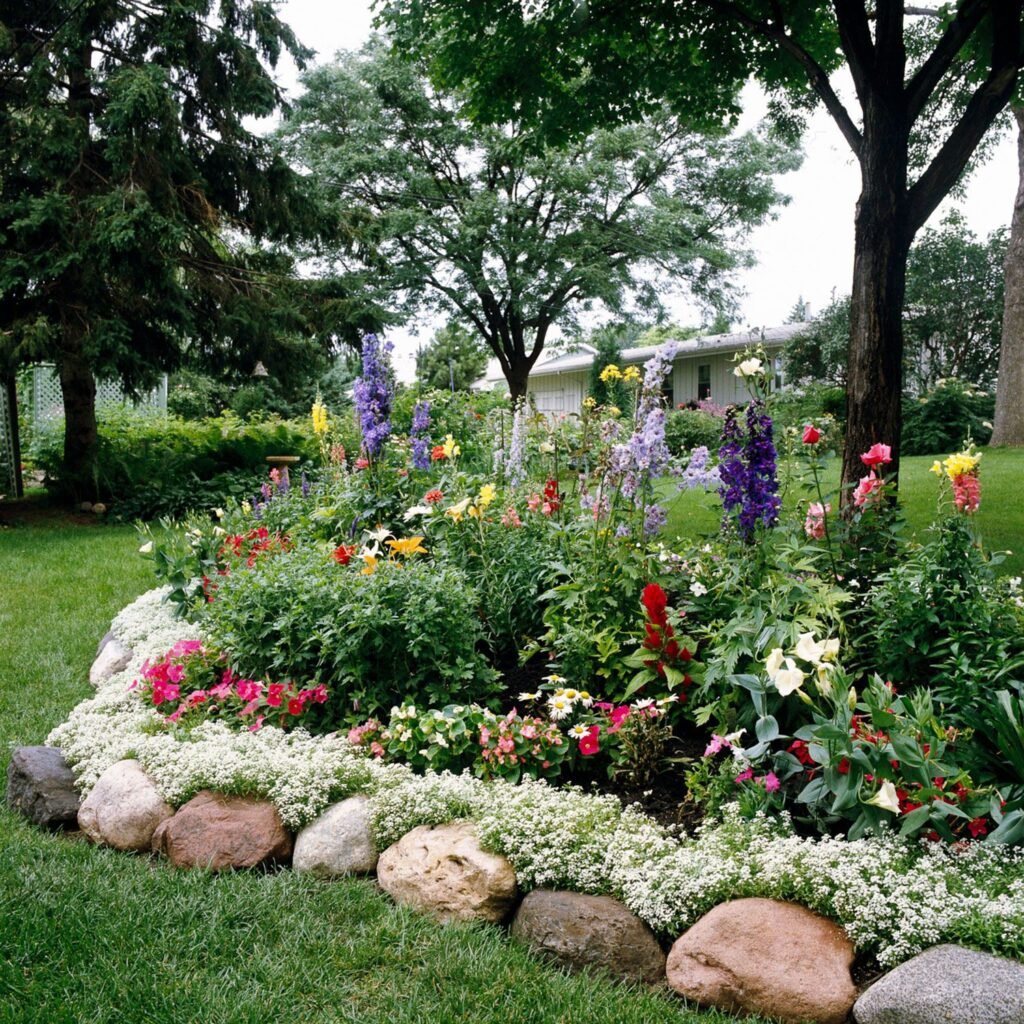
14. Focus on Low-Maintenance Perennials
Perennials are a xeriscaper’s best friend. These long-lasting plants return year after year, reducing the need to replant or replace greenery. When chosen wisely, perennials can fill your yard with color and texture without needing much water or care.
Look for drought-tolerant perennials like Russian sage, echinacea, black-eyed Susans, salvia, or daylilies. These plants are resilient, often pest-resistant, and able to survive with minimal irrigation once established. Plant them in strategic groupings for bold impact with minimal effort.
Many perennials can also be divided and propagated, which means you can multiply your landscape over time without additional cost. Start with a few hardy varieties and let them grow into an abundant, low-maintenance display that saves both water and money season after season.
Final Thoughts
You don’t need a huge budget to create a lush, inviting xeriscape. By focusing on native plants, smart design, and repurposed materials, you can build a sustainable outdoor space that saves water, reduces maintenance, and looks amazing. Whether you’re transforming your entire yard or just starting with a corner, these budget-friendly xeriscaping ideas will help you make the most of every drop—and every dollar.