

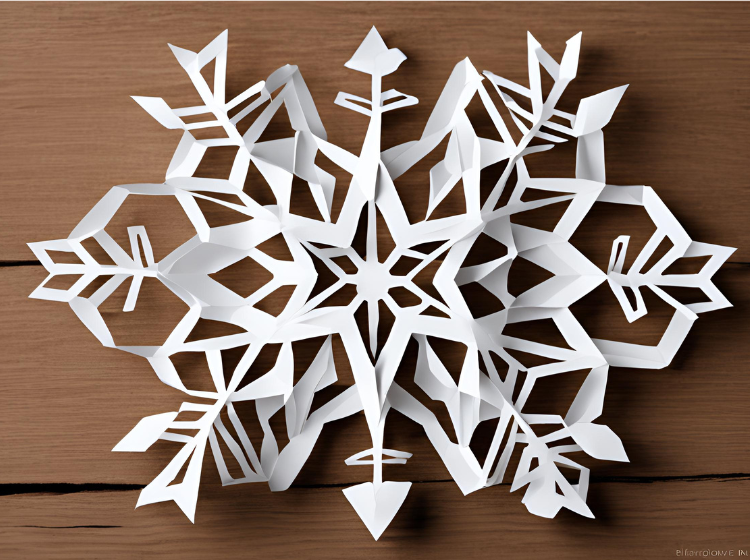
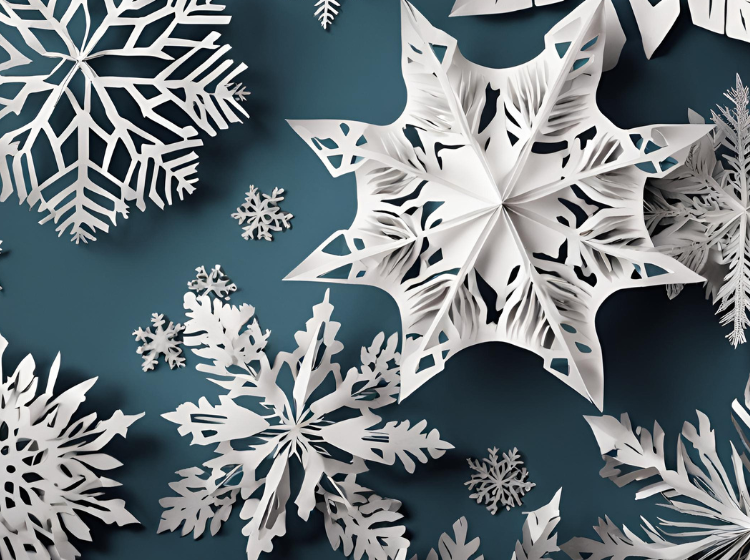
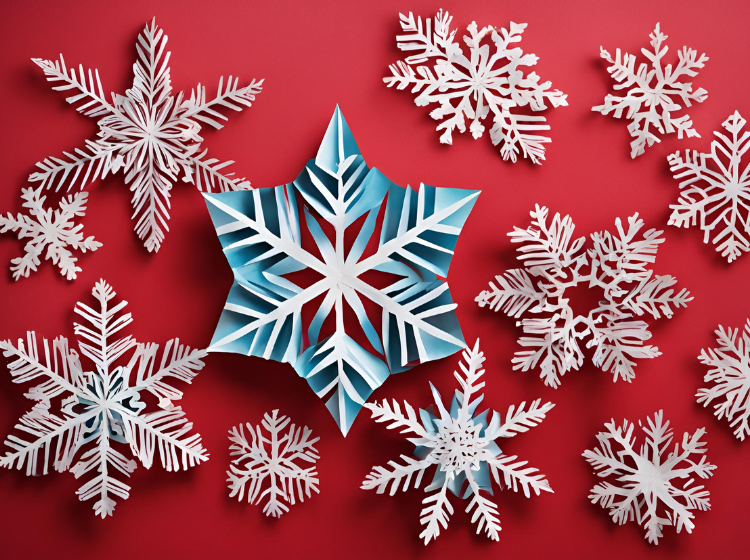
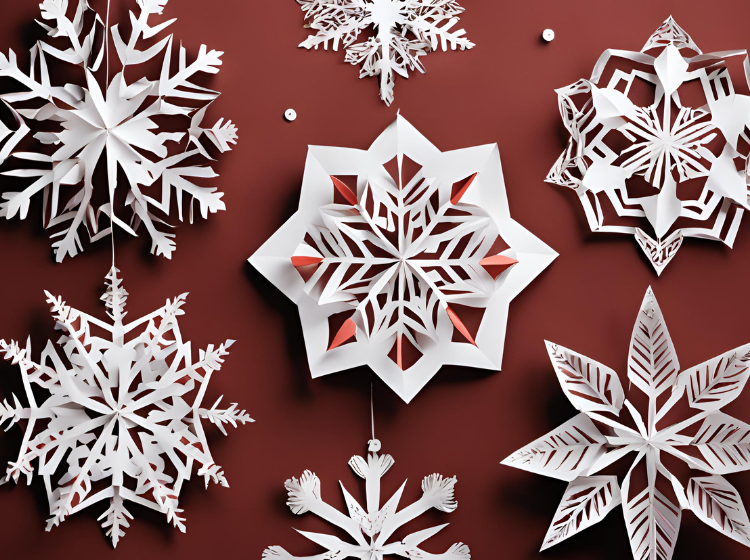
As winter blankets the world in a soft layer of snow, what better way to celebrate the season than by creating beautiful paper snowflakes? This delightful activity combines creativity, fine motor skills, and a little bit of science, making it an excellent project for kids. Not only do paper snowflakes serve as charming decorations, but they also allow children to explore their artistic side while learning about symmetry and patterns. In this blog, we’ll explore 20+ easy DIY paper snowflake ideas that will keep kids engaged and entertained throughout the winter months.
The Basics of Paper Snowflakes
Materials Needed
To get started on your paper snowflake-making adventure, you’ll need just a few simple materials. Gather different types of paper, such as construction paper, white printer paper, or even colored paper to make vibrant snowflakes. A good pair of scissors is essential for cutting out the intricate designs, and having a pencil on hand for sketching can help children plan their snowflake patterns before cutting.
While the basics are straightforward, feel free to add a touch of flair with optional materials. Glitter, markers, or colored pencils can transform ordinary snowflakes into dazzling decorations. These added elements can enhance creativity and provide an opportunity for children to express their personalities in their designs.
Basic Folding Technique
Before diving into unique snowflake designs, it’s crucial to master the basic folding technique that creates the signature six-point shape of most snowflakes. Start by taking a square piece of paper and folding it in half diagonally to form a triangle. Next, fold the triangle in half again, bringing the two corners together. Finally, fold it once more by bringing the top point down towards the bottom edge, creating a smaller triangle.
With the triangle shape secured, it’s time to start cutting. Using scissors, kids can snip away at the edges to create various patterns, but remind them to avoid cutting through the center point to keep the snowflake intact. After making the cuts, unfold the paper gently to reveal a beautiful snowflake design. This basic technique will serve as the foundation for the more intricate ideas to come.
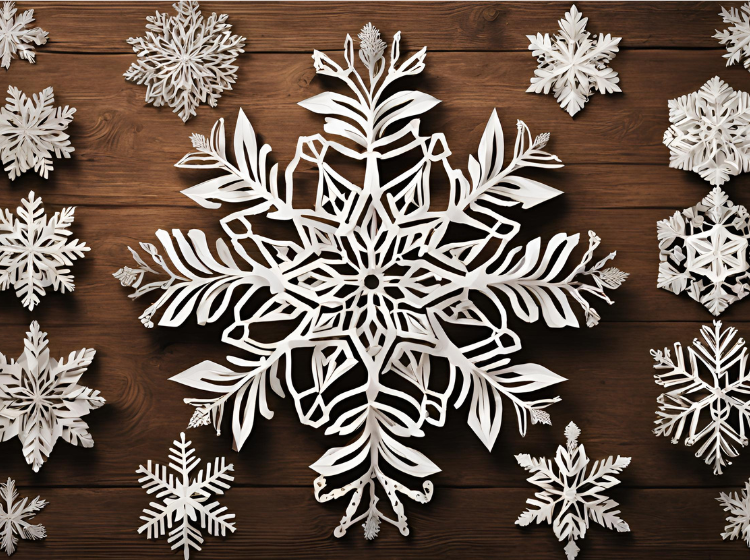
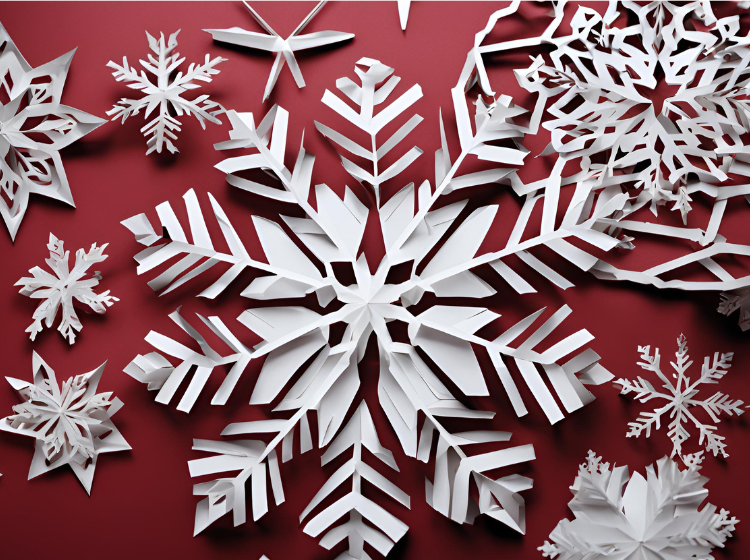
21 Easy DIY Paper Snowflake Ideas
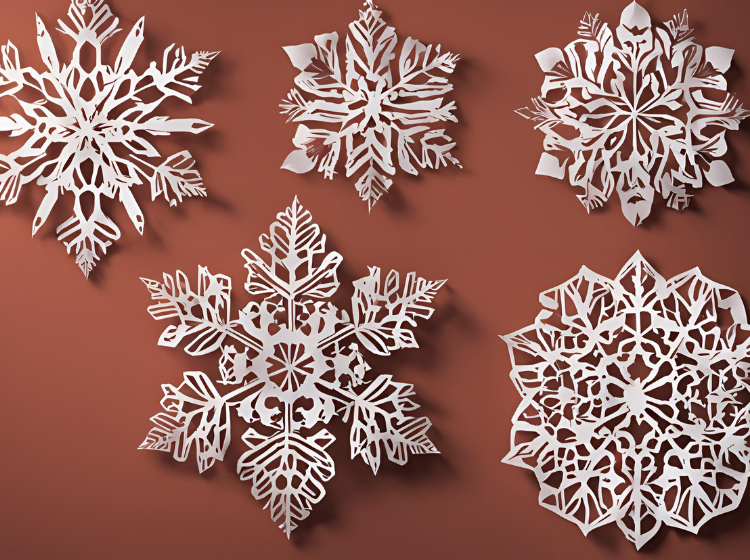
1. Classic Six-Point Snowflake
The classic six-point snowflake is the quintessential winter craft. To create this timeless design, begin with a square piece of white paper. Fold it diagonally twice to form a smaller triangle, ensuring the folds are sharp and precise. As kids cut, they can explore various shapes—triangles, curves, or scallops—along the edges.
Once the cuts are made, unfold the paper slowly to reveal a stunning snowflake pattern. Kids can use this opportunity to discuss the beauty of symmetry, as each section of the snowflake mirrors the others. Encourage them to try different styles and designs, making each snowflake unique. These classic creations can be hung in windows or on walls, bringing the winter spirit indoors.
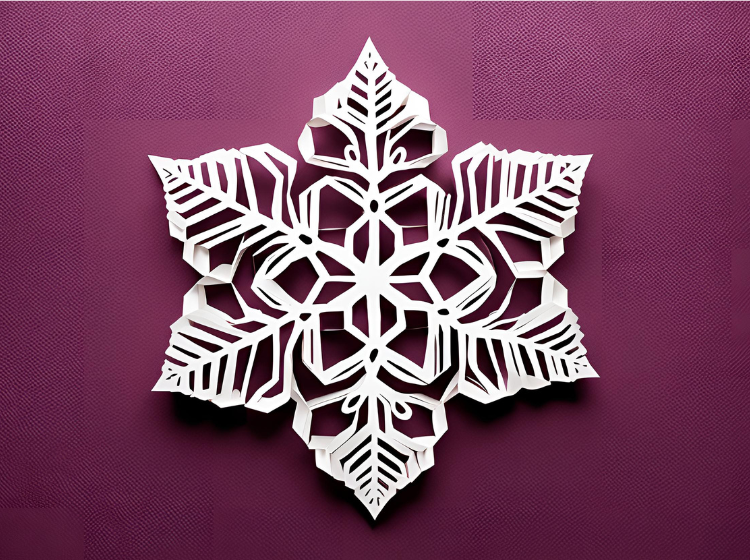
2. Geometric Snowflakes
Geometric snowflakes offer a fantastic opportunity for kids to explore shapes and angles. To create these designs, start with a square piece of paper, following the basic folding technique outlined earlier. However, as children cut the edges, they should focus on geometric patterns, such as hexagons, circles, or even triangles.
The beauty of geometric snowflakes lies in their precision. Encourage kids to think about how different shapes interact with one another. For instance, cutting small triangles within larger shapes can create intricate designs that captivate the eye. These snowflakes are perfect for kids who enjoy math and geometry, blending artistic creativity with mathematical concepts. Display them prominently to showcase the beauty of shapes during the winter season.
3. Heart-Shaped Snowflake
For a delightful twist on traditional snowflakes, kids can create heart-shaped snowflakes that embody the warmth of love during the chilly winter months. Start by folding a square piece of paper into the classic triangle shape, as with other snowflakes. This time, however, the design will feature heart motifs, making it a fun and engaging project.
To create the heart shape, kids can cut out a small dip at the top of the triangle, followed by rounded cuts along the edges. Once unfolded, the result will be a charming snowflake adorned with hearts. This design can spark conversations about love and friendship, making it a perfect craft for Valentine’s Day or winter celebrations. Kids can even hang them as decorations to brighten up the space during the cold months.
4. Starry Snowflakes
Starry snowflakes can add a magical touch to winter decorations. To create these sparkling designs, start with a square piece of paper folded into the standard triangle. As children cut, they can focus on making star points by creating sharp angles or notched edges.
Encourage kids to experiment with varying the length and sharpness of the points. The key is to create a snowflake that resembles a star, with six points radiating outward. Once unfolded, the star-shaped snowflake can be adorned with glitter or metallic markers to give it a shimmering effect, reflecting the beauty of winter nights. These snowflakes can be hung in windows or from ceilings to create a celestial winter wonderland in any room.
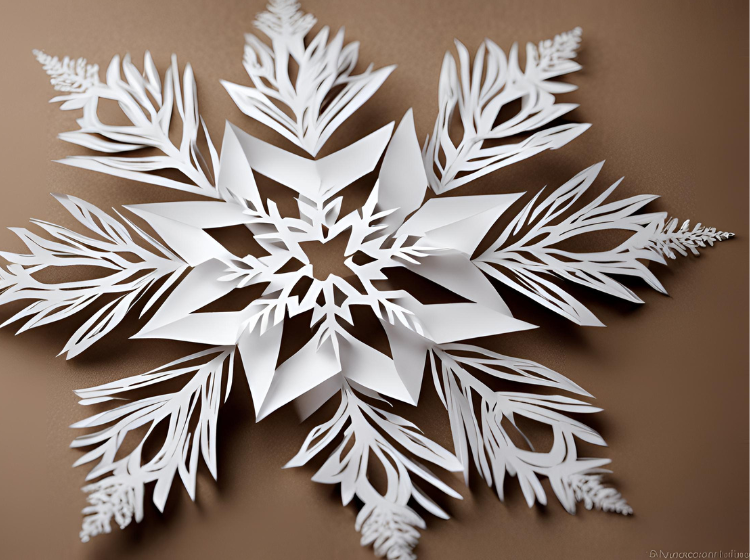
5. Nature-Inspired Snowflakes
Nature-inspired snowflakes are a wonderful way for kids to connect art with the beauty of the natural world. To craft these snowflakes, start with the basic folding technique and encourage kids to think about elements from nature—such as leaves, flowers, or snowflakes themselves.
As they cut, they can create designs that resemble petals or branches, allowing for endless creativity. Kids can also experiment with colors, using green and brown paper to mimic leaves or vibrant colors for flowers. Once completed, these nature-inspired snowflakes can be displayed alongside other winter crafts, making them a beautiful addition to any seasonal decor. This project can also lead to discussions about the beauty of nature and its influence on art.
6. Layered Snowflakes
Layered snowflakes add depth and dimension to traditional designs. To create these, begin by making multiple snowflakes using the basic folding technique. Each snowflake can be cut in a different pattern, allowing kids to explore various designs.
Once the snowflakes are made, children can layer them on top of one another, using glue or tape to secure them together. This method creates a stunning 3D effect, making the snowflakes appear more intricate and unique. Kids can experiment with color combinations and patterns to create layered snowflakes that stand out as decorations. These pieces can be hung from the ceiling or displayed on walls to create an eye-catching winter scene.
7. Animal-Themed Snowflakes
Animal-themed snowflakes bring a playful twist to traditional designs. Kids can create snowflakes that resemble their favorite animals, such as owls, penguins, or even whimsical creatures. Start by folding a square piece of paper using the standard triangle method, then encourage kids to sketch animal shapes before cutting.
For example, an owl snowflake might include large eyes and wings, while a penguin snowflake could feature rounded shapes to resemble the bird’s body. This activity not only fosters creativity but also encourages kids to think about animal characteristics and features. Once finished, these adorable animal snowflakes can be displayed as part of a winter-themed craft collection, adding charm and personality to the decorations.
8. Holiday-Themed Snowflakes
Holiday-themed snowflakes are a fantastic way to celebrate the festive spirit during winter. To create these snowflakes, kids can follow the standard folding technique and then incorporate holiday motifs such as Christmas trees, stars, or menorahs into their designs.
Encourage children to use colors associated with various holidays—reds and greens for Christmas, blues and whites for Hanukkah. As they cut their designs, remind them to think about the symbols that represent their favorite holidays. These festive snowflakes can be hung around the house to create a warm, celebratory atmosphere during the winter season. They also provide an excellent opportunity to teach kids about the different holiday traditions celebrated around the world.
9. Stencil Snowflakes
Using stencils can elevate the snowflake-making experience by allowing kids to create intricate designs with ease. Start by finding or creating snowflake stencils using cardstock or thin cardboard. Kids can then place the stencil on a square piece of paper and trace around it with a pencil.
After tracing, children can cut out the design, revealing a beautifully detailed snowflake pattern. This method encourages creativity while also teaching children about precision and planning. Stencil snowflakes can be made in various sizes and colors, making them versatile decorations. Displaying these unique designs adds an artistic flair to winter decor, showcasing kids’ creativity and talent.
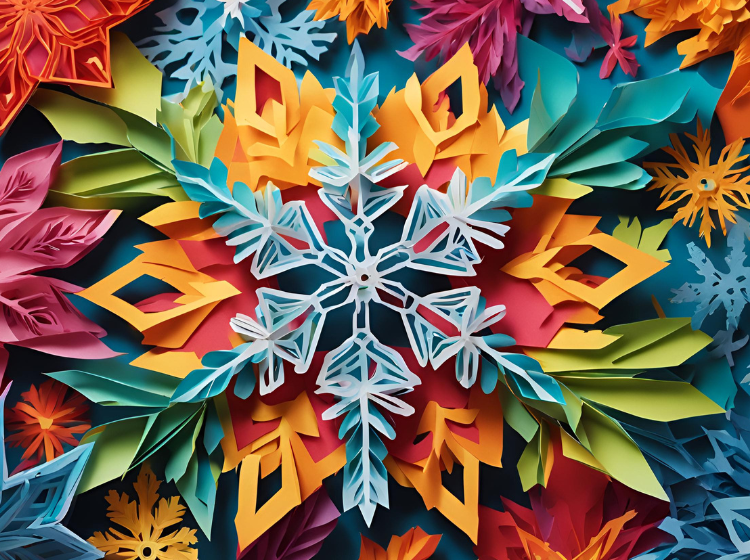
10. Colorful Snowflakes
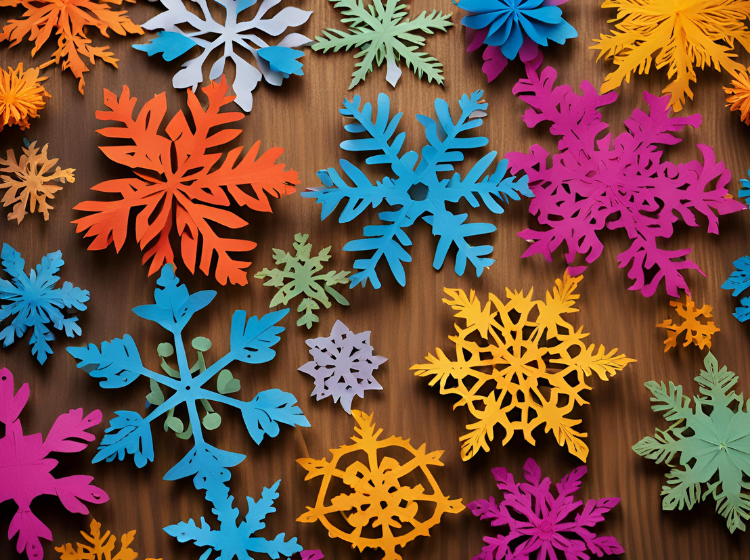
Colorful snowflakes can brighten up any winter decor and inspire kids to explore their artistic side. To create these vibrant designs, start with colored paper instead of traditional white. Kids can use a variety of colors to make a playful assortment of snowflakes.
As they cut their designs, encourage them to think about color combinations and patterns that appeal to them. Mixing different colors can lead to striking effects, making each snowflake a unique masterpiece. Once completed, these colorful creations can be strung together to form garlands or used as standalone decorations. They bring a joyful burst of color into the home during the otherwise muted winter season.
11. Mini Snowflakes
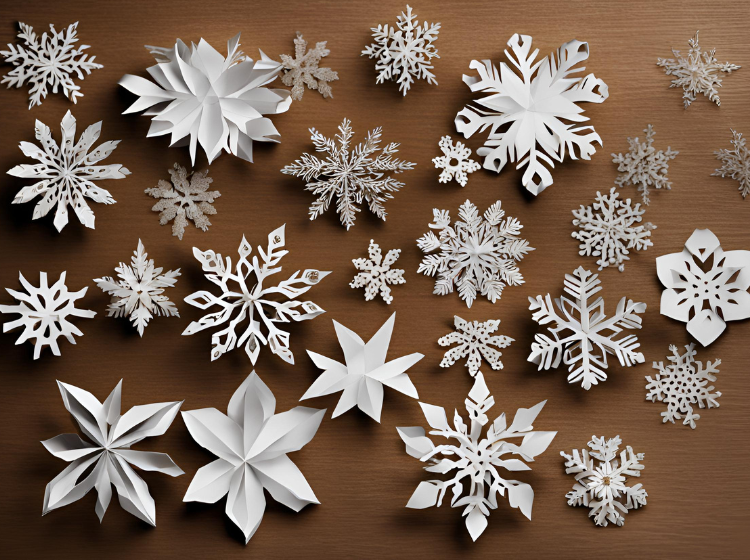
Mini snowflakes add an intricate detail to winter crafts and can be a fun challenge for kids. To create these tiny treasures, start with small squares of paper—perhaps 2 or 3 inches in size. Kids can follow the same folding technique, but the smaller size requires more precision in cutting.
Encourage them to experiment with different patterns and designs. These mini snowflakes can be used in various crafts, such as adorning greeting cards or decorating gift packages. They can also be hung individually from strings to create a delicate winter wonderland effect. The challenge of creating mini snowflakes enhances fine motor skills while resulting in charming decorations.
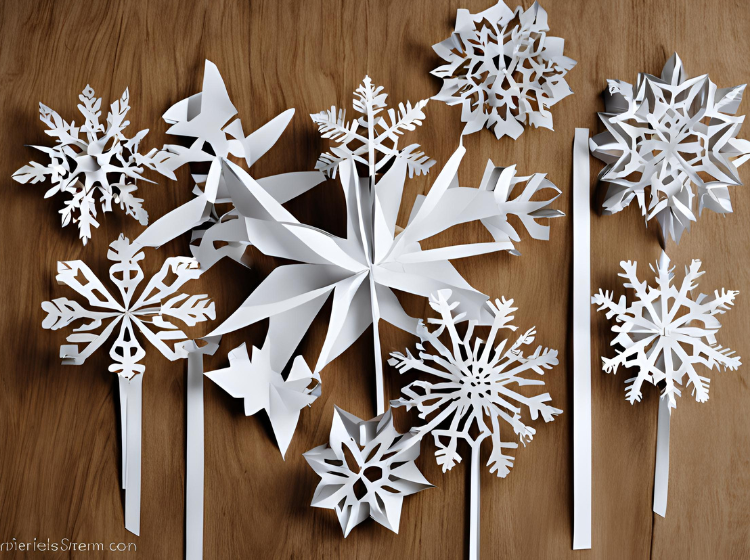
12. Giant Snowflakes
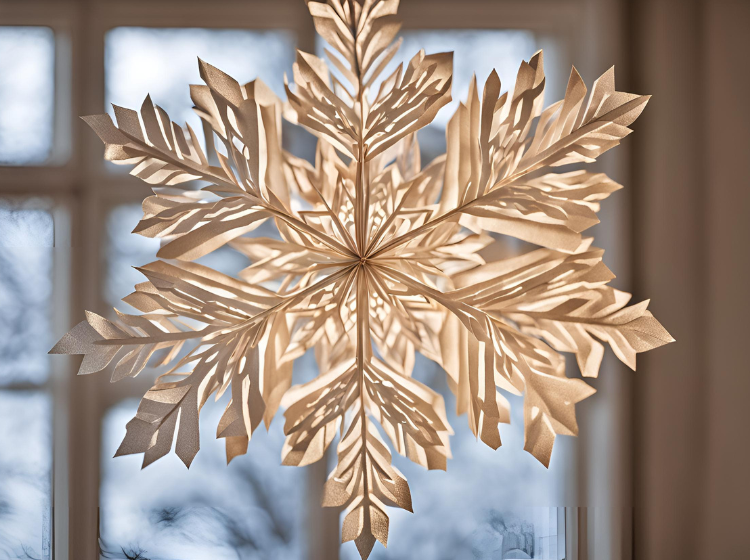
For a dramatic effect, giant snowflakes can serve as stunning focal points in winter decor. To create these oversized designs, start with large sheets of paper—construction paper or even butcher paper works well. Use the standard folding technique but encourage kids to cut larger, bolder shapes for a more substantial look.
Once completed, these giant snowflakes can be hung from the ceiling, attached to walls, or even placed in windows to create a breathtaking display. They can also serve as backdrops for holiday gatherings or winter-themed parties. Kids will love the excitement of making something so large, and the end result is sure to impress friends and family alike.
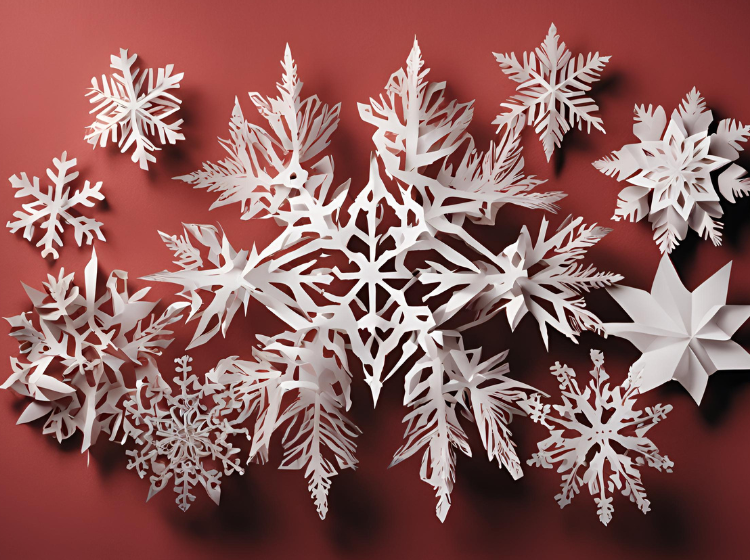
13. Snowflake Garland
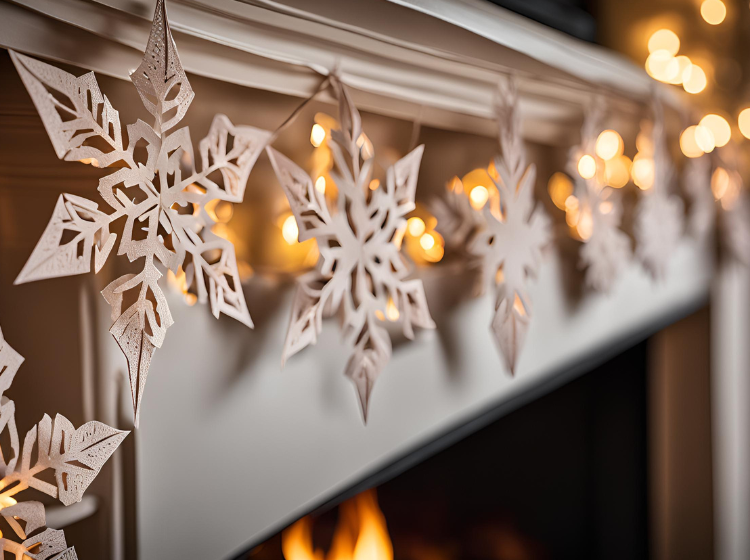
Creating a snowflake garland is a fun way to showcase multiple snowflakes at once. Start by making several snowflakes using various designs, colors, and sizes. Once you have a collection, kids can use a long piece of string or ribbon as the base for their garland.
To assemble, kids can glue or tape each snowflake to the string, spacing them out evenly for a balanced look. This project encourages collaboration as kids can work together to create a beautiful winter decoration for their home. Hang the finished garland across windows, doorways, or mantels to add a festive touch to any room. The snowflake garland will be a wonderful reminder of their creativity throughout the season.
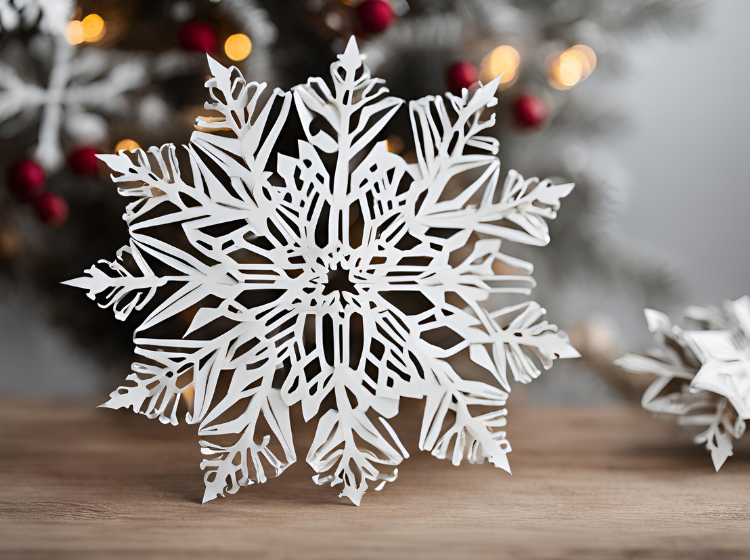
14. Snowflake Ornaments
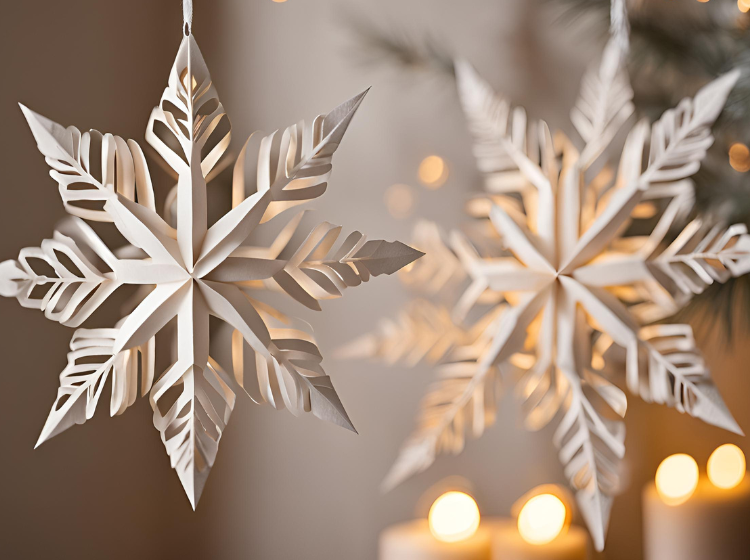
Turning paper snowflakes into hanging ornaments is a delightful way to add charm to holiday decorations. Begin by creating several snowflakes using the standard folding technique. Once the snowflakes are complete, kids can use a hole punch to make a small hole at the top of each design.
Next, thread a piece of string or ribbon through the hole and tie a knot to create a loop for hanging. These paper ornaments can be used to decorate trees, hang from door knobs, or embellish gift packages. Kids will love the opportunity to create their own decorations, adding a personal touch to holiday festivities. These ornaments also make wonderful gifts for family and friends, spreading the joy of handmade crafts.
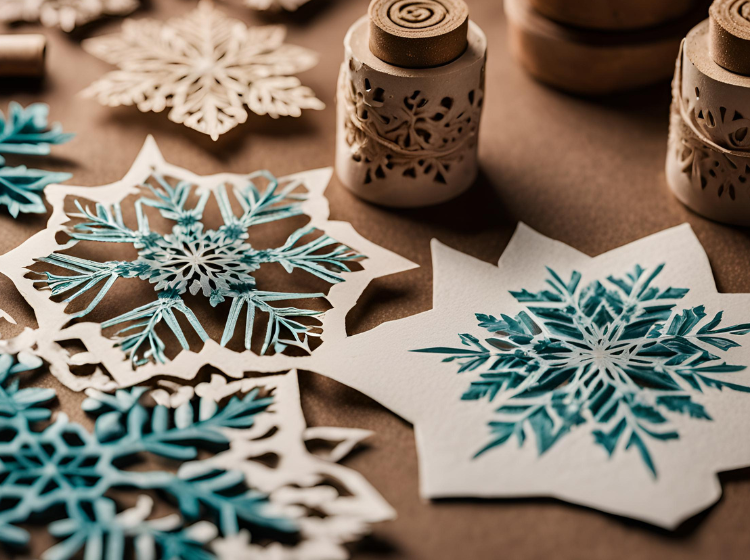
15. Watercolor Snowflakes
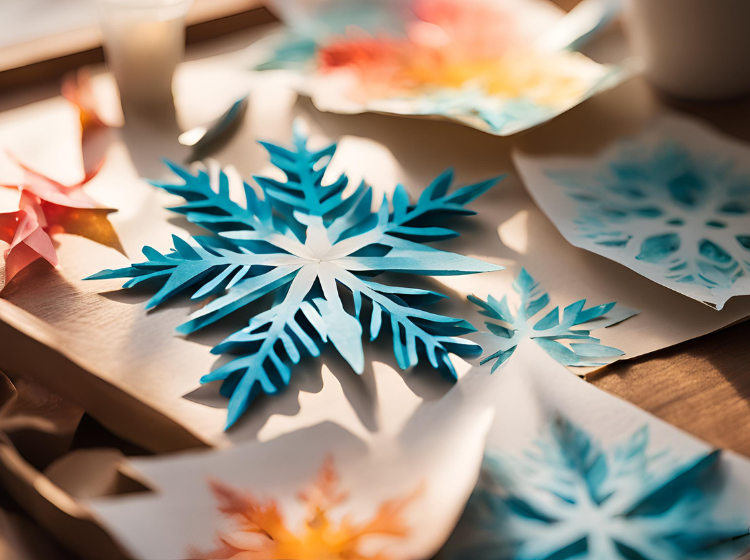
Watercolor snowflakes provide a unique twist on traditional designs, allowing kids to explore painting techniques. Start by creating a snowflake cutout using the standard folding method. Instead of coloring with markers or crayons, kids can use watercolors to paint their designs, creating beautiful blends and effects.
As they paint, encourage children to experiment with different color combinations, allowing the colors to flow and blend together. Once dry, these watercolor snowflakes can be hung in windows or displayed as art pieces. The soft, flowing colors will capture the essence of winter and bring a unique artistic flair to home decor. This activity combines creativity with artistic techniques, providing an excellent opportunity for children to express themselves.
16. Glitter Snowflakes
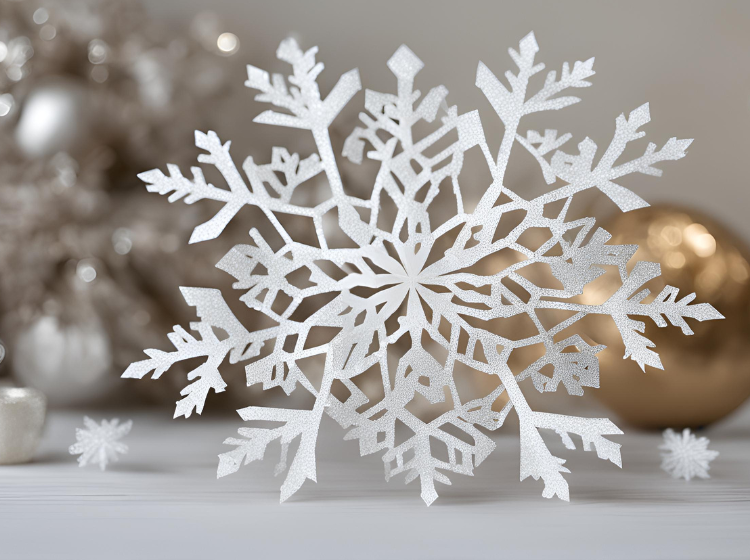
Glitter snowflakes add an enchanting sparkle to winter decorations, making them perfect for festive occasions. To create these dazzling designs, start by making traditional paper snowflakes using the basic folding technique. Once the snowflakes are cut out, it’s time to bring out the glitter.
Using glue, kids can apply a thin layer to select areas of their snowflakes before sprinkling glitter on top. Shake off any excess glitter, and allow the glue to dry. The result is a beautiful, sparkling snowflake that catches the light in the most delightful way. These glittery creations can be displayed prominently in windows, or hung from ceilings, adding a magical touch to any winter decor. Glitter snowflakes can also inspire discussions about how light interacts with surfaces, adding an educational element to the crafting experience.
17. Snowflake Painting
Using snowflake cutouts as stencils for painting is a creative way to incorporate art into winter crafts. Kids can start by cutting out snowflake shapes using the standard folding method. Afterward, they can place their snowflake stencils on a blank canvas or sheet of paper and use paintbrushes or sponges to apply paint around the stencil.
Once the paint dries, children can carefully lift the stencil to reveal a beautiful snowflake shape left on the canvas. This technique allows for experimentation with colors, patterns, and backgrounds, making it a fun and artistic project. Kids can create a series of snowflake paintings, showcasing their artistic flair while decorating their walls for winter. This project encourages creativity and artistic exploration while reinforcing the concept of negative space in art.
18. Educational Snowflakes
Paper snowflakes can also serve as educational tools, offering opportunities for learning while crafting. Kids can create snowflakes while discussing concepts such as symmetry, counting, and shapes. Start with the standard folding technique and encourage children to think about how many points their snowflake will have and how to make each section equal.
As they cut out designs, kids can learn about different geometric shapes and how they can combine to form intricate patterns. This hands-on activity allows for creative expression while reinforcing important math and science concepts. Snowflakes can also spark conversations about weather, winter, and the science behind snowflakes’ unique structures. Displaying their snowflakes alongside educational notes can create a fun and interactive winter learning experience.
19. Snowflake Collage
Creating a snowflake collage is a fantastic way to combine various snowflake designs into one cohesive artwork. To start, gather several paper snowflakes made from different colors, patterns, and sizes. Children can use the basic snowflake cutting technique and mix it up with unique shapes and designs.
Once a collection of snowflakes is created, kids can arrange them on a larger piece of cardstock or poster board. Encourage them to experiment with layering, spacing, and arranging the snowflakes to form an artistic collage. They can glue each snowflake down once they are satisfied with the layout. This project not only fosters creativity but also teaches kids about composition and balance in art. The finished collage can be displayed as a vibrant winter decoration, showcasing their creative efforts.
20. Snowflake Stamps
Using snowflakes as stamps adds a unique twist to traditional paper crafts. To create snowflake stamps, start by cutting out snowflake shapes from sponges or foam sheets. Kids can glue these shapes onto a flat surface, such as a wooden block or cardboard, to create a stamping tool.
Once the stamps are ready, children can dip them into paint or ink and stamp them onto paper, creating a beautiful snowflake pattern. This method allows kids to explore color combinations and patterns, resulting in unique, handcrafted winter art. The stamped creations can be used as greeting cards, gift wrap, or standalone art pieces. This activity encourages creative expression while introducing kids to the concept of printmaking in a fun and engaging way.
21. Snowflake Puppets
Turning paper snowflakes into playful puppets is a creative and interactive way to bring the crafts to life. To create snowflake puppets, start with the standard snowflake cutting technique. Once the snowflakes are complete, kids can glue them onto popsicle sticks or straws to make them easy to hold.
After the snowflakes are mounted on sticks, children can decorate them with markers, glitter, or googly eyes to add personality. This project not only sparks creativity but also encourages imaginative play. Kids can use their snowflake puppets to put on winter-themed stories or performances, combining art with storytelling. This activity fosters creativity and enhances fine motor skills while providing an opportunity for imaginative play. Displaying the puppets around the house can also add a whimsical touch to winter decorations.
Displaying Your Paper Snowflakes
Creative Ways to Showcase Snowflakes
Once the snowflakes are complete, it’s time to display them! There are numerous creative ways to showcase these beautiful creations throughout your home. Hang them from the ceiling with clear fishing line to create a whimsical winter wonderland effect. Alternatively, attach them to windows using removable tape, allowing the sunlight to illuminate their intricate designs.
Kids can also create a snowflake mobile by hanging several snowflakes at different lengths from a circular frame. This mobile can become a charming centerpiece for a room or a lovely decoration for a holiday gathering. The possibilities are endless, and the goal is to make the snowflakes the star of your winter decor.
Seasonal Decorations
In addition to showcasing snowflakes as standalone art pieces, they can also be integrated into seasonal decorations. Kids can use their paper snowflakes as embellishments for garlands, wreaths, or table centerpieces. Stringing together several snowflakes can create a festive garland to drape across mantels or doorways.
Using snowflakes as part of a winter-themed table setting can also add a special touch to family meals. Kids can sprinkle smaller snowflakes around the table as part of the decor or use larger ones as placemats. By incorporating snowflakes into various seasonal decorations, families can create a cozy and inviting atmosphere that celebrates the beauty of winter.
Final Thoughts
Creating paper snowflakes is a joyful winter activity that encourages creativity, fine motor skills, and educational opportunities. With these easy DIY ideas, kids can explore their artistic side while learning about symmetry, shapes, and holiday traditions. As families engage in this craft together, they’ll create cherished memories and beautiful decorations that bring warmth and cheer to the winter season.