
Let’s be real for a second: we’ve all done the “slow drive” past that one house in the neighborhood. You know the one—the grass is impossibly green, the flowers look like they’ve been curated by a professional botanist, and the whole vibe just screams effortless elegance. Then, you pull into your own driveway, look at your patchy lawn or that lonely-looking shrub, and think, “Well, maybe next year.”
I’ve been there. For a long time, I thought that “curb appeal” was just code for “hiring a crew and spending my entire vacation fund on sod.” But here’s the secret I learned after a few too many weekends covered in mulch: you don’t need a massive budget or a degree in landscape architecture to make your front yard look like a million bucks. You just need a solid plan, a bit of elbow grease, and maybe a very large iced coffee.
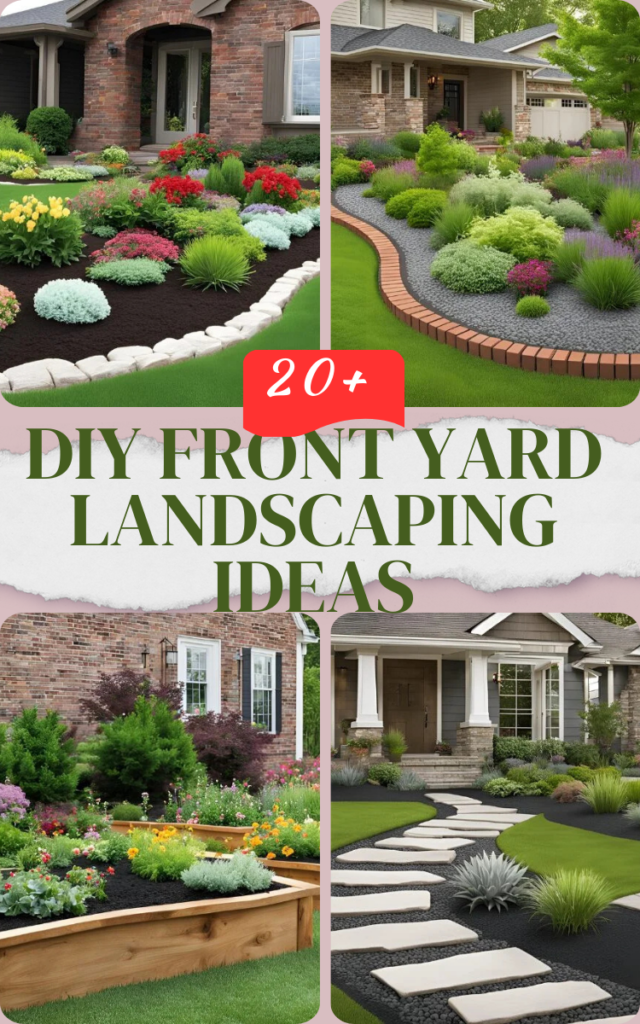
In this post, I’m sharing 20+ of my favorite DIY landscaping projects that are actually doable. Whether you’re looking to build a stone walkway that doesn’t wobble or you just want to know which plants won’t die the second you stop looking at them, I’ve got you covered. Let’s stop dreaming about the neighbor’s yard and start making yours the one people slow down to look at.
Section 1: Flower Beds and Gardens
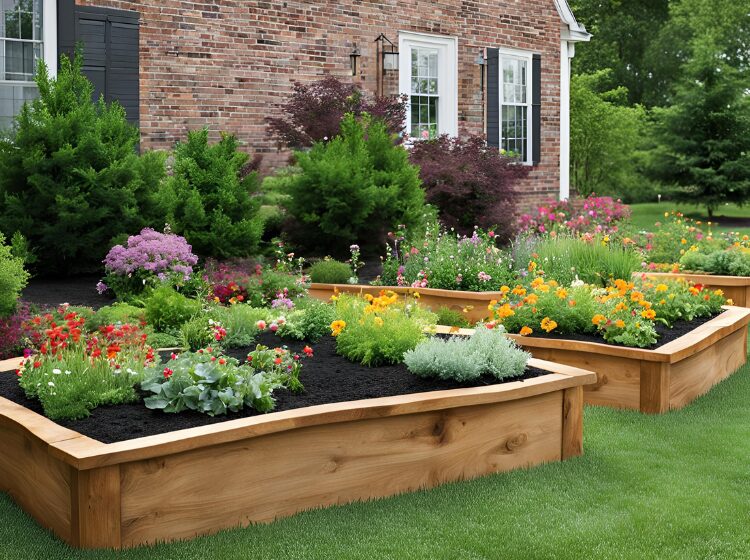
1. DIY Raised Flower Beds
Materials Needed:
- Lumber (e.g., cedar, pine)
- Screws or nails
- Soil
- Plants or seeds
Step-by-Step Installation:
- Plan Your Layout: Determine the size and shape of your raised flower bed. Typically, a height of 12 to 24 inches works well.
- Cut the Lumber: Cut the wood to size based on your design.
- Assemble the Frame: Construct the frame by attaching the wood pieces together using screws or nails. Reinforce the corners for added stability.
- Position the Bed: Place the frame in your desired location. Level the area if necessary.
- Add Soil: Fill the bed with a mix of soil and compost to ensure good drainage and nutrients.
- Plant: Choose plants suited to your climate and arrange them according to their growth habits and spacing needs.
Tips for Planting and Maintenance:
- Opt for plants that complement each other in terms of color, height, and sunlight needs.
- Regularly water and mulch to keep your plants healthy and reduce weed growth.
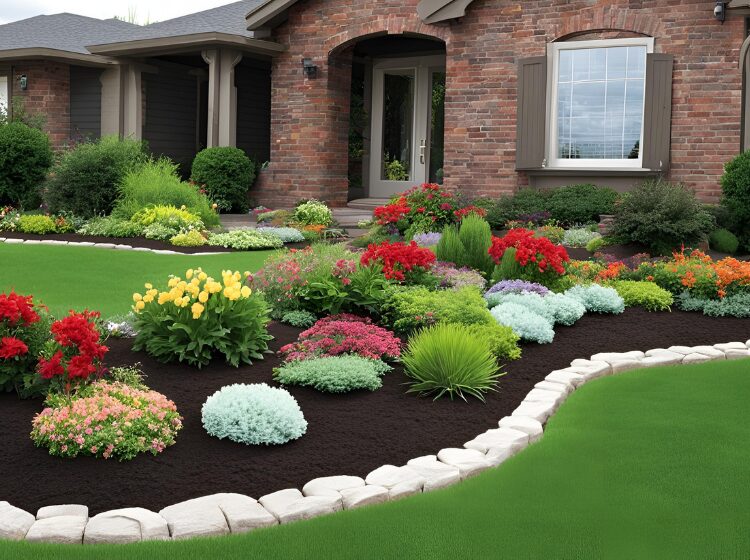
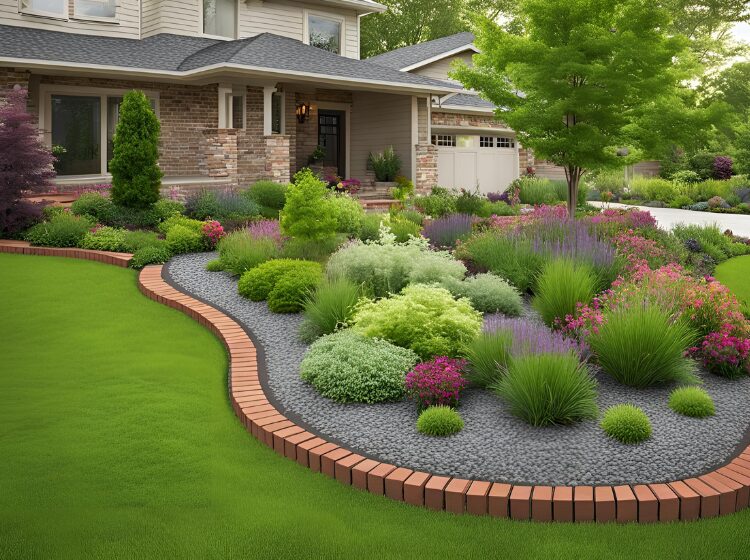
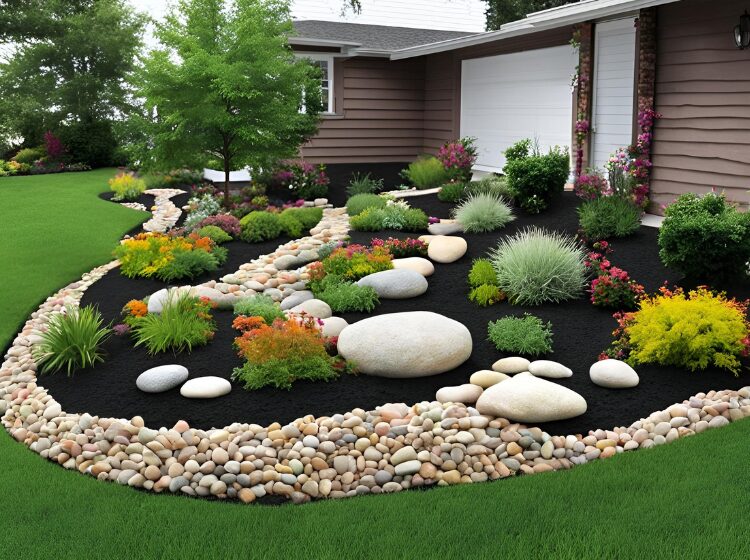
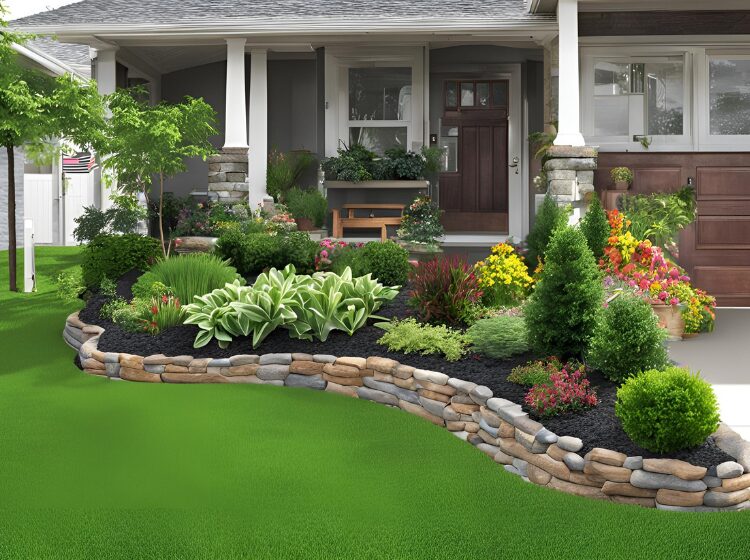
2. Border Gardens
Types of Borders:
- Brick: Durable and classic, ideal for creating defined edges.
- Stone: Offers a natural look and is highly customizable.
- Wood: Provides a rustic charm but may require maintenance over time.
Creating a Border Garden:
- Define the Area: Mark the outline of your garden bed using string or a garden hose.
- Prepare the Soil: Remove grass and weeds from the marked area.
- Install the Border: Lay your chosen border material along the marked line. For bricks or stones, ensure they’re level and secure. For wood, anchor the planks in place with stakes.
- Plant: Fill the bordered area with soil and plant your chosen flowers, shrubs, or ground cover.
Plant Suggestions:
- Use low-growing plants for borders to avoid obstructing views. Examples include lavender, marigolds, and creeping thyme.
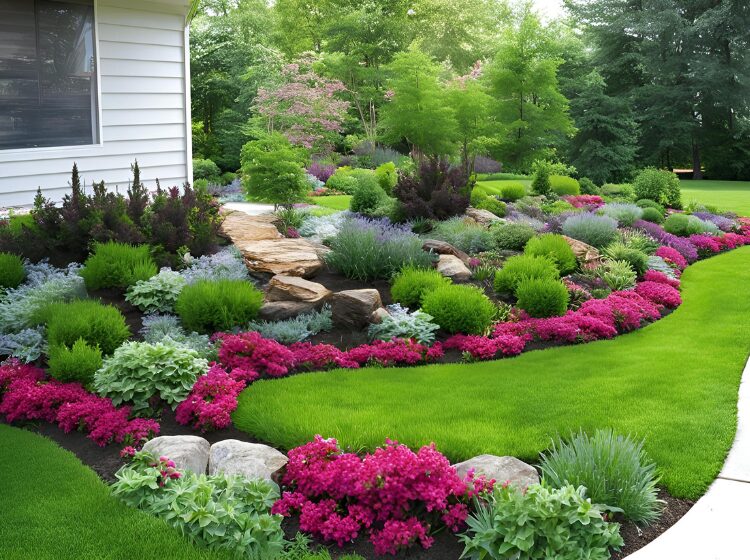
3. Perennial Planting
Benefits of Perennials:
- Perennials return year after year, providing long-term beauty and reducing the need for replanting.
Choosing and Arranging Perennials:
- Select Varieties: Choose perennials that are suited to your climate and soil type. Consider bloom times for continuous color.
- Arrange: Place taller plants at the back and shorter ones at the front. Group plants in clusters for a more natural look.
Planting and Care Instructions:
- Ensure perennials have adequate space to grow.
- Water regularly and apply mulch to conserve moisture.
Section 2: Pathways and Walkways
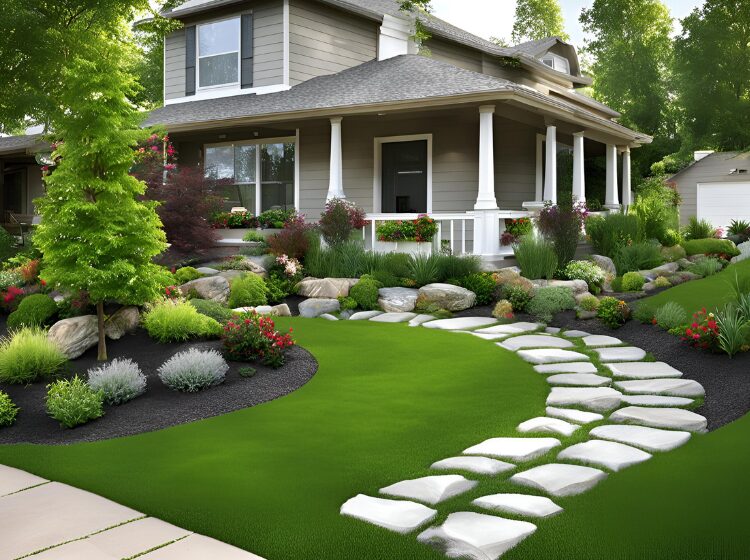
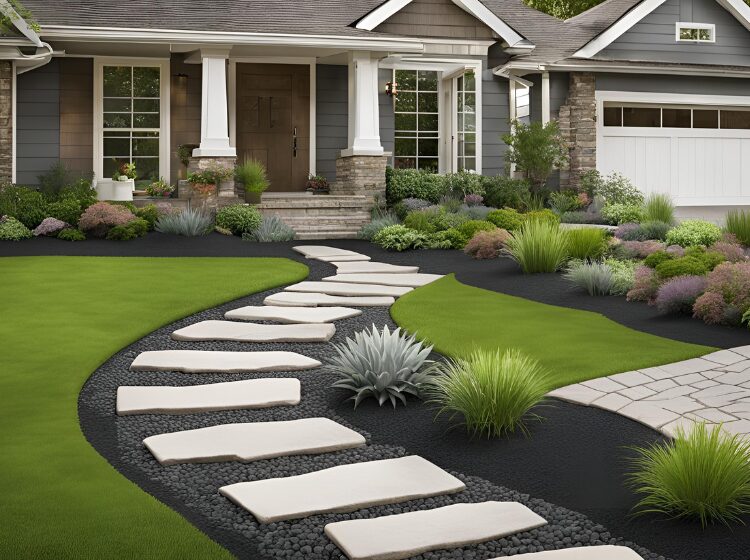
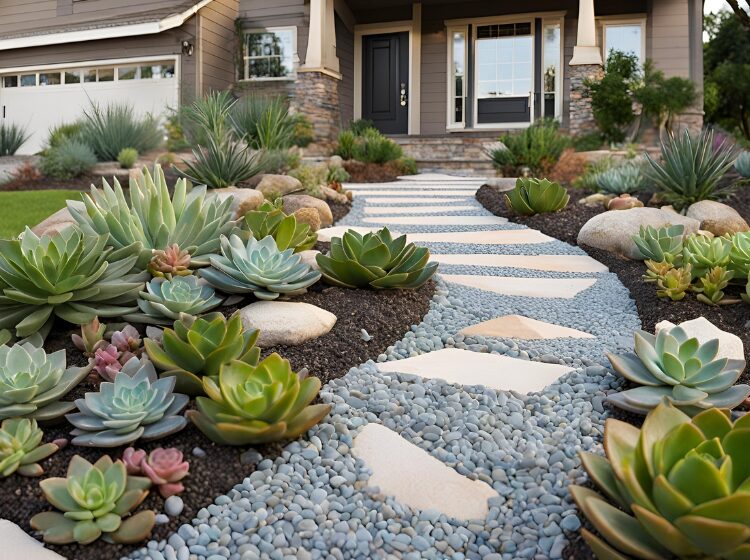
4. Stepping Stone Paths
Materials Needed:
- Stepping stones (natural stone or concrete)
- Sand or gravel
- Landscape fabric (optional)
Installation Process:
- Plan Your Path: Lay out the path using string or stakes to determine the placement of the stones.
- Prepare the Ground: Dig out a trench for the stepping stones, ensuring it’s level.
- Add a Base: Lay down a layer of sand or gravel to create a stable base.
- Place Stones: Position the stepping stones in the trench, adjusting for level and spacing.
- Fill Gaps: Add sand or gravel between the stones to stabilize them and prevent shifting.
Creative Patterns and Designs:
- Experiment with different shapes and arrangements to create a unique look. Consider a winding path for a more whimsical effect.
5. Gravel Walkways
Selecting the Right Gravel:
- Choose gravel that complements your home’s exterior. Options include river rock, crushed granite, or pea gravel.
Creating the Walkway:
- Define the Path: Use stakes and string to outline the walkway.
- Prepare the Area: Remove grass and weeds from the path area.
- Install Edging: Place edging materials (e.g., metal, plastic) to keep the gravel in place.
- Add Gravel: Spread a layer of gravel evenly over the prepared base. Rake it to ensure an even surface.
Maintenance Tips:
- Regularly replenish gravel and remove weeds that may sprout through the surface.
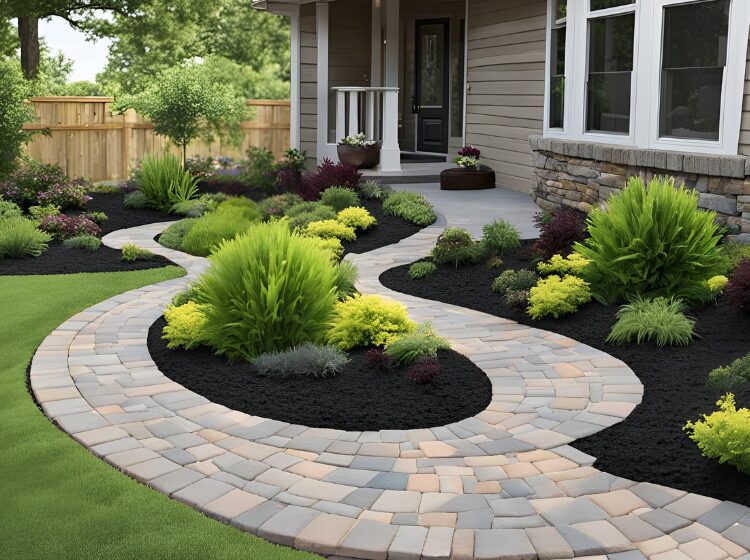
6. Brick or Paver Pathways
Tools and Materials:
- Bricks or pavers
- Sand or gravel
- Landscape fabric
- Leveling tool
Step-by-Step Installation:
- Layout the Path: Design the path and mark the area.
- Excavate the Area: Dig out the path area to a depth of about 4 inches.
- Install Landscape Fabric: Lay down landscape fabric to prevent weed growth.
- Add Base Material: Fill the area with sand or gravel and level it.
- Lay Bricks/Pavers: Position the bricks or pavers according to your design, ensuring they are level and aligned.
- Fill Gaps: Fill the gaps between the bricks or pavers with sand or gravel to stabilize them.
Design Ideas:
- Consider creating a herringbone or basketweave pattern for added visual interest.
Section 3: Garden Features
7. DIY Planter Boxes

Materials and Tools:
- Lumber (e.g., cedar, treated pine)
- Screws or nails
- Soil
- Plants
Construction Steps:
- Cut the Wood: Measure and cut lumber to the desired size for the planter box.
- Assemble the Box: Join the wood pieces together using screws or nails, reinforcing corners with additional supports if needed.
- Add Drainage: Drill holes in the bottom for drainage.
- Fill with Soil: Add a mix of soil and compost to the box.
- Plant: Choose plants that suit the sunlight and climate conditions of your front yard.
Planting Ideas:
- Use planter boxes for herbs, flowers, or even small shrubs. Arrange them in groups for a cohesive look.
8. Bird Baths and Feeders
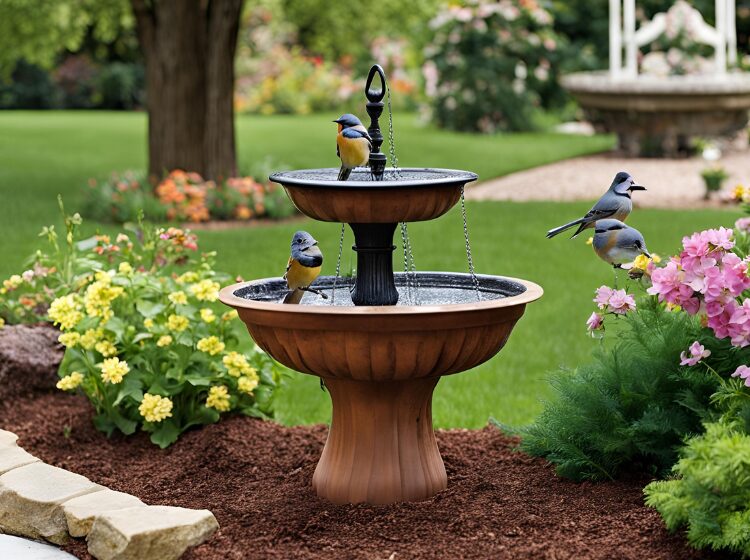
Simple DIY Bird Bath Ideas:
- Materials Needed: A large, shallow bowl or tray, a stand (e.g., a sturdy post or tripod).
- Assembly: Attach the bowl to the stand securely. Place the bird bath in a location visible from your home but away from predators.
Attracting Birds:
- Install bird feeders with a variety of seeds to attract different species. Place them in areas that provide some shelter and are easy to view.
Placement Tips:
- Ensure bird baths and feeders are easily accessible and visible for birdwatching, but not too close to areas where predators might lurk.
9. Garden Trellises
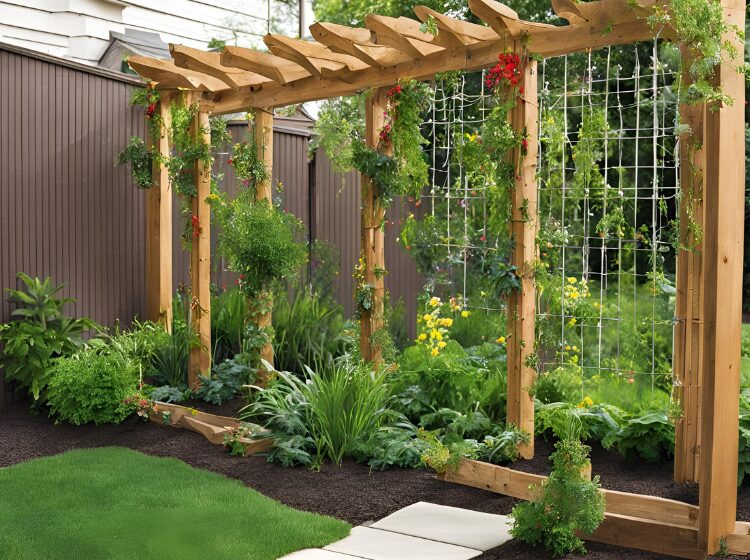
Types of Trellises:
- Wooden Trellises: Classic and versatile, can be customized with paint or stain.
- Metal Trellises: Durable and often feature intricate designs.
Building and Installing a Trellis:
- Design the Trellis: Sketch out your design and cut materials to size.
- Assemble the Trellis: Build the trellis frame and attach crosspieces.
- Install the Trellis: Secure the trellis in the desired location using stakes or anchors.
Planting Ideas for Climbing Plants:
- Use the trellis for climbing plants such as roses, clematis, or morning glories to add vertical interest to your garden.
Section 4: Decorative Elements
10. Outdoor Lighting
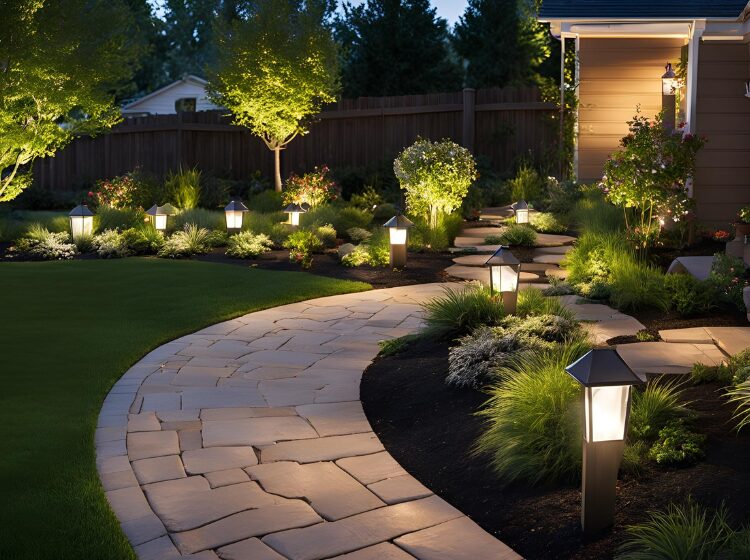
Types of Outdoor Lights:
- Solar Lights: Easy to install and energy-efficient.
- LED Lights: Long-lasting and available in various styles.
Placement Tips:
- Position lights along pathways, near garden features, and around entryways to highlight key areas and create ambiance.
11. DIY Garden Art
Ideas for Garden Art:
- Painted Rocks: Use weather-resistant paint to create designs or messages.
- Wind Chimes: Craft wind chimes from bamboo, metal, or recycled materials.
Materials and Instructions:
- Gather materials such as paint, brushes, and crafting supplies. Follow instructions for creating and securing your garden art.
Durability and Maintenance Tips:
- Use weather-resistant materials and seal painted items to extend their lifespan.
12. Water Features
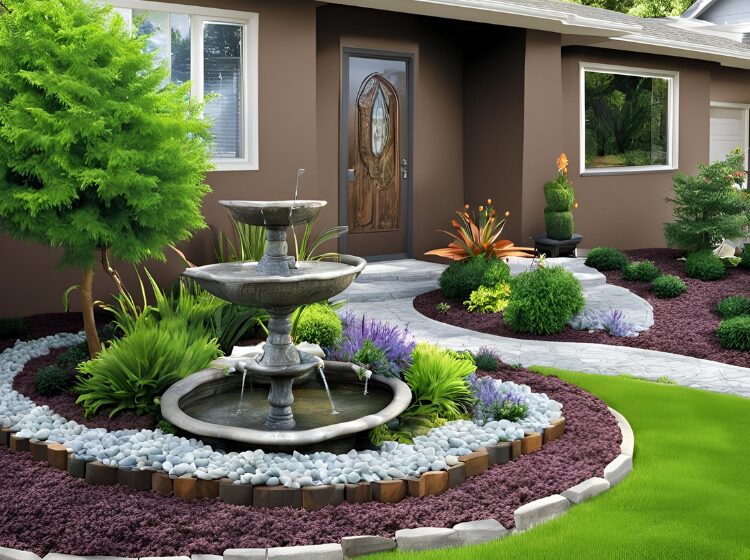
Simple DIY Water Features:
- Small Fountains: Use a pre-made fountain kit or repurpose a container with a small water pump.
- Bird Bath with Water: Ensure the bird bath has a continuous flow of clean water to attract birds and prevent stagnation.
Installation Tips:
- Place water features in locations where they can be easily enjoyed, but ensure they are properly maintained to avoid issues with algae or debris.
Section 5: Lawn and Ground Cover
13. DIY Lawn Edging
Types of Edging Materials:
- Metal: Sleek and durable.
- Plastic: Flexible and easy to install.
- Brick or Stone: Provides a classic look and defines the edge effectively.
Installation and Maintenance:
- Mark the Edge: Use stakes and string to outline the lawn edge.
- Install Edging: Follow manufacturer instructions or use a manual edging tool to secure the material in place.
- Maintain: Regularly trim overgrown grass and check for shifting or damage.
14. Ground Cover Plants
Benefits of Ground Cover Plants:
- Reduce soil erosion, suppress weeds, and provide aesthetic value.
Popular Choices:
- Clover: Low-maintenance and stays green year-round.
- Creeping Thyme: Aromatic and forms a dense mat.
Planting and Care Instructions:
- Space plants according to their growth habits and water regularly to establish them.
Wrap Up
At the end of the day, your front yard is the handshake of your home—it’s the first thing you see after a long day at work and the first thing your friends see before they even ring the doorbell. But don’t feel like you have to tackle all 20 of these ideas by Monday morning. The beauty of DIY is that you can find the one project that fits your budget and your “weekend energy” level, and go from there.
Trust me, there is a very specific kind of satisfaction that comes from sitting on your porch, looking at a flower bed you built or a path you laid, and knowing you saved a small fortune in the process. It might start with a bag of mulch and a few solar lights, but before you know it, you’ll be the one people are eyeing during their neighborhood strolls.
So, grab your gloves, pick a project, and don’t be afraid to get a little dirt under your fingernails. Your house is going to thank you for it!