

Fairy gardens have captured hearts (and backyards!) around the world. These enchanting miniature landscapes offer a place for creativity, relaxation, and a touch of magic. Whether you’re a seasoned gardener or just starting out, fairy gardens are a wonderful way to bring a little whimsy into your life.
But where do you begin? This guide will unveil 17 delightful DIY fairy garden crafts that are perfect for all skill levels. So, gather your supplies, unleash your imagination, and get ready to create a miniature wonderland for the fairies in your life!
1. Whimsical Miniature Houses: Easy Breezy Abodes
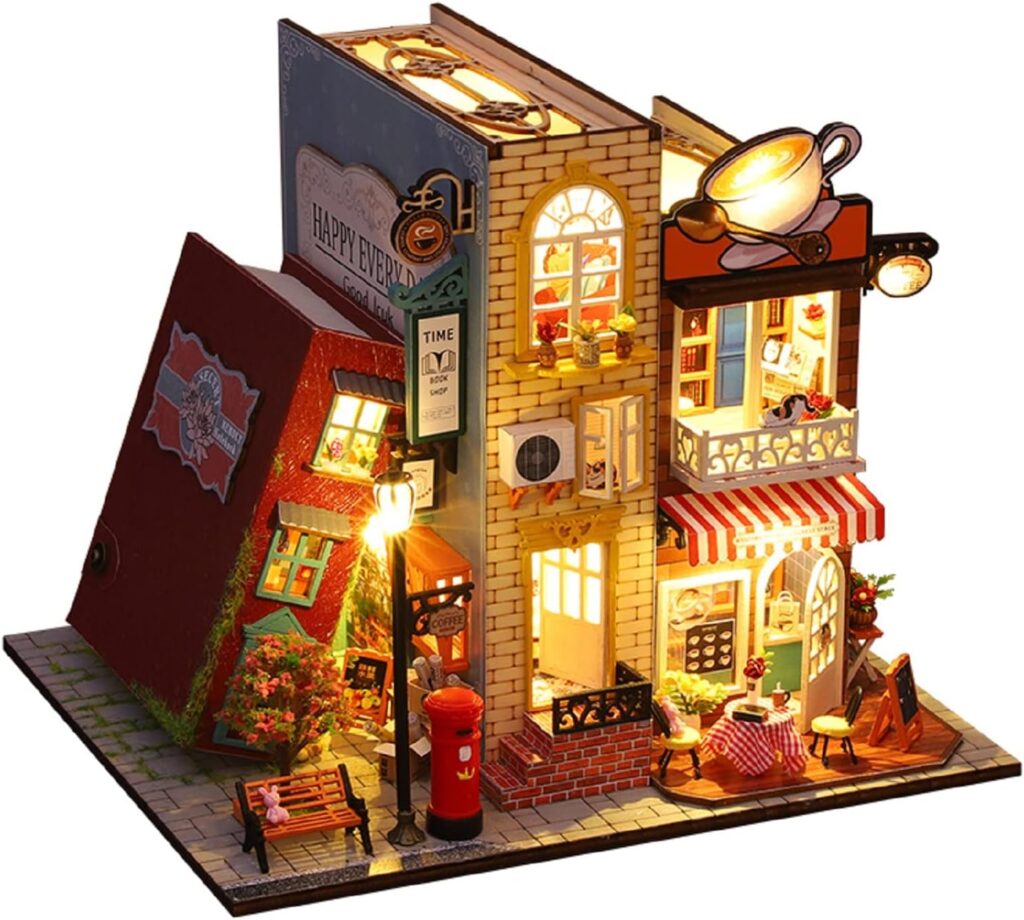
Let’s start with a classic – the fairy house! These tiny dwellings provide a charming home for your fairies and are surprisingly easy to make.
Materials:
- Cardboard boxes (cereal boxes, shoeboxes)
- Popsicle sticks
- Acrylic paint in various colors
- Craft glue
- Embellishments (twigs, buttons, sequins, etc.)
Instructions:
- Building the Base: Choose a sturdy cardboard box and cut out the basic shape of a house. You can create a simple rectangular house or get creative with triangular roofs and arched doorways.
- Let’s Decorate! This is where the fun begins! Paint the cardboard house with your favorite colors. Use different colors for the walls and roof, or create a whimsical polka-dot pattern. Popsicle sticks can be glued on to create windows, doors, and even fences.
- Adding the Finishing Touches: Now comes the moment to personalize your fairy house! Use twigs for a rustic chimney, buttons for doorknobs, or sequins for a touch of sparkle. Let your imagination run wild!
Tips and Variations:
- Repurpose what you have! Look around your house for alternative materials like bottle caps for doors or egg cartons for rounded roofs.
- Feeling extra creative? Cut a small opening in the side of your house to create a secret fairy entrance!
2. Acorn Fairy Caps: A Tiny Fashion Statement

Nature provides endless inspiration for fairy gardens, and these adorable acorn fairy caps are a prime example.
Materials:
- Acorns with caps (different sizes and shapes are great!)
- Acrylic paint in various colors
- Glitter (optional)
- Pipe cleaners (optional)
Instructions:
- Painting Party: Clean and dry the acorn caps. Unleash your inner artist and paint them in bright, vibrant colors. You can create polka dots, stripes, or even floral patterns.
- Let it Sparkle!: While the paint is still wet, sprinkle on some glitter for an extra touch of magic.
- Pipe Cleaner Curls: For a whimsical touch, use pipe cleaners to create tiny curls that can be attached to the acorn cap as hair or a decorative accent.
Tips and Variations:
- Don’t be afraid to experiment with different colors and patterns. You can even create a collection of fairy caps in various styles to suit different fairies.
- Look for different sizes and shapes of acorns – they all add a unique charm to your fairy garden.
3. Glittering Fairy Pathway: A Sparkling Path to Adventure
Every fairy garden needs a charming pathway for the fairies to navigate. This easy craft uses pebbles and paint to create a magical walkway.
Materials:
- Rocks or pebbles in various sizes (smooth and flat work best)
- Craft paint in various colors
- Glitter (different colors add variety)
- Clear sealant (optional, for outdoor use)
Instructions:
- Painting the Path: Wash and dry the pebbles. Paint them in bright colors or create a pattern with stripes or polka dots. You can even use different colors to create a winding pathway.
- Let it Shine!: While the paint is still wet, generously sprinkle glitter over the pebbles for a sparkly effect.
- Sealing the Deal (Optional): If your fairy garden is outdoors, apply a coat of clear sealant to protect the paint and glitter from the elements.
Tips and Variations:
- Glow-in-the-dark paint adds a magical element, allowing the path to be seen at night.
- Experiment with different ways to arrange the pebbles. You can create a winding path or a straight, formal walkway depending on the overall design of your fairy garden.
4. Miniature Wishing Well: Wishing on a Tiny Star
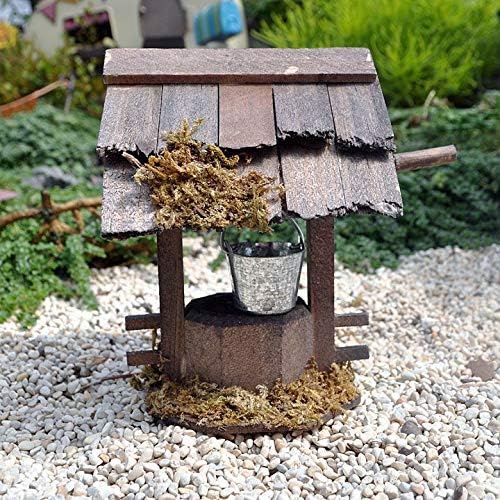
This miniature wishing well adds a touch of whimsy and allows visitors to make their tiniest wishes come true!
Materials:
- Small terracotta pot
- Craft foam (green or brown)
- Popsicle sticks
- Acrylic paint in various colors
- Buttons
- Craft glue
Instructions
- Building the Well: Cut the craft foam into strips and rectangles to create the well structure. These will be attached to the rim of the terracotta pot with craft glue. You can create a simple cylindrical well or get more elaborate with a rounded top and decorative cutouts.
- Popsicle Magic: Here’s where the popsicle sticks come in! Use them to create a tiny bucket and a crank mechanism for your wishing well. You can attach a small bead or button to the end of a short popsicle stick to represent the bucket that dips into the well. Another popsicle stick can be glued vertically to the side of the well, with a small horizontal piece attached near the top to act as a crank.
- Painting and Details: Now comes the fun part – decorating! Paint the terracotta pot and the popsicle stick structures in bright colors or a rustic, natural tone. Use buttons to create decorative details on the well itself, like eyes or a small door.
Tips and Variations:
- Feeling extra crafty? You can create a tiny string with a bead attached that goes down into the well. This allows visitors to write their wishes on a tiny piece of paper and drop it in for safekeeping (and a touch of magic!).
- Don’t have craft foam? Cardboard or even thick felt can be used as a substitute for creating the well structure.
5. Blooming Teacup Garden: A Miniature Oasis
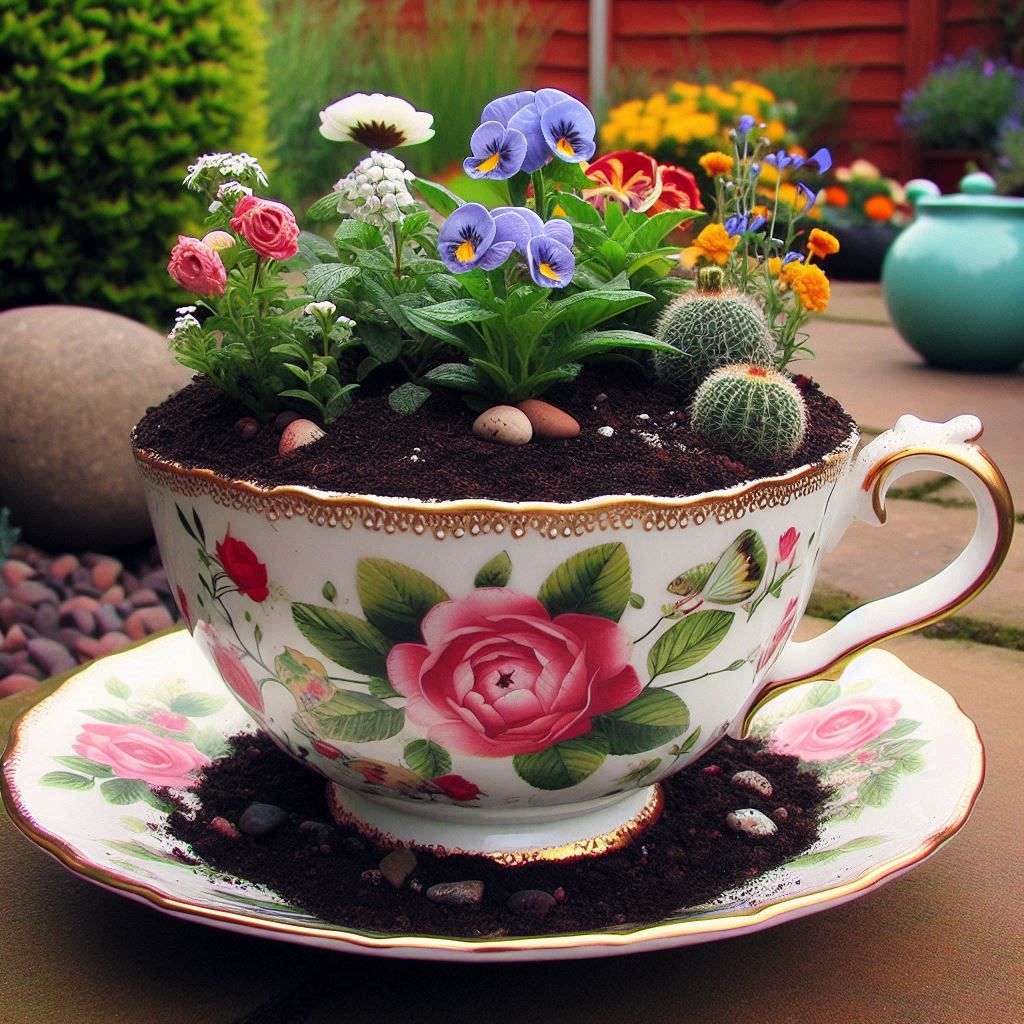
Who doesn’t love a charming teacup garden? This delightful craft repurposes teacups and saucers into miniature fairy gardens with endless possibilities.
Materials:
- Teacup or mug (mismatched sets add to the whimsy!)
- Potting soil
- Small succulent or flowering plant (choose one suitable for container planting)
- Colorful pebbles or gravel
- Optional: Miniature fairy figurine
Instructions:
- Planting Time: Fill the teacup with a well-draining potting mix. Choose a small succulent or flowering plant that thrives in pots and containers.
- Adding Color: Once your plant is settled in, use colorful pebbles or gravel to fill the space around the base of the plant. This not only adds visual interest but also helps retain moisture in the soil.
- A Fairy Resident (Optional): For an extra touch of magic, place a miniature fairy figurine beside your plant. You can find these at craft stores or garden centers.
Tips and Variations:
- Don’t be afraid to use mismatched teacups and saucers for a unique and whimsical effect.
- Choose plants with vibrant colors that complement your teacup. Succulents with interesting textures and shapes are a great choice for this type of fairy garden.
6. Fairy Furniture from Bottle Caps: Repurposing for Fun
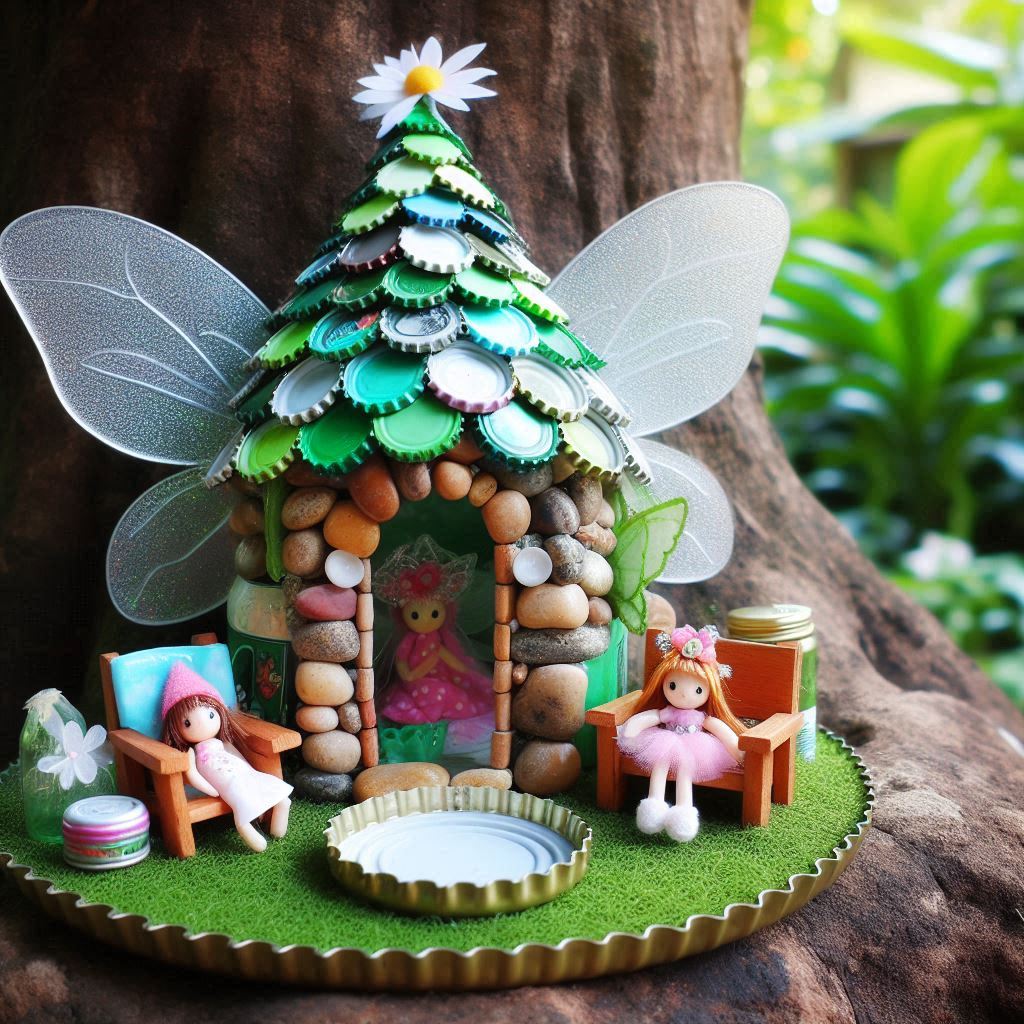
Bottle caps come in all shapes and sizes, making them the perfect material for creating miniature fairy furniture.
Materials:
- Bottle caps (metal or plastic work well)
- Acrylic paint in various colors
- Paintbrushes
- Pipe cleaners
- Buttons
- Craft glue
Instructions:
- Painting Party: Clean and dry the bottle caps. Unleash your creativity and paint them in bright colors or create a more natural, wood-like finish. You can paint different sets of bottle caps to create a table, chairs, or even a tiny bench.
- Building the Furniture: This is where the fun begins! Use pipe cleaners to create chair legs or table stands. You can bend and twist the pipe cleaners to create different shapes and styles. Glue the pipe cleaner legs to the underside of the painted bottle caps.
- Adding Details: Buttons can be used as decorative accents on the furniture. You can glue them onto the tabletops or chair backs for a touch of whimsy.
Tips and Variations:
- Feeling ambitious? Create a whole set of furniture for a fairy picnic scene, complete with a table, chairs, and even a miniature umbrella!
- Experiment with different sized bottle caps. Larger caps can be used for tables, while smaller ones work well for chairs or benches.
7. Glowing Firefly Lanterns: Lighting Up the Night
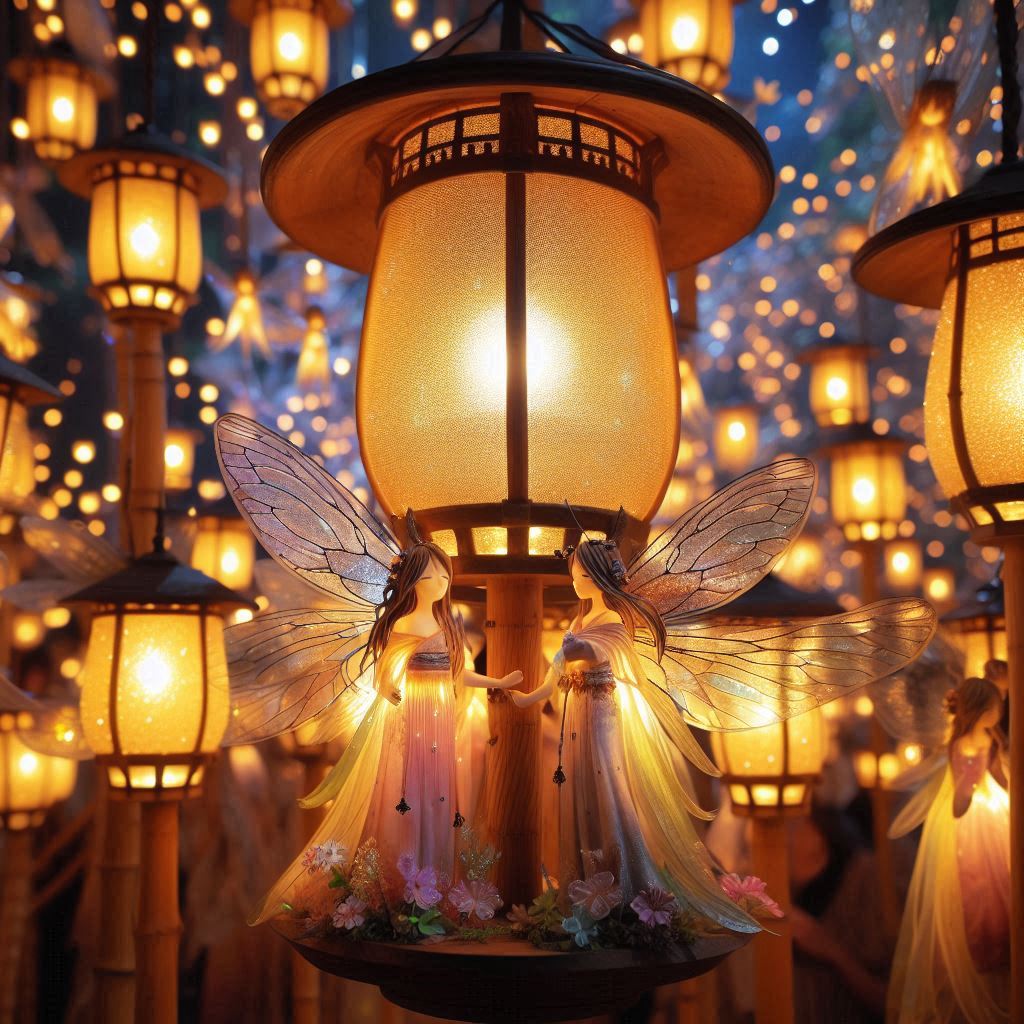
These enchanting lanterns add a magical touch to your fairy garden, especially at night.
Materials:
- Small glass jars with lids (mason jars or baby food jars work well)
- Glow sticks (different colors add variety)
- Floral wire
- Tissue paper (optional)
- Permanent marker (optional)
Instructions:
- Decorating the Jars (Optional): If you want to add a decorative touch to your lanterns, you can use tissue paper to cut out firefly shapes or other designs and adhere them to the inside of the jar. Alternatively, use a permanent marker to draw firefly designs directly on the glass.
- Creating the Hanger: Cut a piece of floral wire long enough to create a loop for hanging. Thread one end of the wire through the lid of the jar and bend it over to create a secure hook.
- Light it Up!: Place a glow stick inside the jar and close the lid tightly. The glow stick will illuminate the jar and create a magical firefly effect.
Tips and Variations:
- Use different colored glow sticks to create a variety of firefly lanterns. Hang them throughout your fairy garden at different heights for a whimsical nighttime display.
- For a more permanent (but non-luminous) effect, you can fill the jars with colorful sand or pebbles instead of glow sticks.
8. Miniature Mossy Stepping Stones: A Natural Path for Tiny Travelers
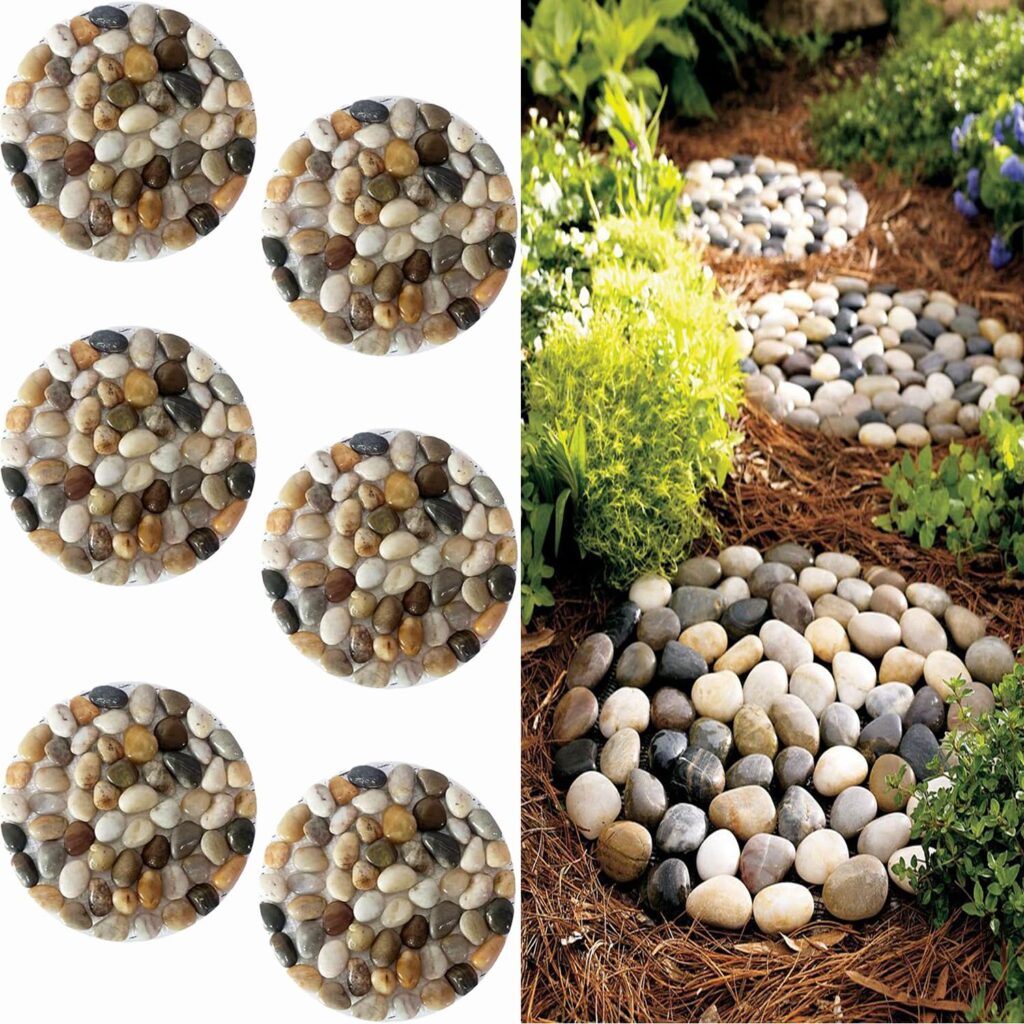
These moss-covered stepping stones create a charming and natural pathway for your fairies to explore their garden.
Materials:
- Flat stones or pebbles (various sizes and shapes)
- Sphagnum moss (dried)
- Milk or buttermilk (acts as a binder)
- Small paintbrush
- Spray bottle with water
Instructions:
- Soak the Moss: Soak the dried sphagnum moss in water for a few minutes to rehydrate it.
- Prepare the Stones: Clean and dry the stones you’ll be using.
- Creating the Mossy Mixture: In a small container, mix the soaked moss with a little bit of milk or buttermilk to create a thick paste.
- Applying the Moss: Using the paintbrush, spread the moss mixture onto the flat surface of the stones. You can create a smooth or textured moss covering, depending on your preference.
- Keeping it Moist: Once the moss is applied, gently mist the stones with water to keep the moss damp and encourage growth.
Tips and Variations:
- Experiment with different sizes and shapes of stones to create a natural, uneven path.
- You can add a sprinkle of green colored sand over the moss mixture for extra texture and color variation.
9. Glittering Fairy Wind Chimes: A Melodious Tinkle in the Breeze
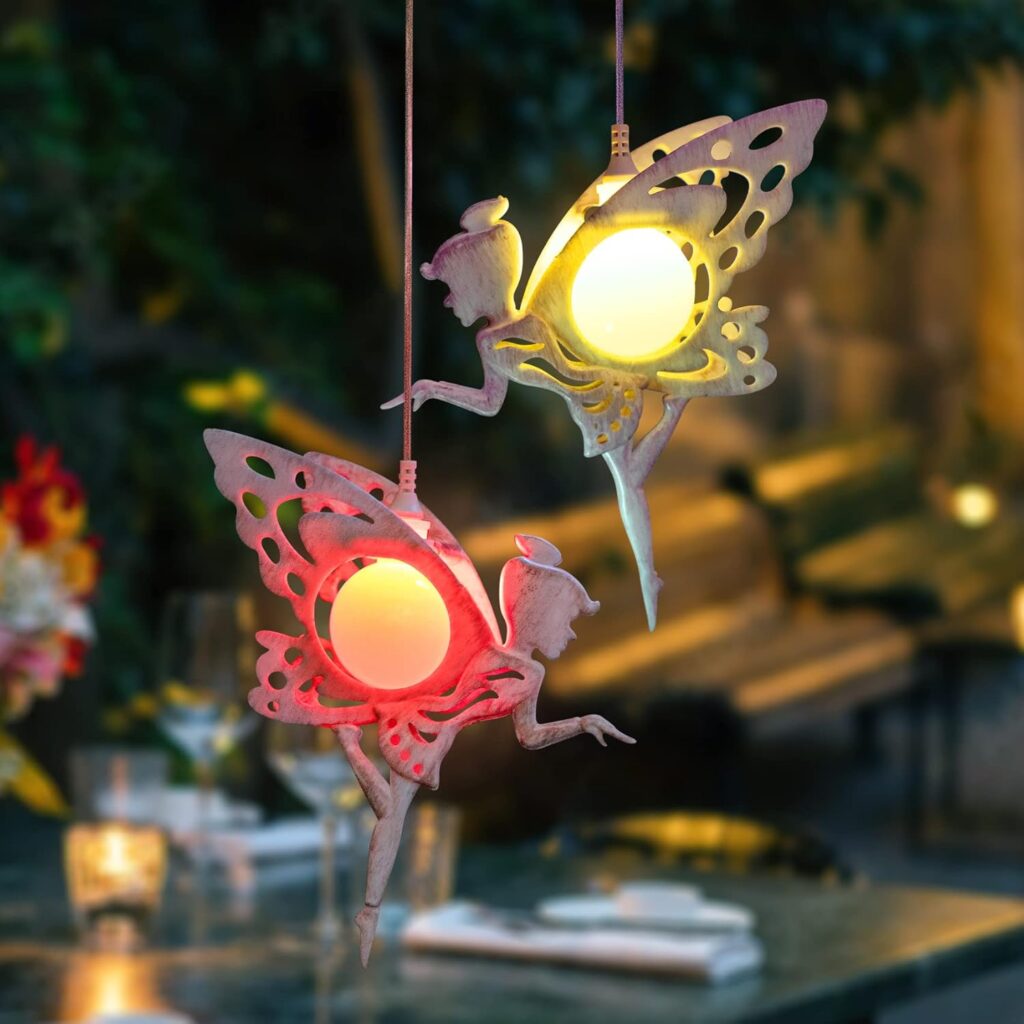
These magical wind chimes add a touch of sound and sparkle to your fairy garden.
Materials:
- Small twigs or branches
- Colorful buttons with holes (different sizes and colors)
- Fishing line or thin thread
- Small bells (optional)
- Craft glue (optional)
- Glitter (optional)
Instructions:
- Gathering the Twigs: Choose small, sturdy twigs or branches of similar length.
- Stringing the Buttons: Cut equal lengths of fishing line or thread. Thread the line through the holes of the buttons, creating a sequence of different colors and sizes. You can tie a knot at the end of the line to secure the first button.
- Assembling the Chimes: Attach the strings of buttons to the twigs at different heights using knots or a small dab of craft glue.
- Adding Bells (Optional): Tie small bells onto some of the strings for a melodic tinkling sound in the breeze.
- A Touch of Sparkle (Optional): Sprinkle some glitter over the buttons or bells for an extra touch of magic.
Tips and Variations:
- Hang your fairy wind chimes from a small shepherd’s hook or a miniature archway in your garden.
- You can use different materials for the chimes, such as colorful beads, small seashells, or even bottle caps.
10. Miniature Mailbox for Fairy Communications: A Place for Tiny Messages
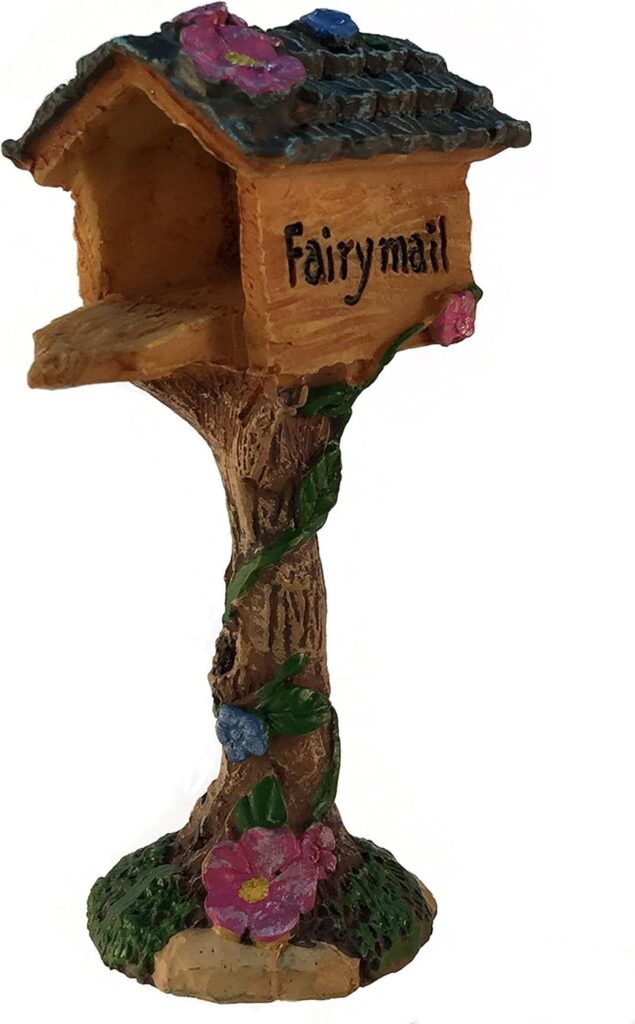
This adorable mailbox allows your fairies to send and receive messages from each other or from kind human visitors.
Materials:
- Small wooden craft box (rectangular shape works well)
- Paint in various colors
- Paintbrushes
- Popsicle sticks
- Craft glue
- Tiny twigs or dried leaves (optional)
Instructions:
- Painting the Box: Paint the wooden craft box in a bright color or create a festive design.
- Crafting the Mail Slot: Cut a small rectangular opening in the front of the box to serve as the mail slot.
- Creating the Flagpole: Use a thin popsicle stick painted in a contrasting color to create the flagpole. Glue one end of the stick to the top of the mailbox.
- The Miniature Flag: Cut a tiny flag shape from fabric or felt and attach it to the top of the popsicle stick using craft glue. You can decorate the flag with a small fairy silhouette or a symbol.
- Adding Details (Optional): Attach tiny twigs or dried leaves to the mailbox for a rustic touch.
Tips and Variations:
- Leave tiny notes or drawings for the fairies inside the mailbox to spark their imagination.
- You can create a collection of mismatched mailboxes throughout your fairy garden for a whimsical effect.
11. Miniature Bird Feeder: A Feast for Feathered Friends
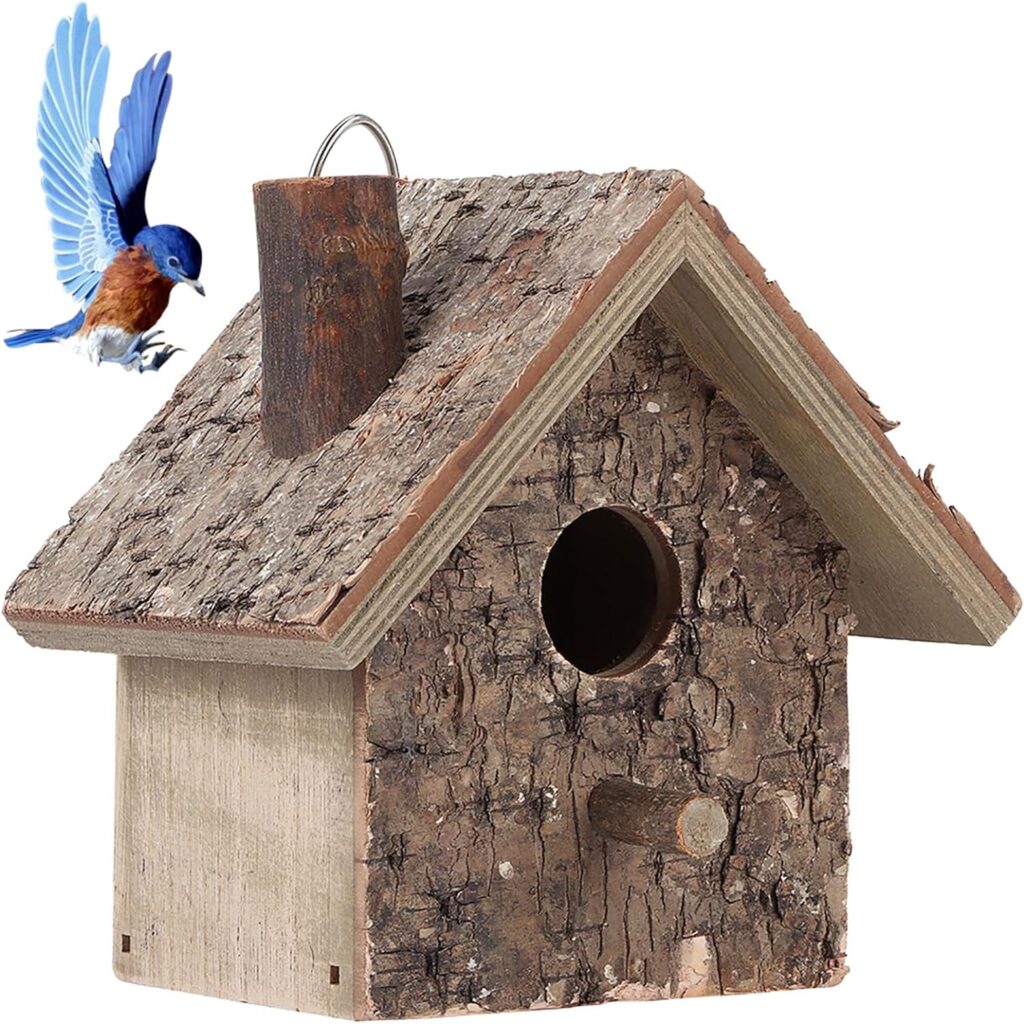
This miniature bird feeder provides a delightful source of sustenance for the tiny birds visiting your fairy garden.
Materials:
- Acorn cap (with a small hole at the bottom)
- Small twig or dowel rod
- Twine or string
- Birdseed suitable for small birds (finches, chickadees)
- Craft glue (optional)
Instructions:
- Preparing the Acorn Cap: Clean and dry the acorn cap. Ensure the small hole at the bottom is clear for drainage.
- Creating the Perch: Cut a small twig or dowel rod to a length that allows it to protrude slightly above the top of the acorn cap. You can sharpen one end of the twig for easier insertion.
- Attaching the Perch: Insert the twig or dowel rod through the center of the acorn cap and into the hole at the bottom. If needed, use a small amount of craft glue to secure the perch in place.
- Hanging the Feeder: Cut a length of twine or string and tie it securely to the top of the twig or dowel rod. This will be used for hanging the feeder.
- Filling the Feeder: Carefully fill the acorn cap with a small amount of birdseed suitable for small birds.
Tips and Variations:
- Hang the miniature bird feeder from a small branch in a tree within your fairy garden.
- You can use other materials for the feeder base, such as a small bottle cap or a walnut shell, as long as it has drainage holes.
- Consider placing a small piece of felt or moss at the bottom of the feeder to help retain moisture in the birdseed.
12. Miniature Fairy Clothesline: A Place for Laundry Day Fun
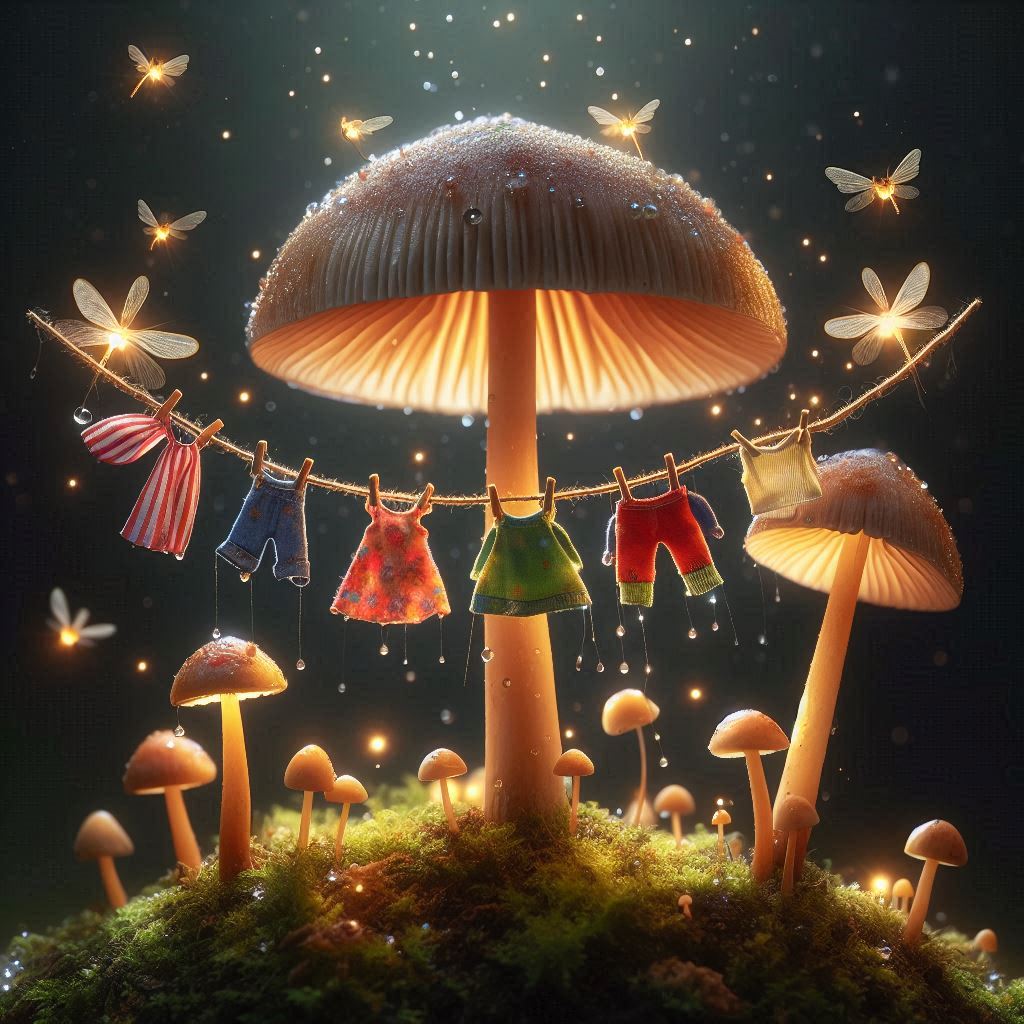
This miniature clothesline adds a touch of whimsy and everyday life to your fairy garden.
Materials:
- Two small twigs or sticks
- Twine or string
- Tiny scraps of fabric or felt (in various colors and patterns)
- Miniature clothespins (can be found at craft stores)
Instructions:
- Preparing the Twigs: Choose two small twigs or sticks of similar length.
- Creating the Clothesline: Tie one end of the twine or string securely to one of the twigs. Stretch the twine tautly across to the other twig and tie it securely.
- The Tiny Laundry: Cut small squares or rectangles from the fabric or felt scraps. You can create different shapes and patterns for variety.
- Hanging the Laundry: Attach the miniature clothespins to the fabric scraps and then clip them onto the twine clothesline.
Tips and Variations:
- Position the miniature clothesline between two small posts or sticks planted into the ground within your fairy garden.
- You can add a miniature washbasin or laundry basket next to the clothesline for extra detail.
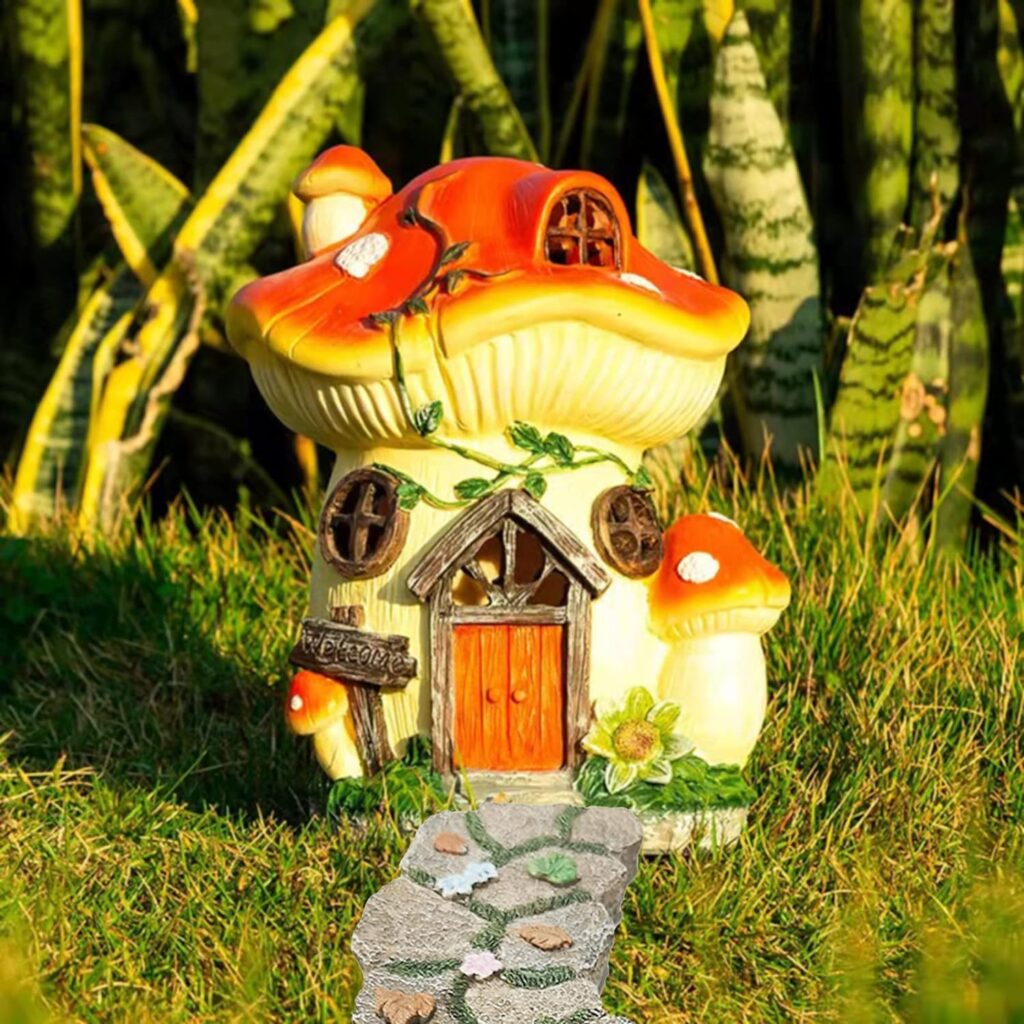
13. Glowing Mushroom Houses: Illuminated Homes for Tiny Dwellers
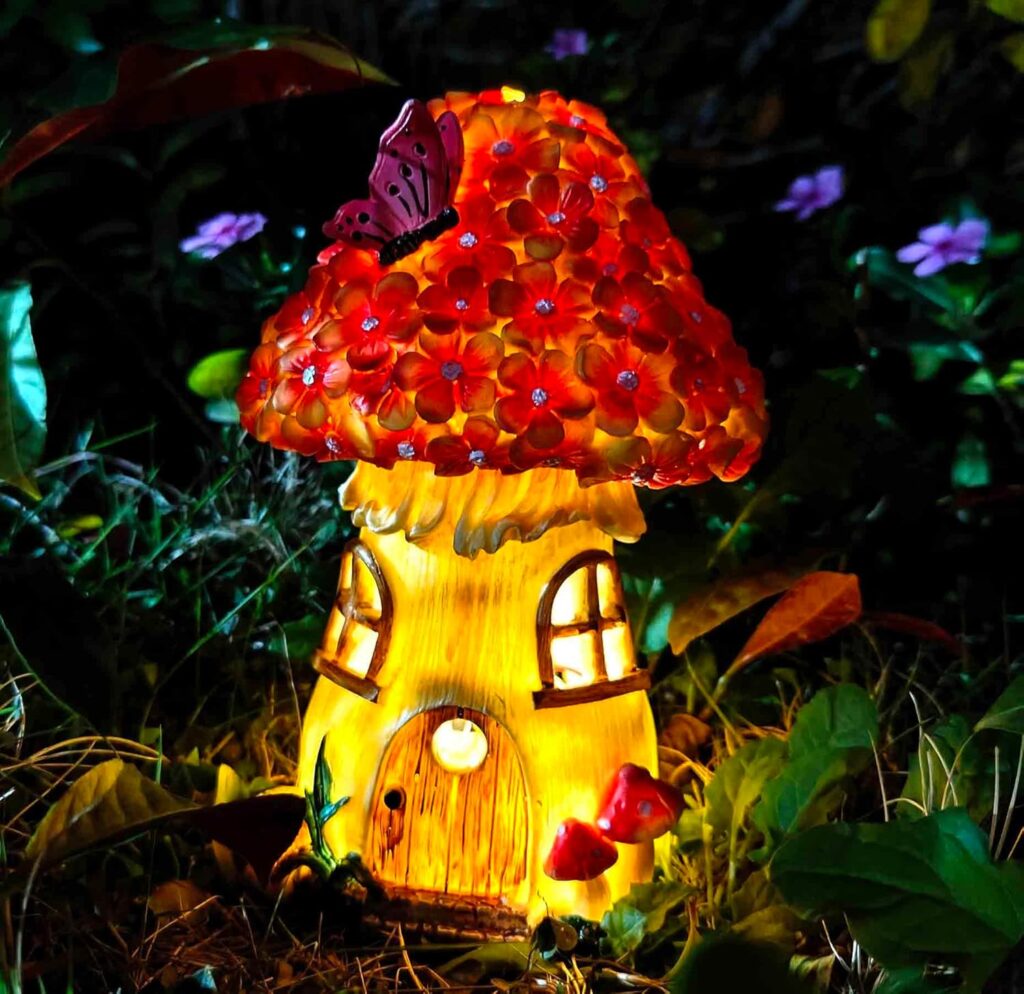
These enchanting mushroom houses provide a magical and illuminated home for the fairies in your garden.
Materials:
- Large plastic mushrooms (found at craft stores or garden centers)
- Glow sticks (different colors add variety)
- Craft moss (optional)
- Miniature fairy figurine (optional)
Instructions:
- Preparing the Mushrooms: Choose large plastic mushrooms with a hollow stem and a removable cap.
- Creating the Light Source: Place a glow stick inside the hollow stem of the mushroom. You can use different colored glow sticks for variety.
- Adding Moss (Optional): For a more natural look, cover the base of the mushroom with craft moss, securing it with a dab of glue.
- A Fairy Resident (Optional): Place a miniature fairy figurine inside the mushroom cap to create a charming little home.
Tips and Variations:
- Arrange several glowing mushroom houses throughout your fairy garden for a magical nighttime display.
- You can use real mushrooms (treated to prevent rot) for a more natural look, but ensure they are hollowed out to accommodate a glow stick.
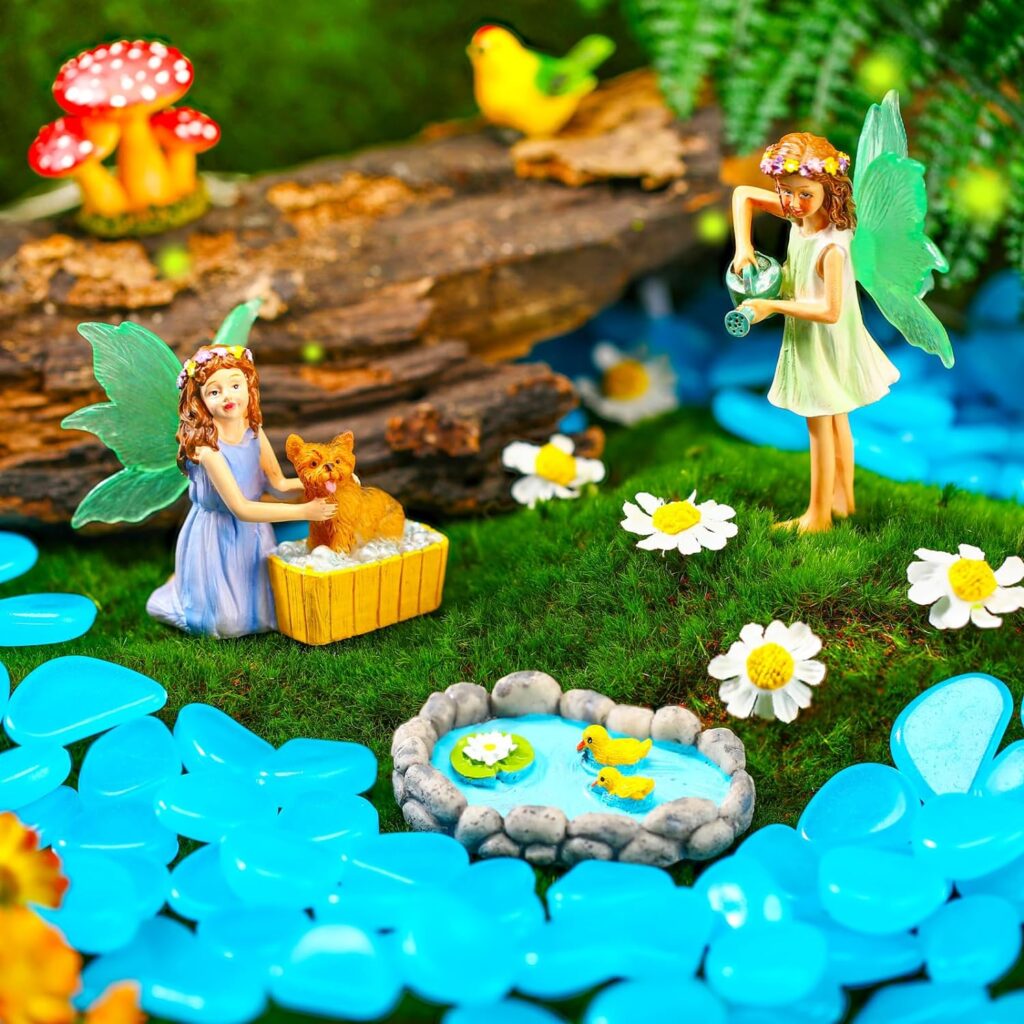
14. Miniature Fairy Swimming Pool: A Refreshing Dip for Hot Fairy Days
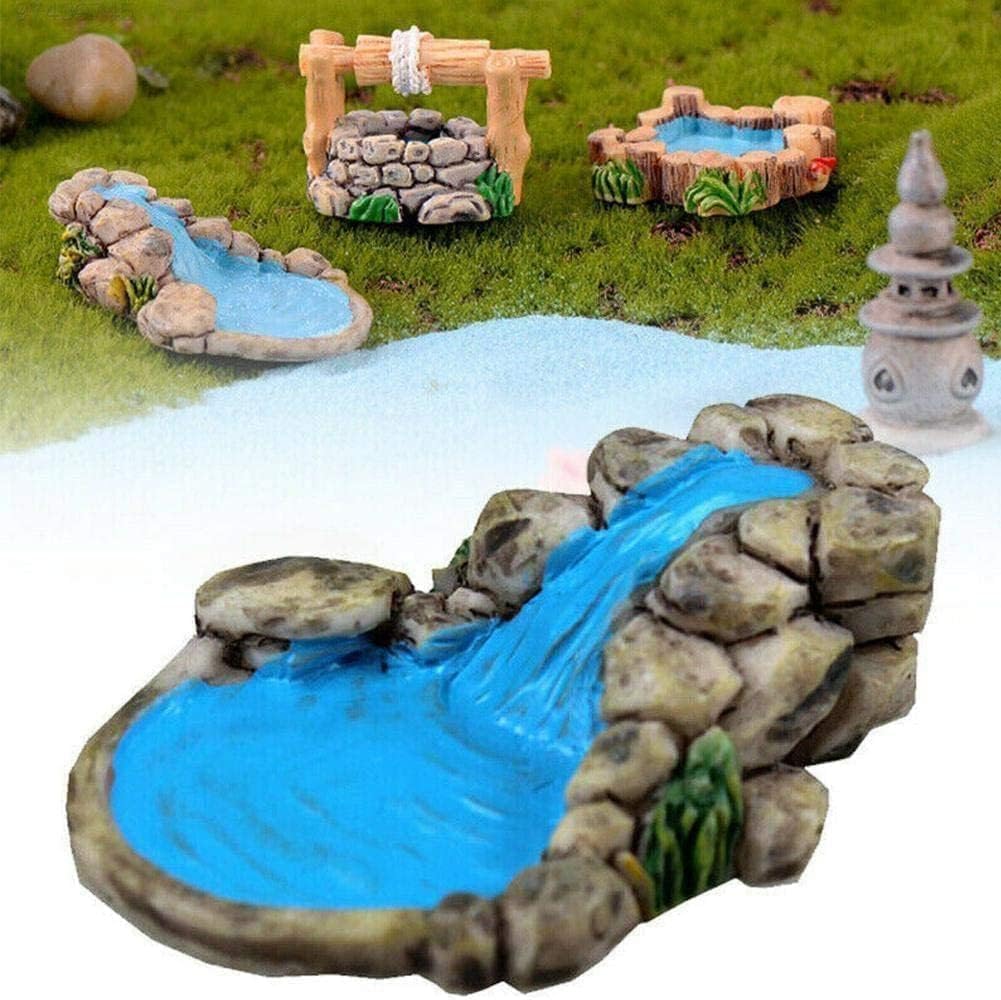
This delightful miniature pool provides a refreshing spot for your fairies to cool off on a hot fairy day.
Materials:
- Small, shallow glass dish or bowl
- Colorful aquarium gravel (small pebbles)
- Blue glass marbles or pebbles (optional)
- Miniature plastic leaves or flowers (optional)
Instructions:
- Creating the Base: Fill the glass dish or bowl with a layer of colorful aquarium gravel.
- Water Illusion (Optional): Add a few blue glass marbles or pebbles on top of the gravel to create the illusion of shimmering water.
- Decorative Touches (Optional): Place miniature plastic leaves or flowers around the edge of the pool for a more natural look. You can even add a tiny beach towel made from a scrap of fabric beside the pool.
Tips and Variations:
- Sink the glass dish or bowl slightly into the ground within your fairy garden to create a more realistic pool effect.
- You can use a small seashell as a diving board for the fairies, adding another whimsical detail.
- Consider placing the miniature pool near a miniature waterfall or stream for a connected water feature in your fairy garden.
15. Miniature Fairy Library: A World of Knowledge for Tiny Bookworms
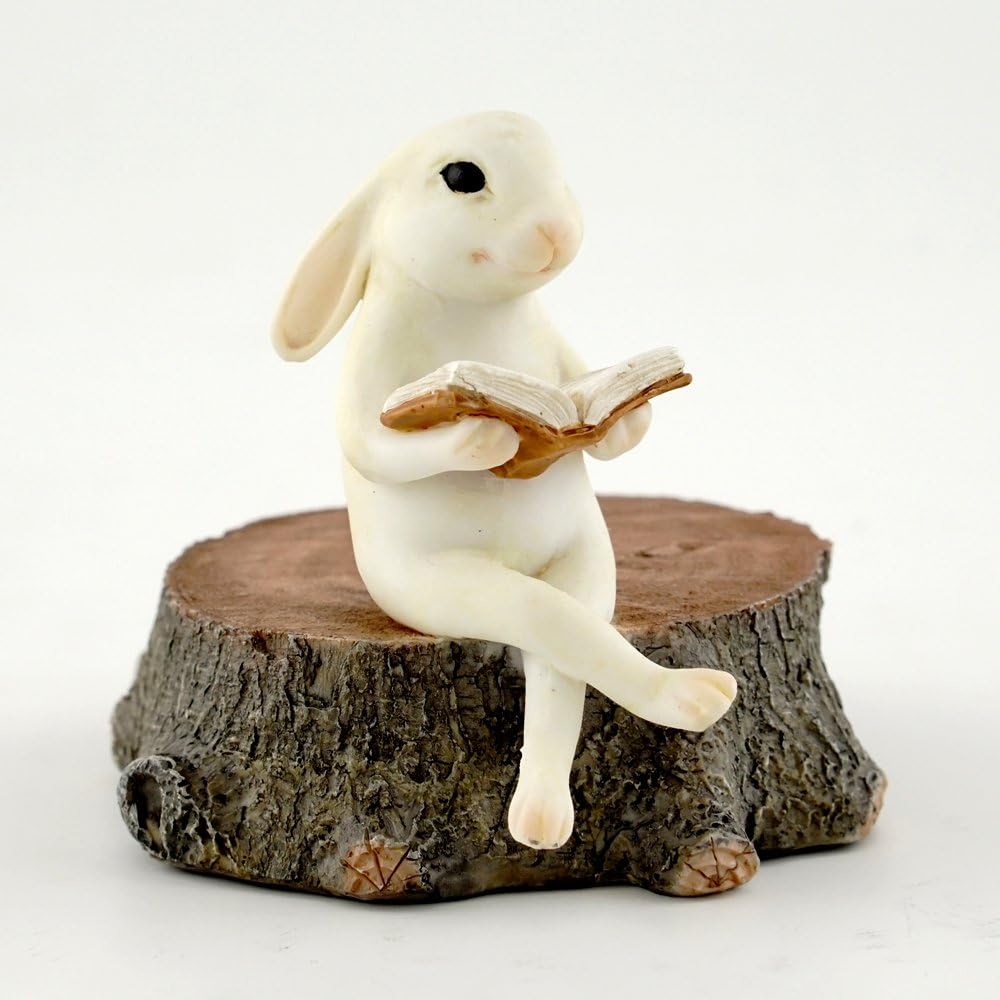
This charming miniature library provides a haven for fairies who love to curl up with a good book.
Materials:
- Small wooden box with a hinged lid (cigar boxes work well)
- Paint in various colors
- Paintbrushes
- Tiny scraps of paper or fabric (different patterns)
- Craft glue
- Miniature twigs or toothpicks
- Tiny beads or buttons (optional)
Instructions:
- Painting the Library: Paint the wooden box in a bright color or create a design resembling a classic brick building.
- Creating Tiny Books: Cut small rectangles from the paper or fabric scraps. Fold them in half to create miniature book shapes. You can decorate the “covers” with tiny drawings or patterns.
- Book Spines: Use a thin paintbrush to create lines on the “spine” of each miniature book for a realistic touch.
- Assembling the Bookshelf: Glue the miniature books upright inside the open box, creating a small bookshelf. Stack them in rows or lean them against each other for a more natural look.
- Tiny Twigs as Bookmarks (Optional): Cut small twigs or toothpicks to a size that fits inside the miniature books. These can serve as bookmarks for the fairy readers.
- Decorative Details (Optional): Glue tiny beads or buttons to the front of the box as decorative knobs for the lid.
Tips and Variations:
- Leave a tiny rolled-up piece of paper with a handwritten message peeking out of one of the books for a playful touch.
- You can create a miniature reading chair or a tiny rug outside the library for a cozy reading nook.
16. Miniature Fairy Wishing Well with Moving Bucket: A Touch of Magic and Whimsy
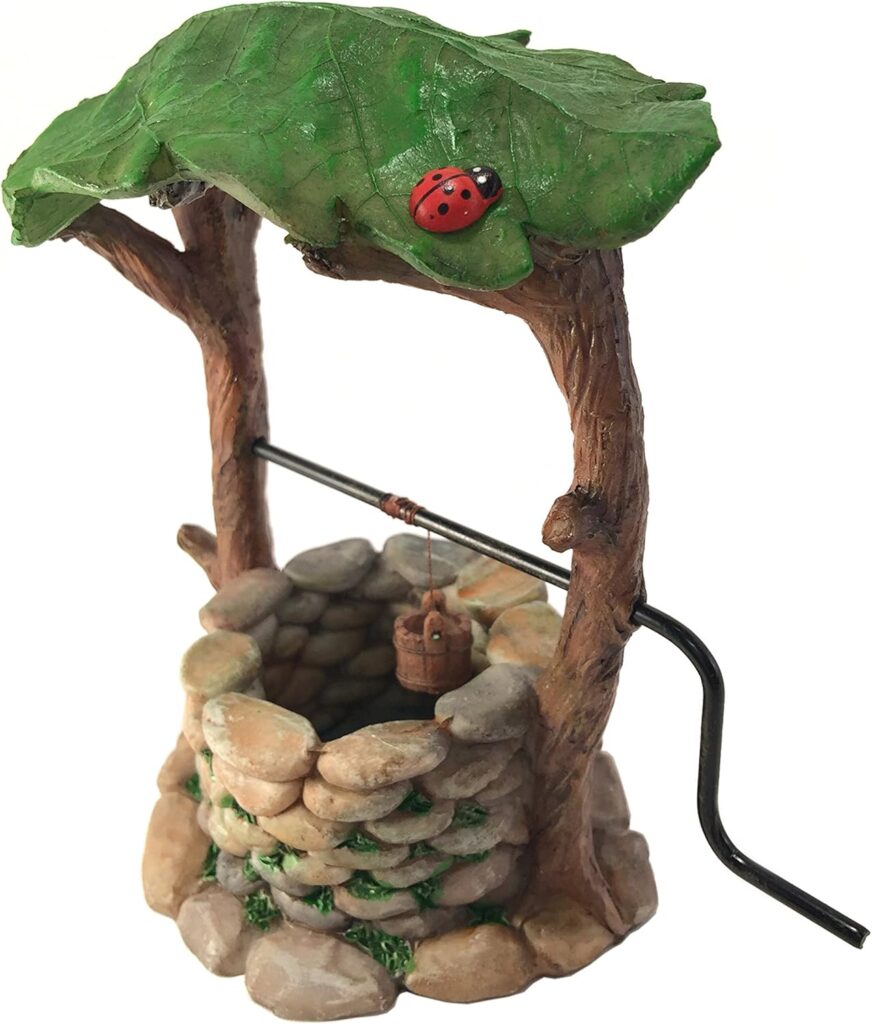
This enchanting wishing well adds a touch of magic and allows visitors to make their tiniest wishes come true!
Materials:
- Small terracotta pot
- Craft foam (brown or green)
- Popsicle sticks
- Acrylic paint in various colors
- Buttons
- Small metal washer (optional)
- String or thread
- Craft glue
Instructions:
- Building the Well: Cut the craft foam into strips and rectangles to create the well structure. These will be attached to the rim of the terracotta pot with craft glue. You can create a simple cylindrical well or get more elaborate with a rounded top and decorative cutouts.
- Popsicle Magic: Use two popsicle sticks to create a well mechanism. Glue one popsicle stick vertically to the side of the well, with a small horizontal piece attached near the top to act as a crank. The second popsicle stick will be the bucket, with a hole drilled near the top (use adult supervision for drilling).
- Creating the Bucket: Cut a small rectangle from the remaining popsicle stick and attach a small metal washer (optional) to the bottom for weight. Thread a piece of string or thread through the hole you drilled earlier and tie it securely to the metal washer (or directly to the bottom of the bucket if no washer is used).
- Painting and Details: Now comes the fun part – decorating! Paint the terracotta pot and the popsicle stick structures in bright colors or a rustic, natural tone. Use buttons to create decorative details on the well itself, like eyes or a small door.
- The Moving Bucket: Attach the string from the bucket to a small notch cut near the top of the horizontal popsicle stick on the well. When you turn the crank, the bucket should move up and down the string, creating a magical well mechanism.
Tips and Variations:
- You can place a tiny piece of rolled-up paper with a wish written on it inside the bucket for extra whimsy.
- Decorate the string with tiny beads for a more magical touch.
17. Glittering Fairy Pathway with Stepping Stones and Glow-in-the-Dark Pebbles: A Luminous Nighttime Path
This upgraded version of the fairy pathway adds a touch of elegance and provides illumination for nighttime adventures.
Materials:
- Flat stones or pebbles in various sizes and shapes
- Craft paint in various colors (metallic paints work well)
- Paintbrushes
- Clear sealant (optional, for outdoor use)
- Glow-in-the-dark pebbles
- Craft glue (optional)
Instructions:
- Painting the Stepping Stones: Paint the flat stones or pebbles in a variety of colors, using metallic paints for an extra touch of elegance. You can create a uniform color scheme or get creative with patterns and designs. Let the paint dry completely.
- Sealing the Deal (Optional): If your fairy garden is outdoors, apply a coat of clear sealant to protect the paint from the elements and ensure the glow-in-the-dark pebbles adhere properly. Let the sealant dry completely.
- Creating the Path: Arrange the painted stones in a winding path or a series of stepping stones throughout your fairy garden. You can use a combination of larger and smaller stones for a more natural look.
- Adding Glow: Here’s where the magic comes in! Scatter glow-in-the-dark pebbles throughout the path, especially around the painted stepping stones. You can create a solid band of glow or arrange them in clusters for a starry effect.
- Securing the Glow Pebbles (Optional): For added permanence, especially outdoors, use a small dab of craft glue to secure some of the glow-in-the-dark pebbles to the painted stepping stones. This will prevent them from getting scattered by wind or rain.
Tips and Variations:
- Consider using different sizes and colors of glow-in-the-dark pebbles for a more dynamic nighttime display.
- You can create a miniature lamppost or lantern along the path using bottle caps, twigs, and a small LED light (adult supervision required when using electrical components) for additional nighttime illumination.
Let Your Imagination Take Flight!
These 17 DIY crafts are just a starting point for your fairy garden adventures. Don’t be afraid to experiment, explore different materials, and personalize your creations.
So, gather your supplies, unleash your creativity, and get ready to build a miniature wonderland that sparks joy and invites a touch of magic into your life!