
Christmas is a time for joy, celebration, and creativity, making it the perfect season to gather the family for some festive crafting! Engaging in DIY projects not only helps in decorating your home but also creates beautiful memories that you and your loved ones will cherish for years to come. In this article, we’ll explore 18 delightful Christmas crafts that are suitable for the whole family, catering to different ages and skill levels. Whether you are looking to make ornaments, gifts, or eco-friendly decorations, this list has something for everyone. So, roll up your sleeves, gather your supplies, and let’s get crafting!
Festive Ornaments
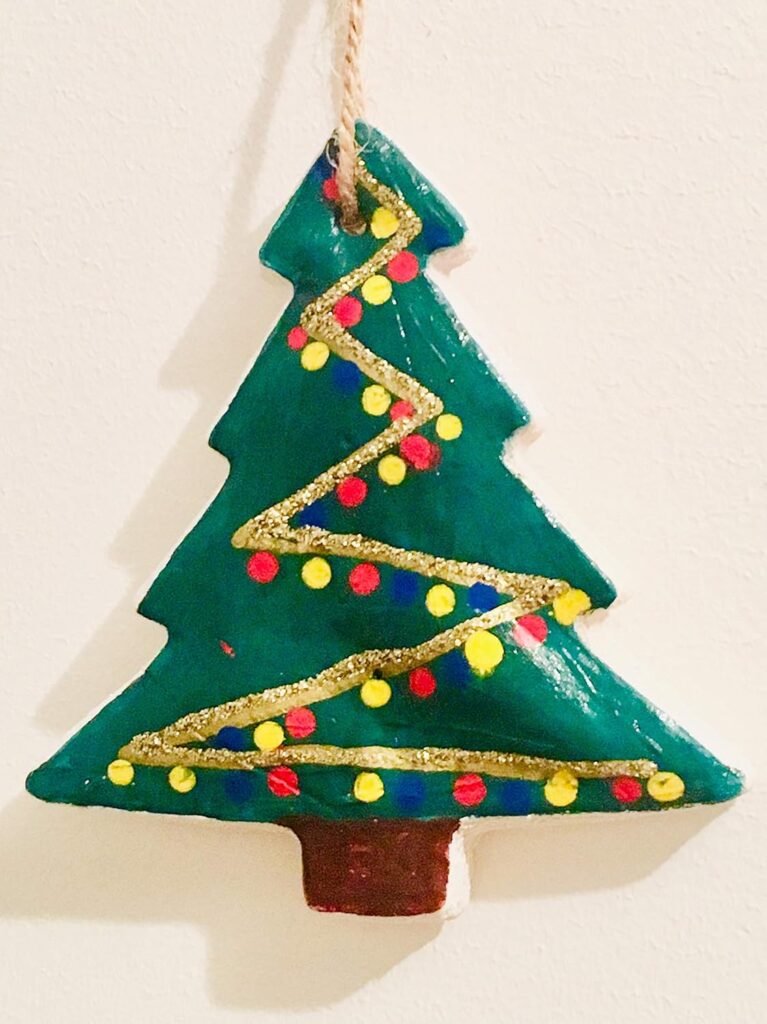
1. Salt Dough Ornaments
Materials Needed:
- 2 cups all-purpose flour
- 1 cup salt
- 1 cup water
- Cookie cutters
- Acrylic paints and brushes
- Ribbon or twine for hanging
Instructions:
- Prepare the Dough: In a large bowl, mix the flour and salt. Gradually add water and stir until the mixture forms a dough. Knead the dough for about 5-10 minutes until smooth.
- Cut Out Shapes: Roll out the dough on a floured surface to about 1/4 inch thick. Use cookie cutters to cut out festive shapes such as stars, trees, or snowmen.
- Create Hanging Holes: Use a straw or skewer to make a small hole at the top of each ornament for the ribbon or twine.
- Bake: Preheat the oven to 200°F (93°C) and place the ornaments on a baking sheet lined with parchment paper. Bake for 2-3 hours until completely dry.
- Decorate: Once cooled, paint the ornaments with acrylic paints. Allow them to dry and then thread the ribbon or twine through the holes for hanging.
Tips: You can also add glitter to the paint for a sparkling finish!
2. Painted Pinecones

Materials Needed:
- Pinecones
- Acrylic paints
- Paintbrushes
- Clear sealant (optional)
Instructions:
- Collect Pinecones: Gather pinecones from your yard or a nearby park. Clean them by removing dirt and debris.
- Paint: Use acrylic paints to color the pinecones. You can paint them in traditional red and green or go for a more modern look with metallic shades.
- Seal (Optional): If desired, apply a clear sealant once the paint dries to protect the finish.
- Display: Use the painted pinecones as table centerpieces, place them in bowls, or hang them from ribbons around the house.
Handmade Gift Ideas
3. Personalized Mugs

Materials Needed:
- Plain ceramic mugs
- Oil-based Sharpie or ceramic paint
- Oven
Instructions:
- Design the Mugs: Use the oil-based Sharpie or ceramic paint to create personalized designs or messages on the mugs. You can write names, draw festive images, or create patterns.
- Bake: Preheat the oven to 350°F (175°C) and place the mugs on a baking sheet. Bake for 30 minutes to set the design.
- Cool Down: Let the mugs cool in the oven to avoid cracking. Once cool, they are ready for gifting!
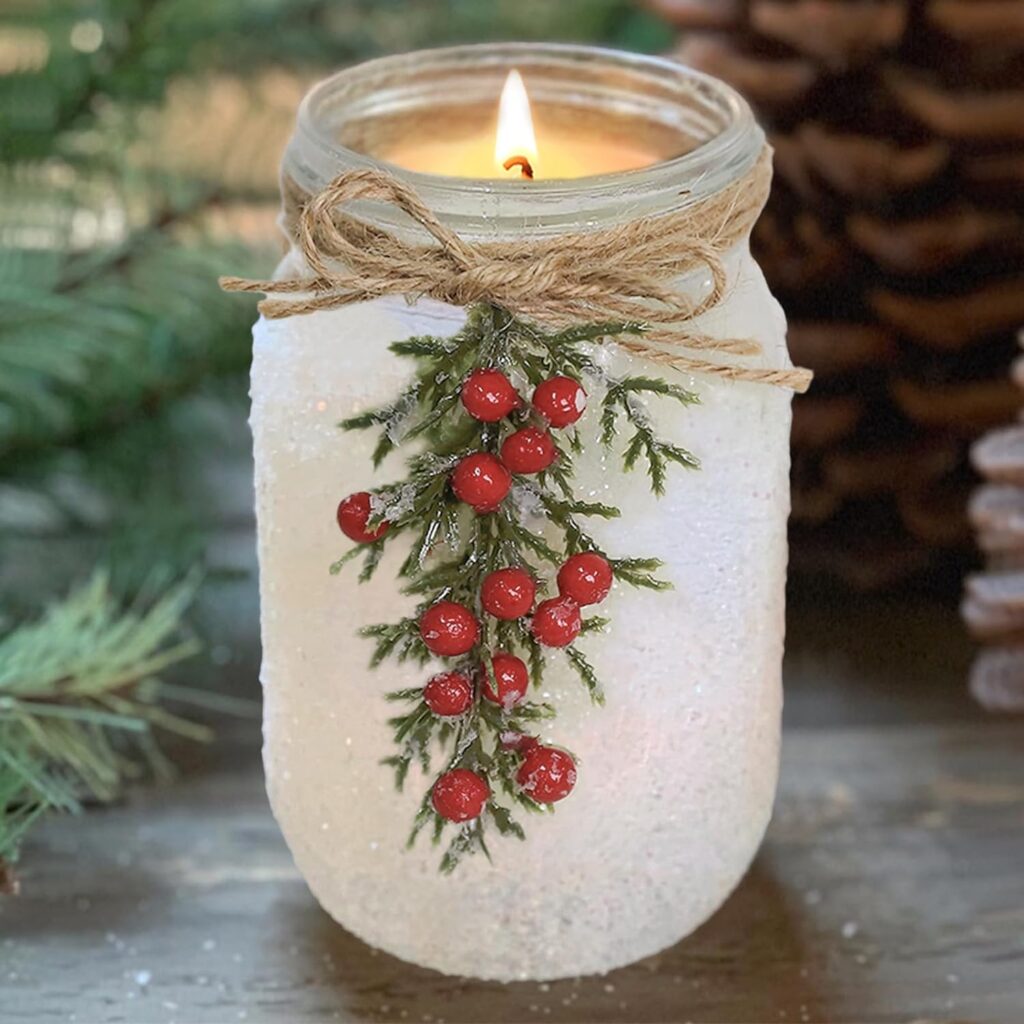
4. Scented Candle Jars
Materials Needed:
- Candle wax (soy or beeswax)
- Candle wicks
- Fragrance oils (holiday scents like cinnamon or peppermint)
- Glass jars (mason jars work well)
Instructions:
- Melt the Wax: Use a double boiler to melt the candle wax according to the package instructions.
- Add Fragrance: Once melted, add fragrance oils to the wax, stirring well.
- Prepare the Jars: Secure the wick in the center of each jar using a bit of melted wax or a wick holder.
- Pour Wax: Carefully pour the melted wax into the jars, ensuring the wick stays centered. Allow the candles to cool and harden.
- Decorate the Jars: Once set, you can decorate the jars with ribbons, labels, or paint.
Holiday Decor Projects
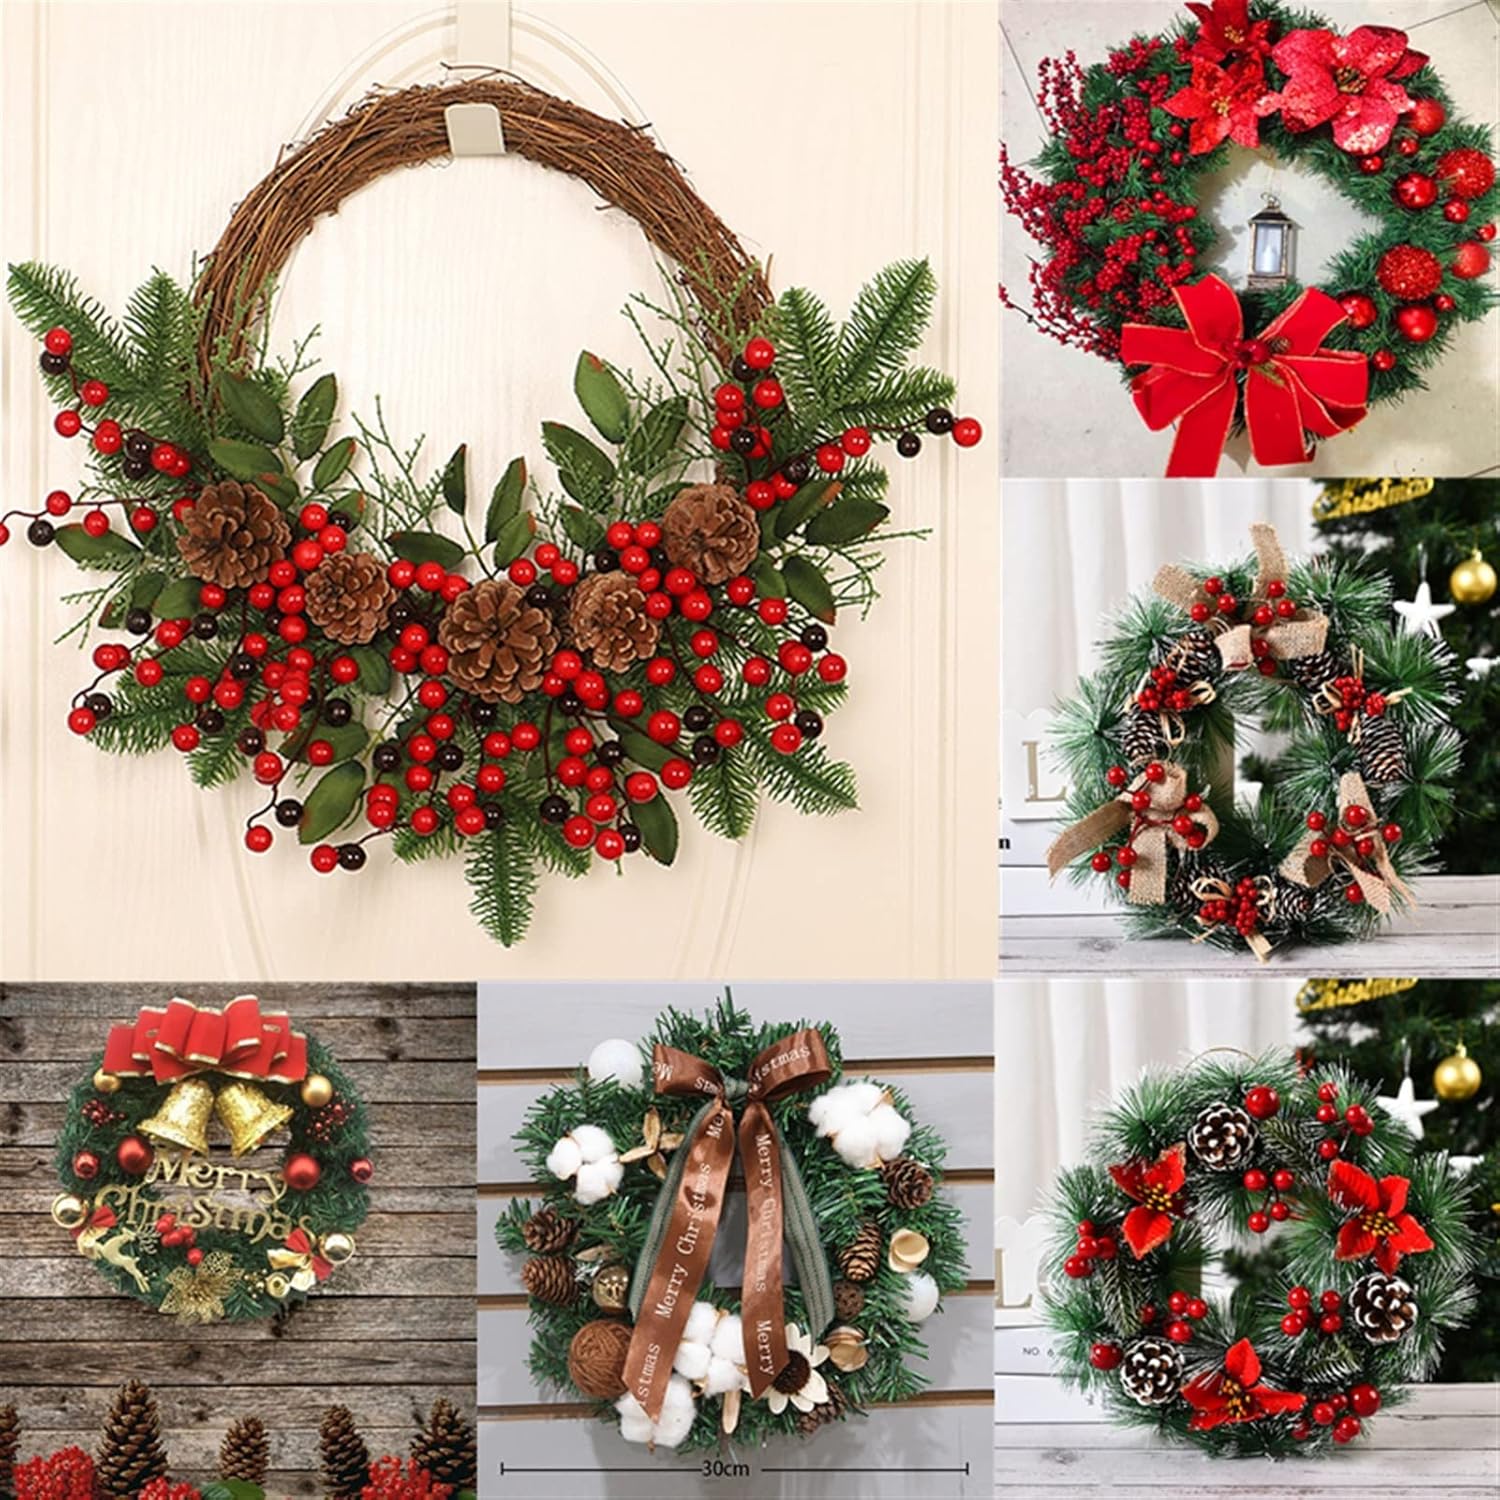
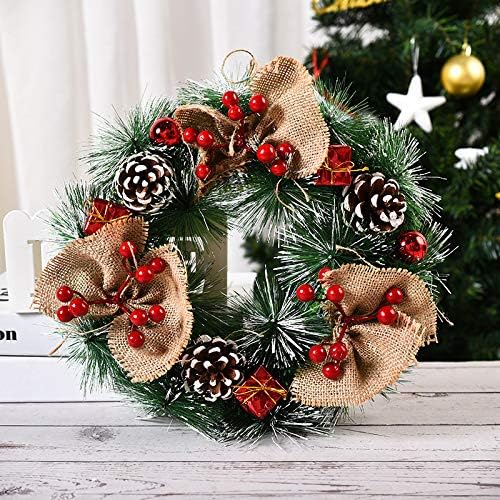
5. DIY Christmas Wreaths
Materials Needed:
- Wreath base (foam or wire)
- Fresh or faux greenery (pine branches, holly)
- Decorative elements (berries, pinecones, bows)
- Hot glue gun and glue sticks
Instructions:
- Prepare the Base: Begin by attaching greenery to the wreath base using a hot glue gun, layering them until the base is covered.
- Add Decorations: Secure decorative elements like berries and pinecones among the greenery, adding a festive touch.
- Finish with a Bow: Create a bow using ribbon and attach it to the top of the wreath for an extra festive flair.
- Hang: Display your beautiful wreath on your front door or above the fireplace.
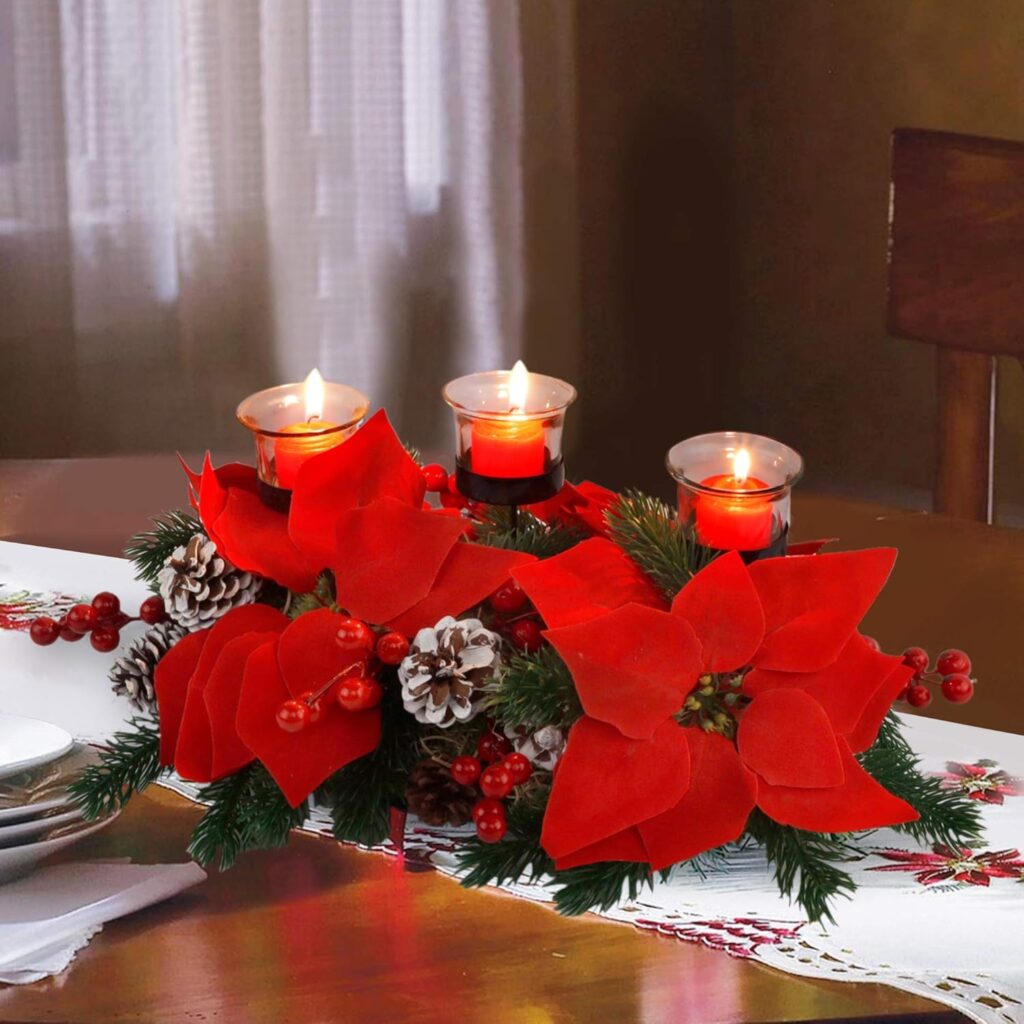
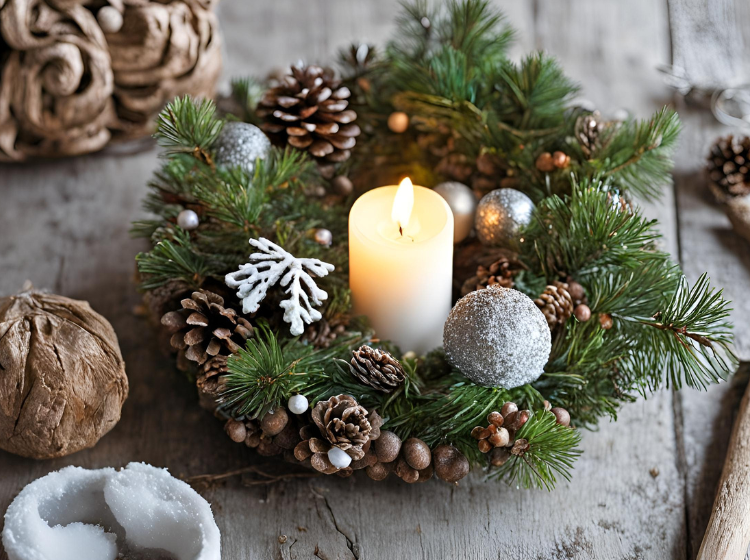
6. Table Centerpieces
Materials Needed:
- Pine branches or other greenery
- Candles (pillar or votive)
- Decorative bowl or tray
- Additional decor (ornaments, ribbon)
Instructions:
- Gather Materials: Arrange the pine branches in a bowl or tray, forming a base for the centerpiece.
- Add Candles: Place candles of varying heights among the greenery.
- Decorate: Scatter ornaments or ribbons around the candles for added festive flair.
- Light Up Your Table: Display your centerpiece on your dining table or coffee table to enhance your holiday decor.
Fun Family Activities
7. Christmas Tree Garland

Materials Needed:
- Colored paper or cardstock
- Scissors
- String or twine
- Tape or glue
Instructions:
- Cut Out Shapes: Create festive shapes like stars, trees, and ornaments from colored paper.
- Assemble the Garland: Use tape or glue to attach the shapes to a length of string or twine, spacing them out as desired.
- Hang: Decorate your walls, mantel, or tree with the garland for a cheerful holiday touch.
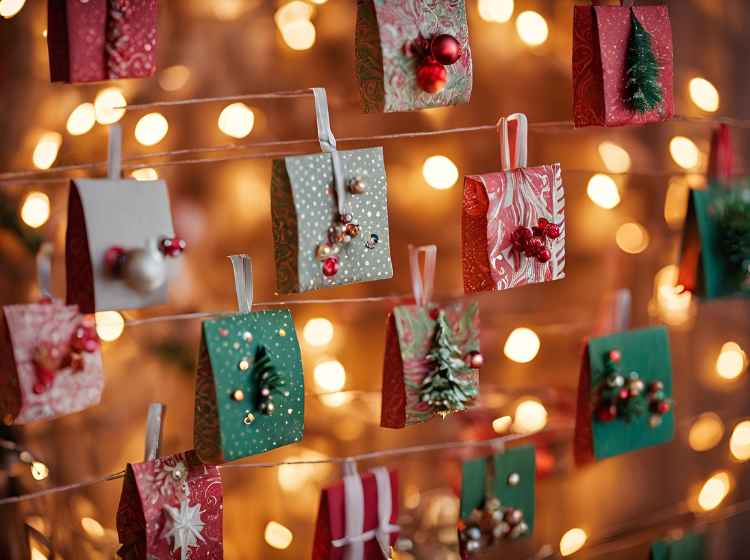
8. Advent Calendar Crafts
Materials Needed:
- Small boxes or paper bags
- Decorations (stickers, markers, washi tape)
- Treats or activities to fill each day
Instructions:
- Prepare the Boxes: Decorate the small boxes or paper bags using stickers, markers, or other craft supplies.
- Fill with Surprises: Add a treat or activity idea for each day leading up to Christmas.
- Display: Arrange the boxes in a creative way, such as in a festive basket or hung on a string.
DIY Clothing and Accessories
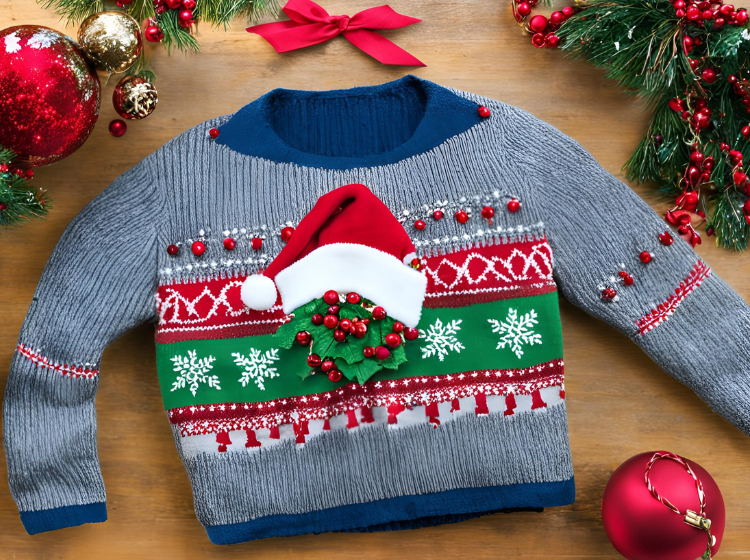
9. Christmas Sweater Upcycle
Materials Needed:
- Old sweaters
- Fabric glue or needle and thread
- Embellishments (felt, sequins, ribbons)
Instructions:
- Choose Sweaters: Select old sweaters that you want to upcycle.
- Design Your Look: Cut felt shapes or use fabric glue to attach embellishments to the sweaters.
- Finish: Let the glue dry completely before wearing your festive creation.
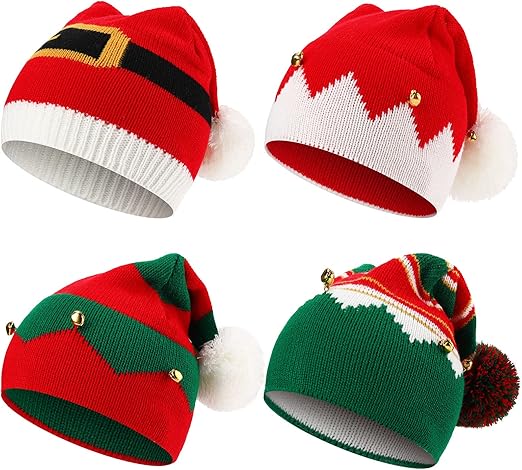
10. Holiday-Themed Hats or Scarves
Materials Needed:
- Felt or yarn
- Sewing supplies (or knitting needles if using yarn)
- Decorative items (buttons, pom-poms)
Instructions:
- Design: Decide on a pattern for the hat or scarf and cut out pieces from felt or knit the desired length.
- Sew or Knit: Assemble the pieces using sewing or knitting techniques, adding decorations as desired.
- Wear Your Creation: Enjoy wearing your new holiday-themed accessories!
Eco-Friendly Crafts
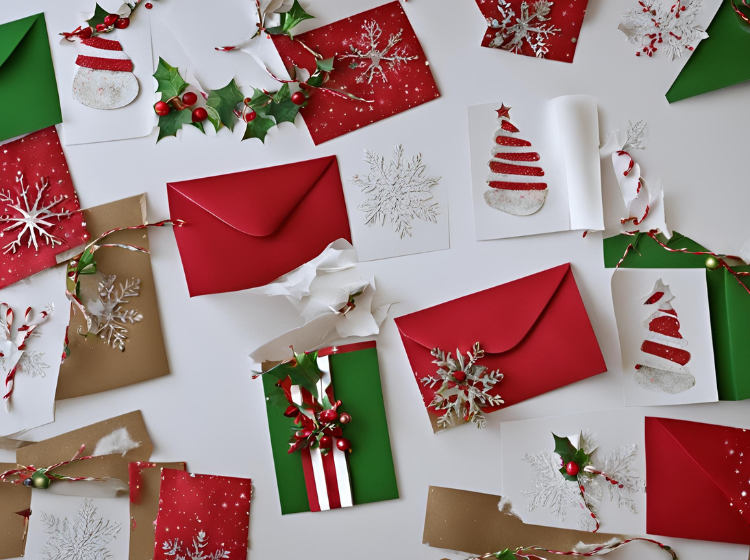
11. Recycled Christmas Cards
Materials Needed:
- Old Christmas cards
- Scissors
- Craft supplies (ribbons, glue, markers)
Instructions:
- Collect Cards: Gather old Christmas cards that you no longer need.
- Cut Out Shapes: Cut the cards into different shapes for decorations, tags, or new cards.
- Decorate: Use craft supplies to add embellishments to the cut-out shapes.
- Display or Gift: Use them as gift tags, decorations, or send them as new cards.
12. Nature-Inspired Decor
Materials Needed:
- Natural materials (twigs, leaves, acorns)
- Glue
- Decorative base (corkboard or canvas)
Instructions:
- Collect Materials: Gather twigs, leaves, and acorns from your yard or a nearby park.
- Create Art: Arrange the natural materials on a corkboard or canvas to create a unique piece of art.
- Glue Down: Secure the materials with glue and let it dry completely.
- Display: Hang your nature-inspired decor on the wall for a rustic holiday touch.
Kids’ Crafts & Pre-School Crafts
13. Handprint Reindeer

Materials Needed:
- Construction paper
- Brown paint
- Googly eyes
- Glue
Instructions:
- Create Handprints: Use brown paint to coat the child’s hand and press it onto construction paper to make a handprint.
- Add Features: Once dry, glue googly eyes and draw a nose and mouth to create a reindeer face.
- Display: Hang the artwork on the fridge or wall as a festive decoration.
14. Paper Plate Christmas Trees

Materials Needed:
- Paper plates
- Green paint or green paper
- Craft supplies (glitter, beads, stickers)
Instructions:
- Prepare the Plates: Cut paper plates into triangles or paint them green to create tree shapes.
- Decorate: Use craft supplies to decorate the trees with glitter, beads, or stickers.
- Display: Create a mini forest of paper plate Christmas trees to showcase your child’s artwork.
15: Christmas Tree Handprint Art

Materials Needed:
- Green construction paper
- Brown construction paper
- White paint or glitter
- Scissors
- Glue
Instructions:
- Trace and Cut: Start by tracing your child’s hand on a piece of green construction paper. Ensure that the fingers are spread out to create the shape of a Christmas tree.
- Cut Out the Handprint: Carefully cut around the traced handprint to create the tree shape. If your child is old enough, let them practice using child-safe scissors to cut out the shape themselves, fostering independence and skill development.
- Create the Trunk: Next, cut out a small rectangle from the brown construction paper to serve as the tree trunk.
- Assemble the Tree: Glue the trunk to the bottom of the handprint, giving the appearance of a tree standing tall.
- Decorate: Allow your child to use white paint or glitter to mimic snow on the branches. They can sprinkle glitter or use a brush to apply white paint, making it a fun sensory activity.
Tips:
- Personal Touch: Encourage your child to sign their name and write the date on the back of the artwork. This way, you can cherish these memories for years to come.
- Variations: Use different colors for the decorations—red, gold, and silver can resemble ornaments. You can even add small stickers or drawings for extra flair.
16: Paper Plate Snowman

Materials Needed:
- Paper plates
- White paint or cotton balls
- Black and orange markers
- Fabric scraps or felt (for scarf)
- Glue
Instructions:
- Create the Snowman Body: Begin by painting a paper plate white or gluing on cotton balls to create the snowman’s body. If you opt for cotton balls, make sure to space them evenly for a fluffy look.
- Make the Hat: Cut another paper plate in half to form the top hat. You can paint it black or cover it with black construction paper.
- Facial Features: Using black and orange markers, draw or glue on the snowman’s facial features—two eyes, a carrot-shaped nose, and a smiling mouth.
- Add Accessories: Cut a strip of fabric or felt to create a scarf, and glue it around the snowman’s neck. You can also use other embellishments like buttons for a more personalized touch.
Tips:
- Googly Eyes: For an extra fun touch, use googly eyes instead of drawing them. Kids love the way they wiggle and bounce!
- Display: Once finished, hang the snowman in a window or on the fridge, where it can brighten up your home for the holidays.
17: Christmas Ornament Wreath

Materials Needed:
- Paper or foam plates
- Colorful markers or crayons
- Small ornaments (plastic or paper)
- Glue
- Ribbon (for hanging)
Instructions:
- Create the Wreath Base: Start by cutting out the center of a paper plate to form a ring. This will be the base for your wreath.
- Decorate the Ring: Allow your child to decorate the ring with colorful markers or crayons. Encourage them to be creative and use a variety of colors and designs.
- Add Ornaments: Glue small ornaments around the ring. These can be plastic or even handmade paper ornaments that your child decorates beforehand.
- Finish with a Ribbon: Once everything is dry, attach a ribbon to hang the wreath on the door or wall.
Tips:
- Creative Freedom: Let your child experiment with various colors and patterns. This is an excellent opportunity for them to express their personality.
- Gift Idea: This craft makes a beautiful gift for family members, showcasing your child’s creativity and the holiday spirit.
18: Santa Hat Headbands

Materials Needed:
- Red and white construction paper
- Scissors
- Glue
- Stapler or tape
- Cotton balls (for decoration)
Instructions:
- Make the Headband: Cut a strip of red construction paper long enough to fit around a child’s head. Staple or tape the ends together to create a headband.
- Create the Hat Shape: From the remaining red paper, cut a triangle to create the shape of Santa’s hat. The base of the triangle should be wide enough to cover the child’s forehead.
- Assemble the Hat: Glue the triangle to the headband, forming the classic Santa hat look.
- Decorate: Add cotton balls along the base of the hat and at the tip for a fluffy appearance.
Tips:
- Wear Them Proudly: Let children wear their Santa hats during holiday parties or family gatherings. It’s a great way to spread cheer!
- Group Activity: If you’re working with a group, consider making a “Santa Hat Parade” where all the kids can show off their creations.
19: Christmas Card Making

Materials Needed:
- Blank cards or cardstock
- Stickers
- Markers
- Glitter
- Scissors
- Glue
Instructions:
- Provide Blank Cards: Give each child a blank card to decorate. You can use pre-folded cards or cut cardstock into smaller rectangles.
- Decorate the Cards: Encourage children to use stickers, markers, and glitter to personalize their cards. They can create drawings, write messages, or use various decorative elements.
- Add Finishing Touches: Allow kids to glue on festive decorations and write heartfelt messages inside.
- Drying Time: Let the cards dry completely before giving them to family and friends as gifts.
Tips:
- Inspiration: Provide examples of messages or card designs to spark creativity. For instance, phrases like “Merry Christmas” or “Happy Holidays” can guide them.
- Card Exchange: Organize a card exchange among the children, allowing them to share their creations and foster a sense of community.
Final Thoughts
Christmas crafts provide the perfect opportunity for families to come together, express their creativity, and celebrate the spirit of the season. These DIY projects not only offer a chance to make personalized decorations and gifts but also foster a sense of togetherness and joy. As you embark on these crafting adventures, remember that the process is just as important as the final product. So, gather your loved ones and enjoy making beautiful memories this holiday season!